Douglas Miniatures Logo

Douglas Miniatures Logo

Wednesday 25 May 2022

The Battle for Mount Hoedown 1982

June 1982 and British forces are closing in on Port Stanley, but Argentine forces (FAA) hold a series of rocky mountain tops that shield the port .

In a move to secure a key peak that overlooks the line of advance for the main British force, a battalion group consisting of 8 PARA, with artillery (FOO) and naval gunfire (NGS) observers as well as other supporting elements are to stealthily sail into Penguin Cove aboard RFA Sir Gregory, under cover of darkness and move quickly ashore to carry out a night attack against Mount Hoedown, approaching from the West.

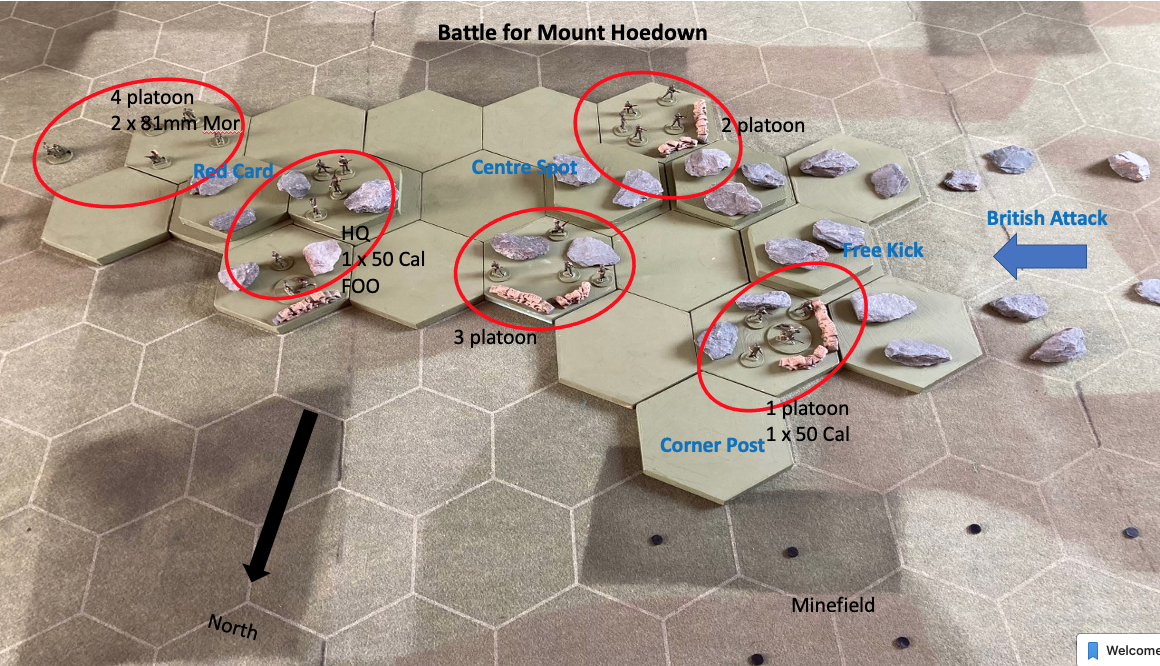
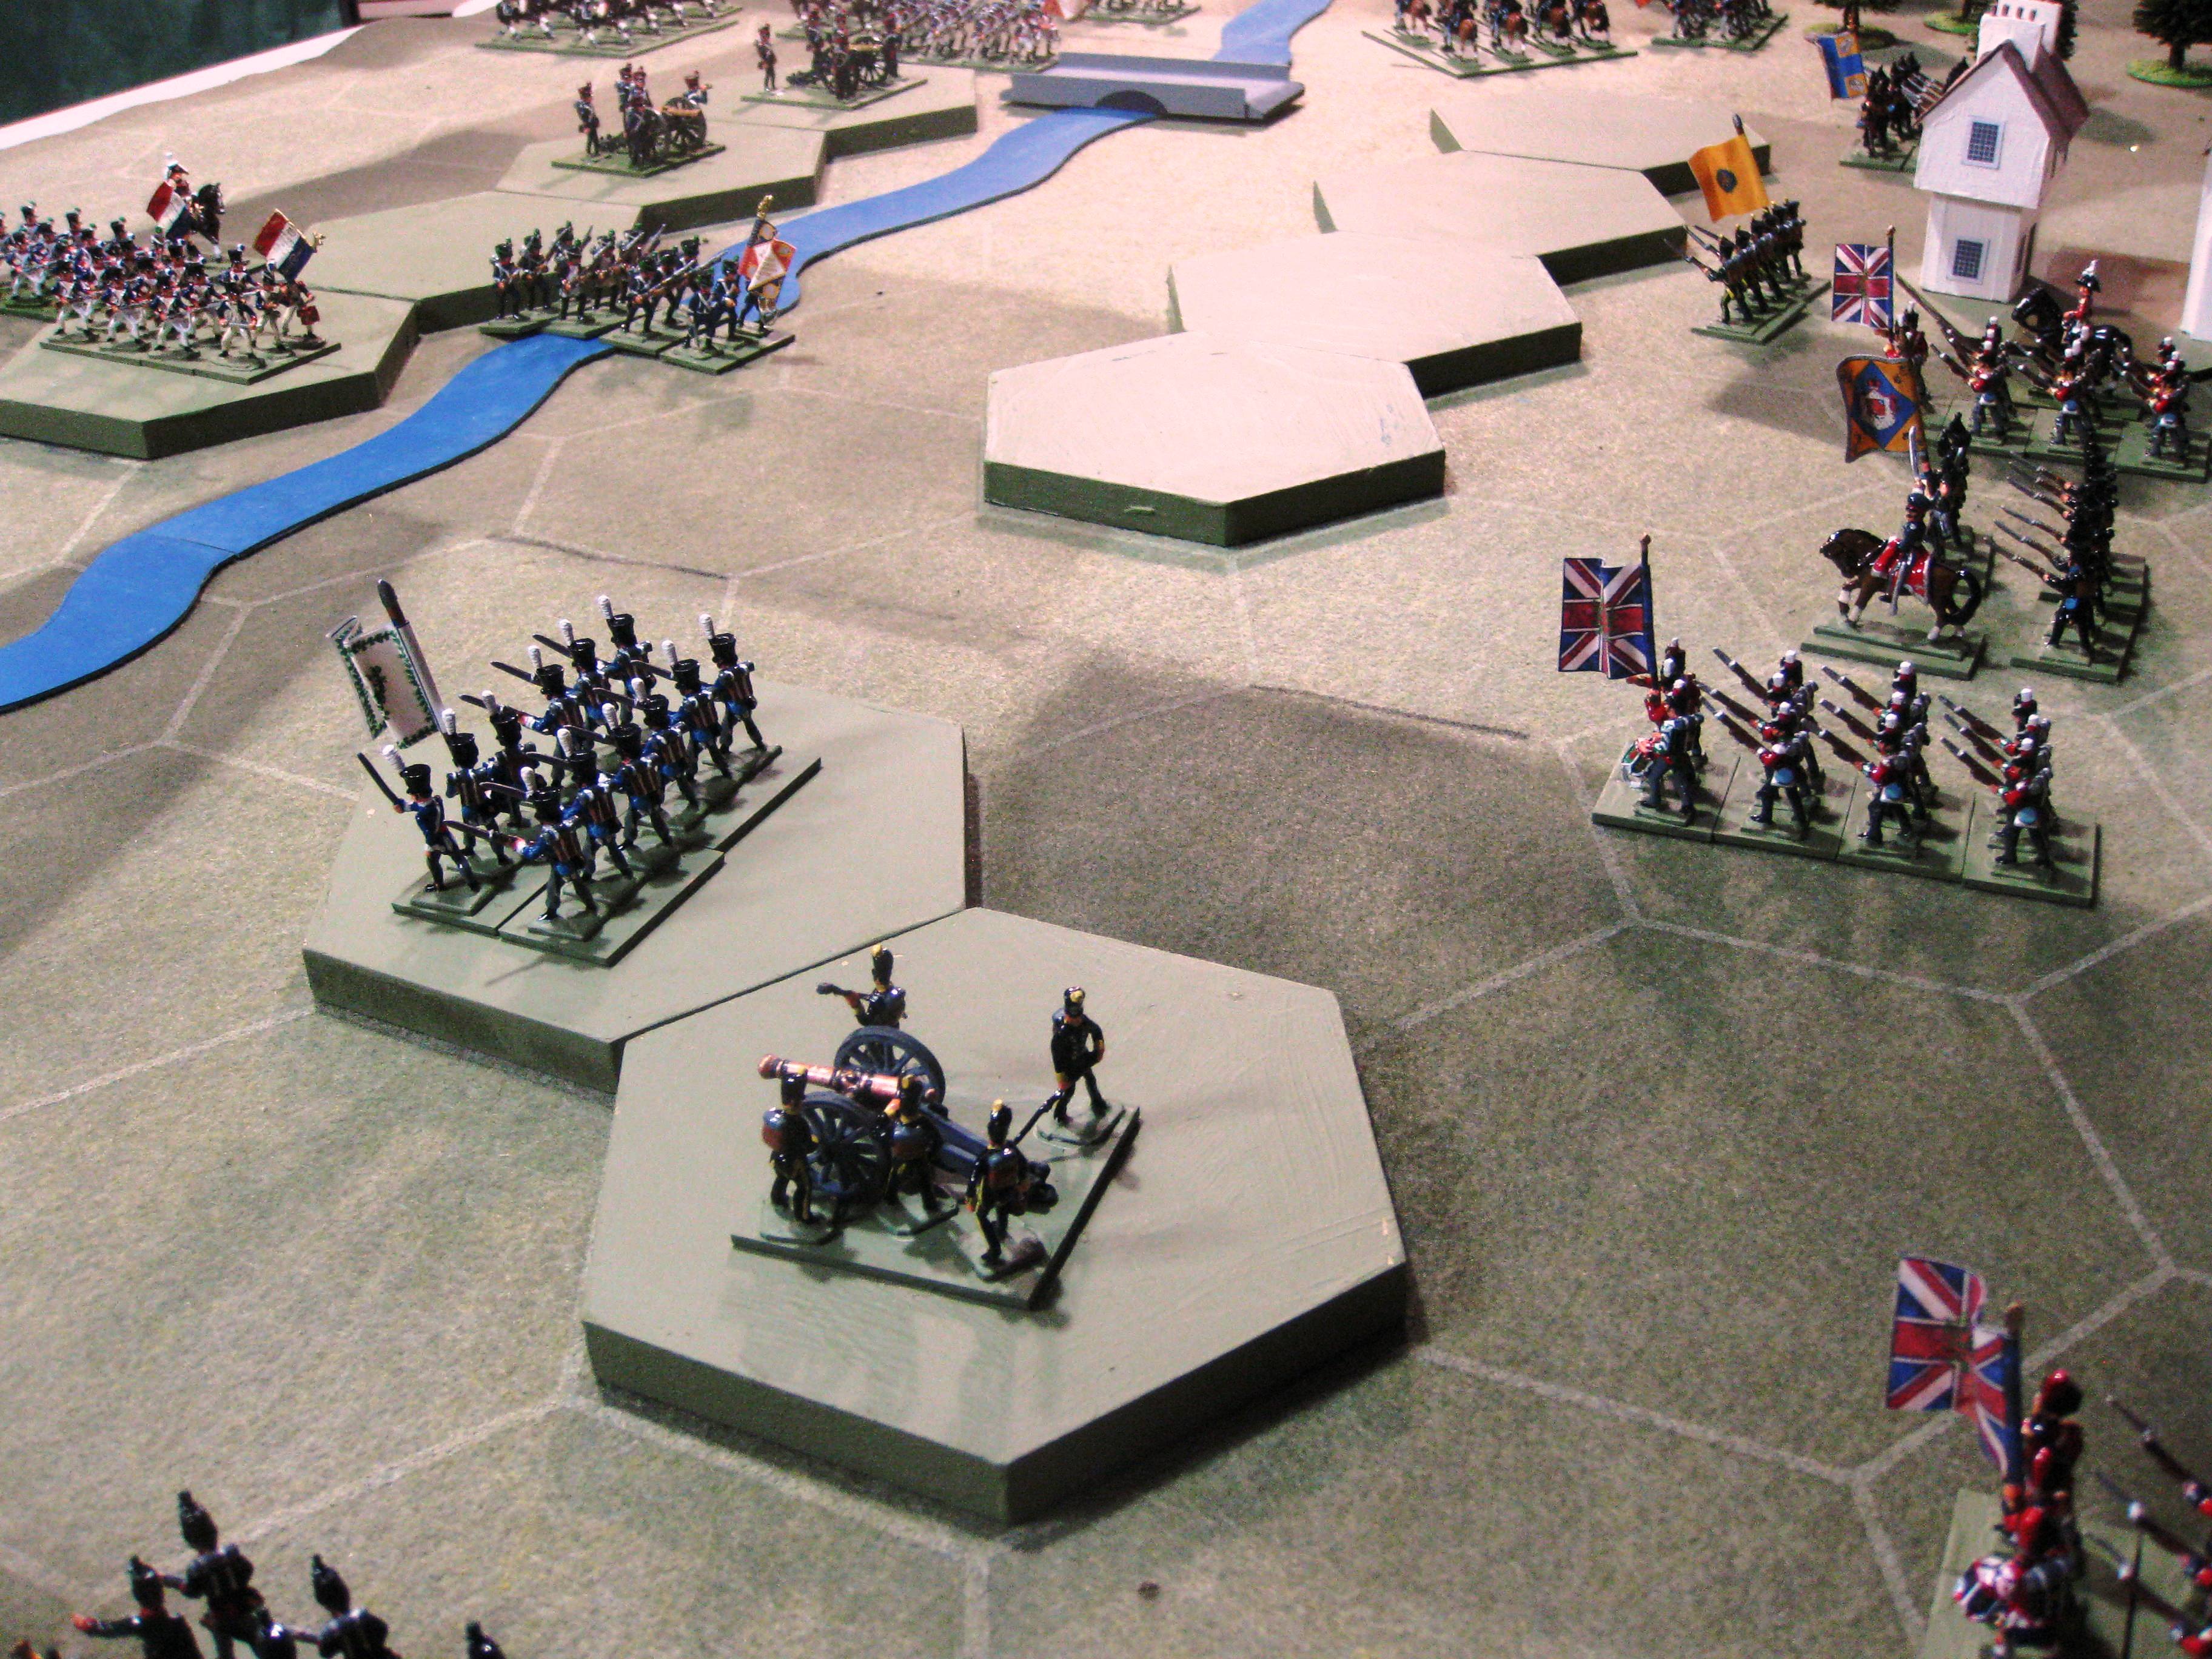
The objective looks like this:

Mount Hoedown is defended by an infantry company supported by a platoon of Marines and two 81mm mortar sections.  The FAA believe the threat comes mostly from the north and mines have been laid and two .50 cal machine guns in sangars cover the open ground in this direction.  The mortars have also a number of DFs covering likely approaches.

Things do not go well for the British from the outset.  Sir Gregory is late departing and arrives in Penguin Cove three hours late.  It is imperative that she is back out to sea well before first light due to the enemy air threat.  The delay means that only half of 8 PARA is able to land (B & D Companies) with their artillery observers.  Most of the heavy weapons and the Forward Air Controller remain aboard. A Harrier strike is scheduled for 07:00 on RED CARD.  8 PARA will have no way of adjusting this, having to relay messages via Brigade HQ, rather than talking directly to the pilots.

Abandoning the operation is considered, but seizing Mount Hoedown is key to other operations against other FAA positions.  So, it is decided that D Company will race forward and capture the first knoll known as FREE KICK.  B Company will pass through and clear CENTRE SPOT and RED CARD. A mortar section will support along with two sections of machine guns.

At 06:30 D Company is approaching the western crags and so far has not been detected by FAA defenders:

Almost at the crags D Company is spotted as FAA troops turn to the west and mortar rounds begin to land amongst the paratroopers. Two soldiers fall, one killed and one wounded:


Under cover of smoke from the British mortars D Company edges closer to the crags:

By 06:50 the paras assault the west end of the feature hoping to bounce the defenders. Two FAA soldiers fall and confidence is high.


However, the FAA are well protected by the rocks and their defences and they bring down heavy fire and D Company casualties begin to rise as a major close quarter firefight ensues.  The FAA put up a very strong defence:

At around 06:55 B Company arrives and begins to move up to relieve D Company and push on towards RED CARD:


The CO of 8 PARA had decided that the airstrike on RED CARD should go ahead and prays that the attack is accurate.  At 07:00 a Harrier streaks in and drops two 1000lb bombs smack on to RED CARD and destroys the FAA HQ platoon, killing two:


At last D Company have some success and finally eliminate the western .50 Cal machine gun and more costly close quarter action clears FREE KICK:


A mortar attack on B Company, still in the open ground, causes their first casualties:


B Company consolidates on FREE KICK and attempt to position the NGS officer to bring fire from a supporting warship onto the FAA positions.

The next few turns were taken up by both sides consolidating and with B Company moving up to the crags.  However, before B Company can go firm the FAA mount a spirited counter attack with mortar fire support and rush back towards FREE KICK:


The struggle for FREE KICK sees more casualties amongst D Company, including the loss of the NGS team, but as B Company arrives and a determined effort by the remnants of D Company the FAA are pushed back with heavy losses:


D Company consolidates around FREE KICK:


and the FAA concentrate around RED CARD, but begin to realise that the weight of British fire will overwhelm them, but they do not give up easily as their mortars hammer down on B Company:


With artillery support, and smoke from the British mortars B Company begins the assault on RED CARD:


105mm artillery crashes down on RED CARD causing more casualties and with the threat from B Company the FAA commander decides to withdraw:


At around 07:40 the battle ends and B Company occupies RED CARD.  It has been a very costly victory for the British, with 7 dead and 25 wounded (out of 60), while the FAA have just 2 dead and 15 wounded (out of 29).  It is a narrow victory for the British but D Company is totally non effective.

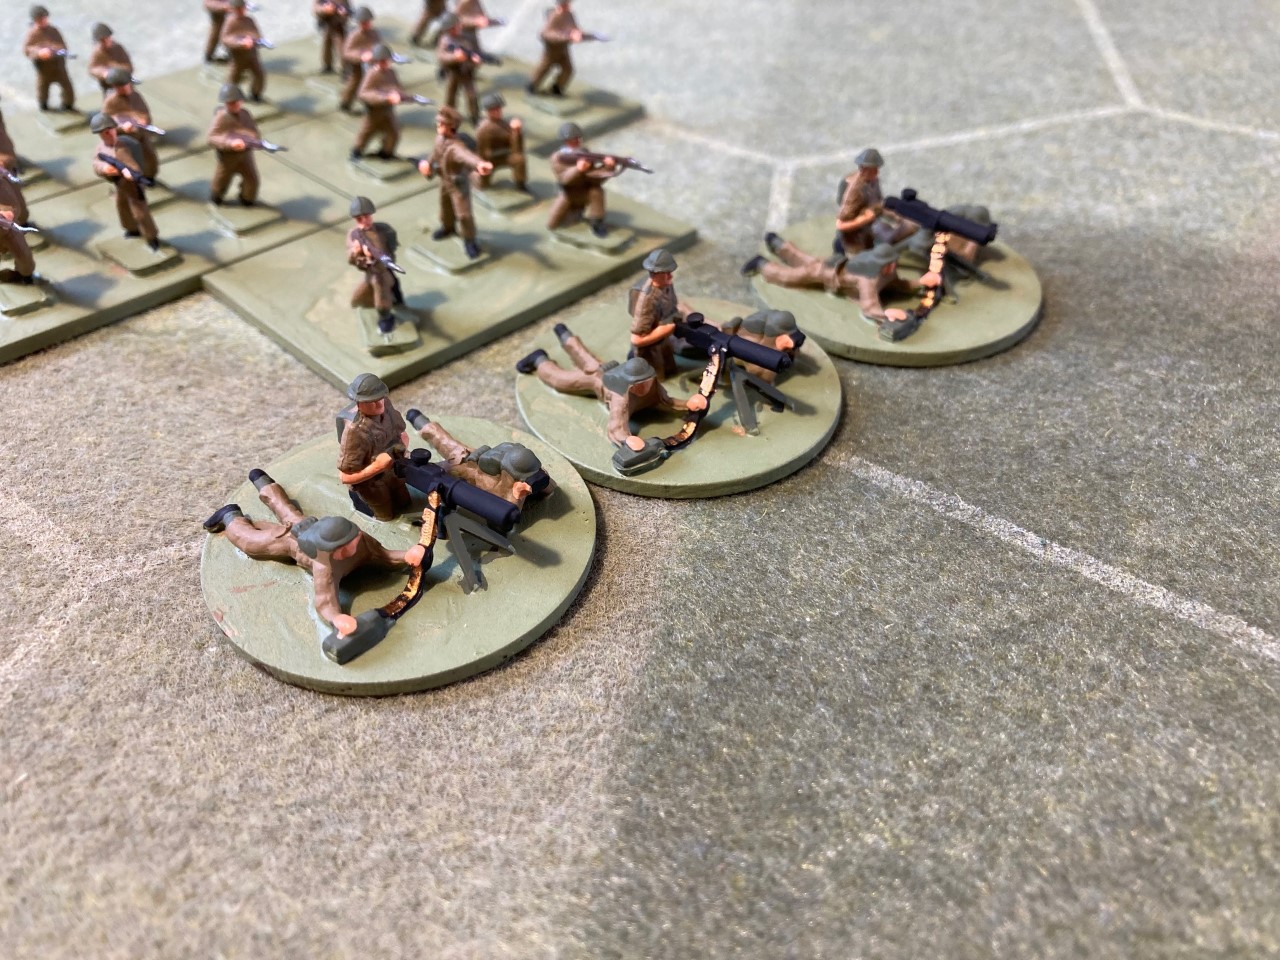
I used modified Memoire '44 rules for the game. the troops are plastic Matchbox paras and ESCI figures for the FAA. The smoke and artillery shot markers are home made.

Of course there is no Mount Hoedown, or 8 PARA, other than in my imagination.

Monday 23 May 2022

Count Goya's Waterloo British Cavalry


A few weeks ago I showed some images of Count Goya's British Infantry at Waterloo, whereby he is in the process representing every British regiment present at the battle.  

Well, a few days ago I received some more pictures, this time the cavalry.  It is quite a spectacle with nearly all regiments present at Waterloo represented, made up of old school 20/25mm figures from Hinton Hunt, Les Higgins plus others and there is even an Airfix unit amongst them.

The pictures say it all:


Wonderful stuff!


Wednesday 18 May 2022

Really Old, Old School

 I have been promising myself that I would create some British opposition for my Roco and Type1 Airfix German force.  Leafing through some early Featherstone books the answer lies in the Airfix Combat Group set;  a set that I have always liked apart from the lack of heavy weapons. 

I set about assembling a 'company' size force of four platoons and an HQ.  I also converted some Type 1 8th Army machine gunners to create a medium machine gun platoon.  Here they are:


I plan to create two more companies, an HQ and some other support weapons to form a battalion sized unit.

Tuesday 10 May 2022

Battle Report - Ligny

Our most recent battle was another Command & Colors Napoleonic scenario, the battle of Ligny 16th June 1815.  This was played the day after we fought Quatre Bras.  This time William and I played the French while Phil played the Prussians.

As can be seen from the map the battlefield is divided by Ligny Brook, with the Prussians defending the north bank using a string of villages and woods.

The picture below shows the French right flank with the settlement of Ligny with its twin bridges.  The bulk of the French army, including most of the artillery and the imperial Guard are positioned on the right:


The centre and left (from left to right) has the villages of Wagnelee, La Haye and, on the south bank of the brook, St Amand.  Again the Prussians are occupying the villages, apart from Wagnelee:
A view of the battlefield from the French right, with Napoleon himself in attendance!
Battle commenced with a sustained artillery attack by the four French batteries on the ridge, causing some damage to several Prussian units.  

A small action took place on the right flank when a Prussian infantry regiment, supported by artillery pushed forward and destroyed a French regiment; however, they were quickly beaten back, badly mauled. 
Artillery exchanges continued on the right flank, but a second Prussian advance, this time on the French left forced a French response. Of concern was the arrival of a Prussian artillery battery deploying onto the knoll behind Wagnelee, which began firing into the flank of French columns. Also fresh Prussian infantry units moved forwards.
The French rapidly pushed a couple of battalions over the brook and light infantry rushed into the village to drive off the Prussian gunners, but they were met with grapeshot and had to withdraw into the shelter of the buildings. The Prussian battery remained an annoyance for the rest of the battle. Meanwhile the french capture La Haye with heavy casualties, but Fresh Prussian units soon drive them out again:

The battle now was concentrated almost entirely on the left flank, although the french artillery continued to bombard the centre and the right. A pattern emerged, with the French storming the buildings, but were then forced out by Prussian counter attacks.  Most of the Prussian units on this flank were Landwehr and they suffered heavily.
The battle became one of attrition with the Prussians taking huge numbers of casualties as they attempted to regain lost ground.  Bit by bit the French edged forward and St Amand fell.  A counter attack by Prussian Cuirassiers supported by infantry failed to dislodge the French and soon the Prussians reached their exhaustion point and it was all over.  The French claimed a huge victory with a score of 11 - 5.  Revenge for our defeat the day before!

I have played this scenario solo before, but it was much more enjoyable with a 'live' opponent.


Tuesday 3 May 2022

Battle Report - Quatre Bras

Over the weekend we refought the 'Command and Colors' scenario of Quatre Bras using our modified rule set. I chose to be the Prince of Orange (error), William, my nephew played Picton and the British, while my brother Phil played the French:

I forgot to take pictures of the initial setup so we join the action after the first couple of turns:

The battle kicked off with a French artillery attack against the Allies forward positions on the ridge while the French light supported by cavalry moved against Nassau and Brunswick troops in Bossau Wood on their right. Initially the Allies did well as Nassau and Brunswickers supported  by light cavalry (Hussars) drove the French infantry back, although an artillery battery on the edge of the wood was quickly lost.

Meanwhile on the higher ground in the centre the Dutch and Brunswick infantry were quickly thrown back with heavy losses from French artillery fire:

The French assault in the centre began as the British and Allies scrambled to restore the line.  Both the Nassau and Brunswick infantry had been severely mauled. The remnants of the battered Brunswick and Nassau battalions regroup around Quatre Bras village.

Over in the wood the battled ebbed and flowed as infantry battle it out amongst the trees, however, the first regiment of Kellerman's Cuirassiers crosses the stream and attacks the Allied light cavalry

The Cuirassiers crash into the Hussars and close in on Quatre Bras itself.  

The Hussars run and for a moment the French control the high ground in front of the village.

The Cuirassiers however are exposed and take further casualties and are seen off by the Brunswick Lancers.

The area on the Allied right continues to be the French main effort with more french cavalry poring over the stream.  A battalion of Dutch Militia bravely stand in the way of the French, but failing to form square they are ridden down by French Lancers

In the woods the Skirmishers continue to battle away with no side making any real progress.

The charge of the Brunswick Lancers checks the French advance in the centre forcing some infantry into a square:

And the arrival of fresh British infantry gives the allies hope of restoring the situation:

Over on the allied right the battle continues with both sides taking casualties, the plucky Brunswick Jaegers are forced back leaving just the Nassau Grenadiers holding the wood.

The British advance successfully regains the high ground, destroying  the French battalion that had formed a square, but they began to suffer a similar fate as the Dutch and Brunswickers with the high ground being swept by the French artillery.

Then a devastating event occurred as Kellerman's second Cuirassier regiment sweeps in and catch a British battalion in the open, who fail to form square.  The battalion is destroyed and the Allied counter attack begins to fail as the second British battalion suffers heavily from artillery and musketry.

The Cuirassiers move along the ridge and destroy the remaining Brunswick Lancers and the Prince of Orange is unhorsed. 

The Allies reach their exhaustion point and they crumble.  It is a devastating French victory with a score of  9- 4. Overall a most enjoyable game, although the Allies were on the back foot from the outset and never really regained control of the situation, firefighting relentless French assaults.