Appearing in Donald Featherstone's 'Wargames Campaigns' book, 'A Landing in Force' is one of those battles that has been on my list to play for many years. I am guessing that it should be played as several actions, as it would be a tight squeeze on a regular wargames table, with a beach landing and an inland airborne operation.
I then had the idea of playing it out using 1/300 scale figures and the seeds were sown. This is the battle area as laid down in the book:
It can be seen that there is a heavily defended beach, a small town, a defended bridge over a river, leading to hills and a road down which will come German reinforcements in the shape of armour and armoured infantry.
Here is the table (most of it) laid out prior to the action:
Some of the features:
The beach, with obstacles and mines:
The strongly defended town:
With strong points, such as these 88mm guns:
The bridge; the objective for the British airborne element, defended by bunkers and infantry:
And artillery on the high ground behind the town:
Although the airborne forces went in first at dawn, the beach landing followed soon after; however, despite there being concurrent activity, I shall deal with the two actions separately. For rules, I used modified Memoir '44 systems, although I dropped the cards and used a dice based unit activation system. This was heavily weighted against the Germans for the first 5 turns to allow the Allies an element of surprise.
The Airborne Operation
My initial thoughts were a parachute drop followed by some gliders, but I then decided to bring in the whole lot by glider. The airborne forces had two tasks. Firstly to capture the bridge and neutralise the bunkers at each end. Second, they were to delay the arrival of German reinforcements. To do this they had three units of infantry and two units of anti-tank guns.
The initial landing went well, with all gliders arriving safely and undetected by the Germans:
The troops spill out and organise themselves:
A brisk firefight ensues around the bridge and the first bunker complex is swiftly overwhelmed:
The airborne infantry then attempt to rush the bunkers on the opposite bank:
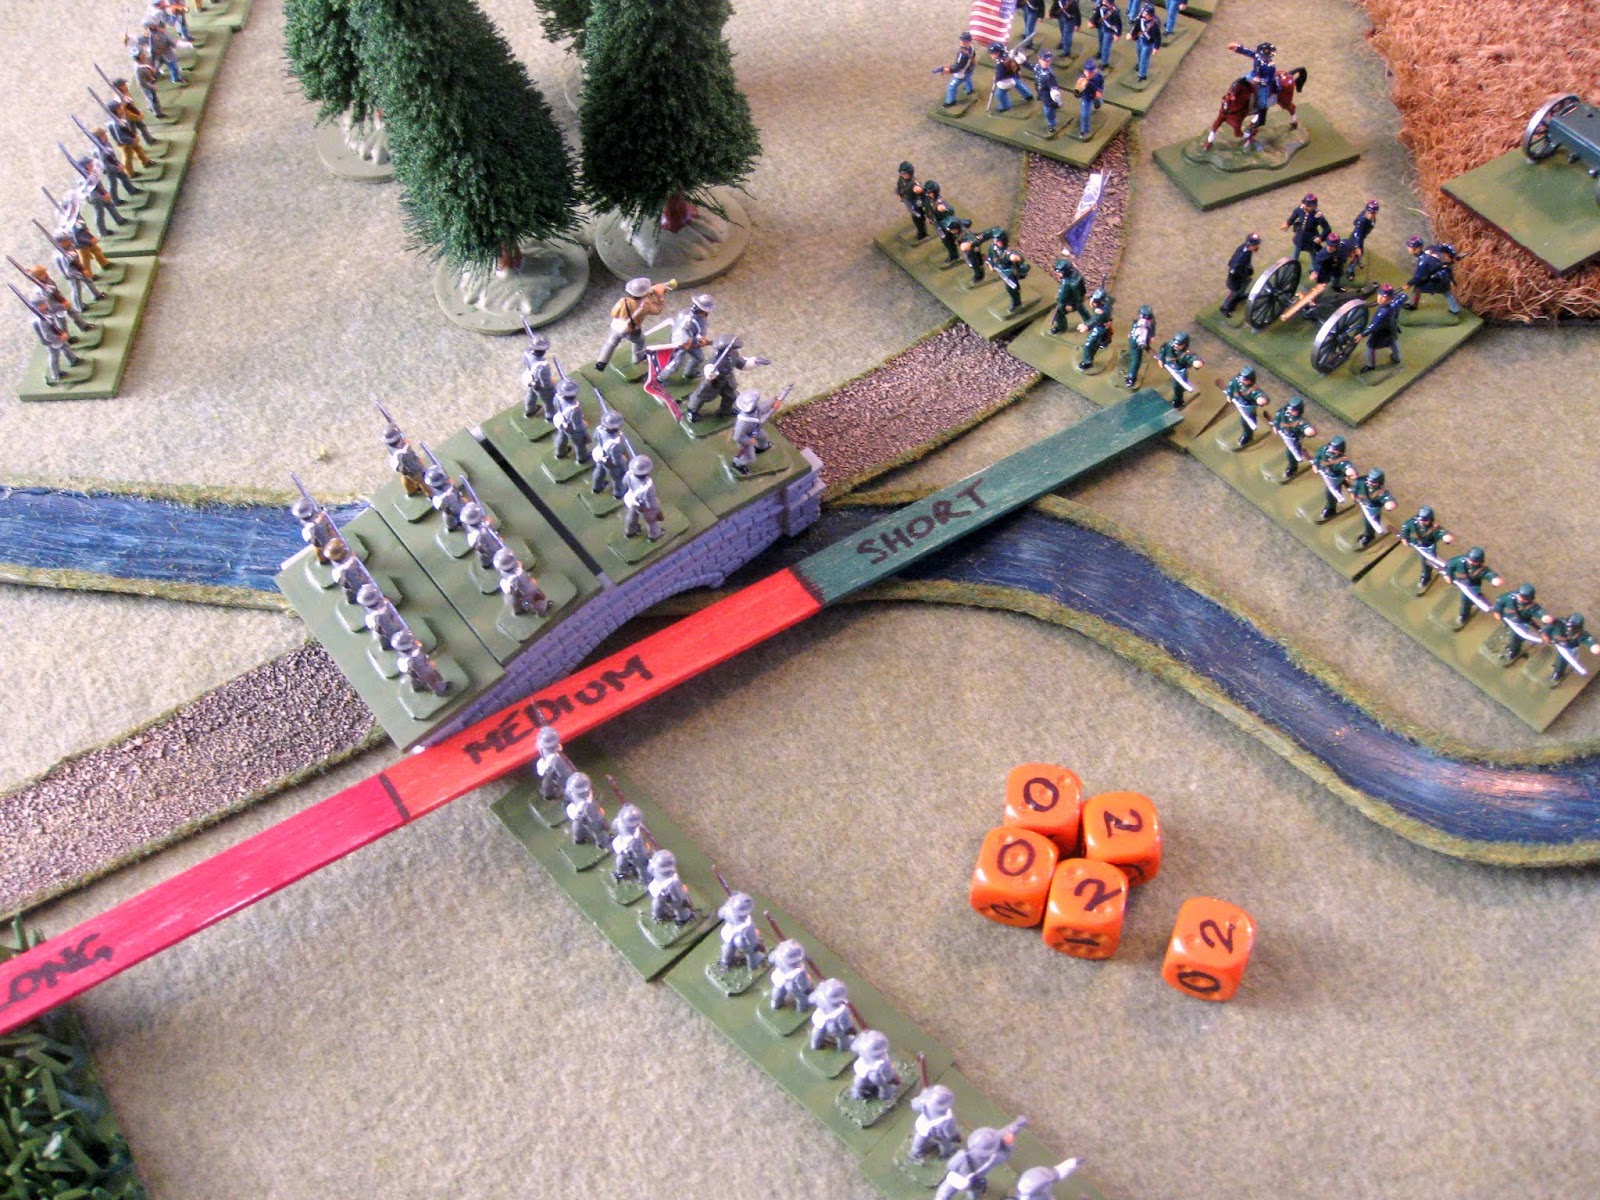
This does not go well and a complete airborne company is cut down and destroyed; however, a second attempt, overruns the bunkers and the bridge is secured, having lost around a third of the airborne infantry. A small battle takes place around the farm near the bridge and a German HQ unit is driven off.:
Meanwhile, the anti-tanks guns take up position on the high ground to await the inevitable German reinforcements:
Phase one for the airborne troops is successfully completed.
The Beach Assault
As would be expected the beach assault begins with a preliminary bombardment by ship mounted guns off the table. The strong points and bunkers are the primary targets:
In the first salvo the left hand coastal defence bunker is damaged and a second turn sees one of the 88mm guns destroyed; however, the allied commander is concerned that an extensive barrage would mean that the airborne troops would have to defend bridge much longer on their own and its loss would mean likely defeat. So, after just two rounds of shelling the assault craft are ordered in:
The first wave consists of tanks and infantry engineers, tasked with breaking through the obstacles and mines. One tank is lost immediately, but the engineers push through and begin clearing mines, covered by tank fire.
The engineers successfully widen the minefield gap, but take heavy casualties from the now fully alert Germans:
A second wave of landing craft bring in more tanks, engineers and infantry, who fight their way into one of the strong points:
Some of the allied tanks begin edging into the town:
But do not make much more progress as the allied activation points are needed to fight off a German attempt to recapture the bridge.
Battle for the Bridge
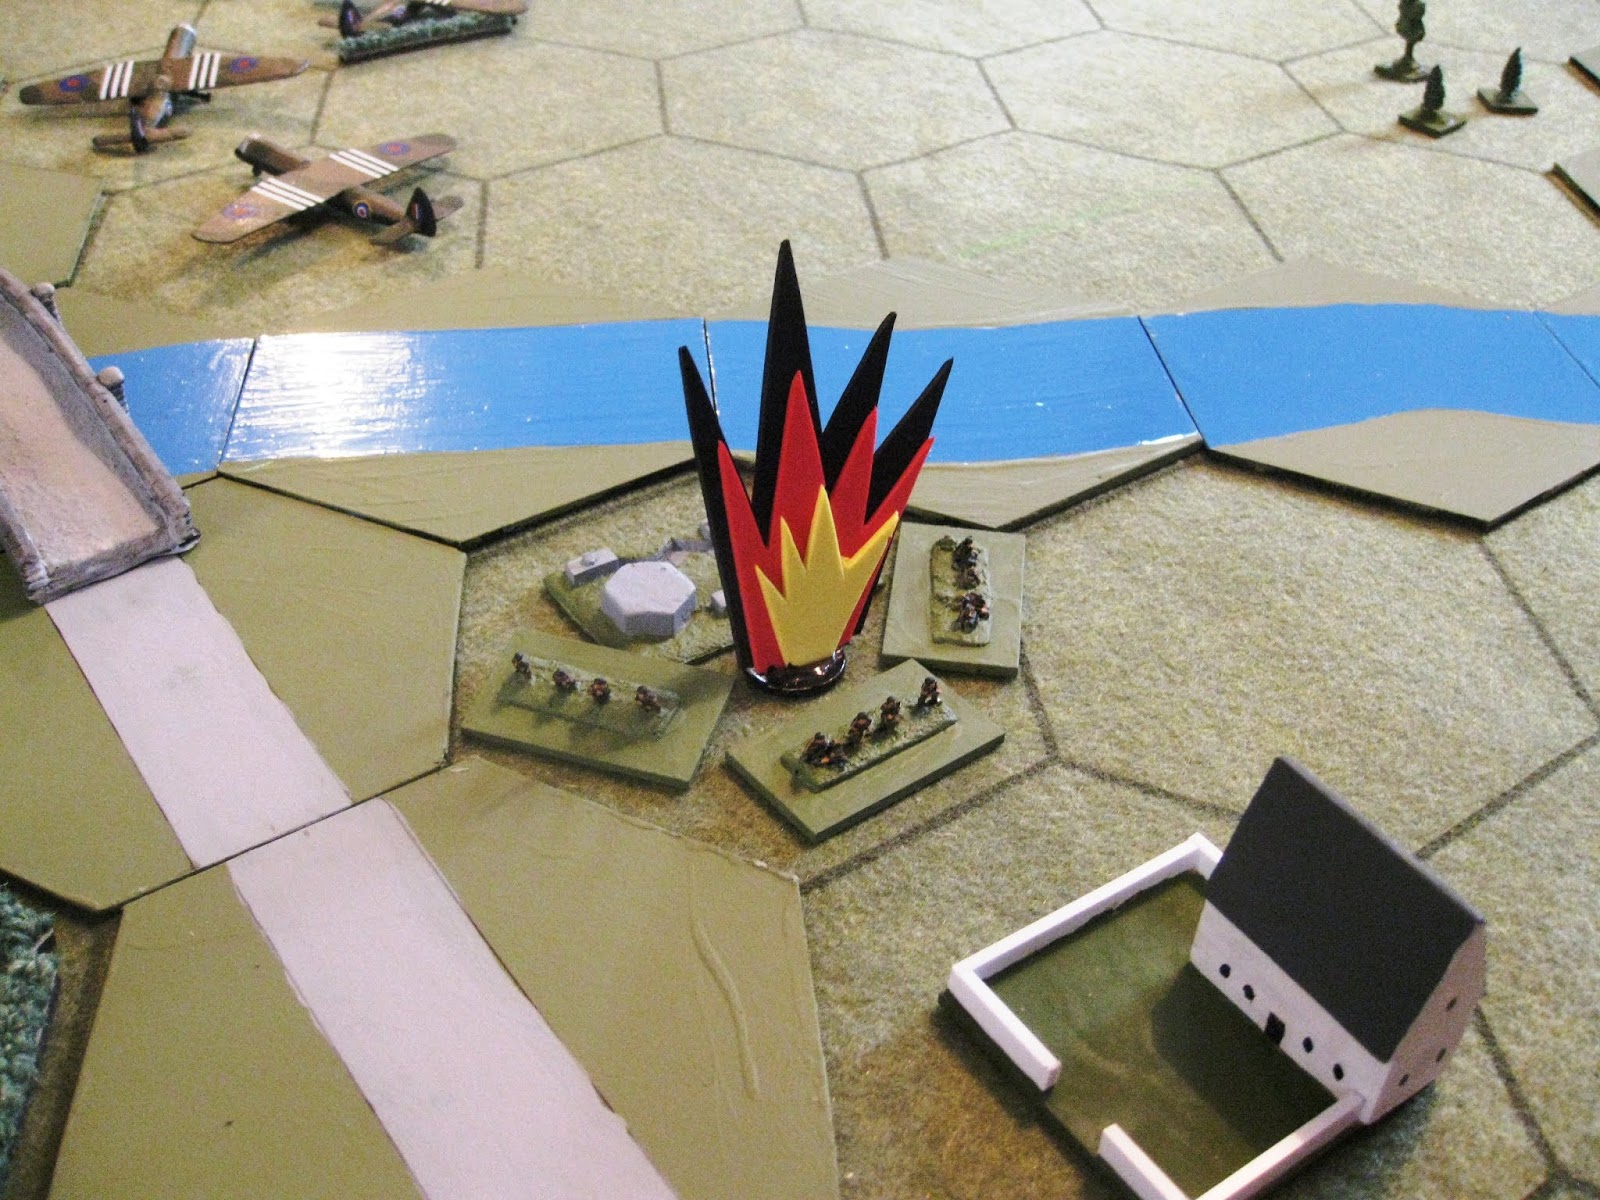
German artillery on the high ground behind the town turns about and begins to shell the airborne forces defending the bridge:
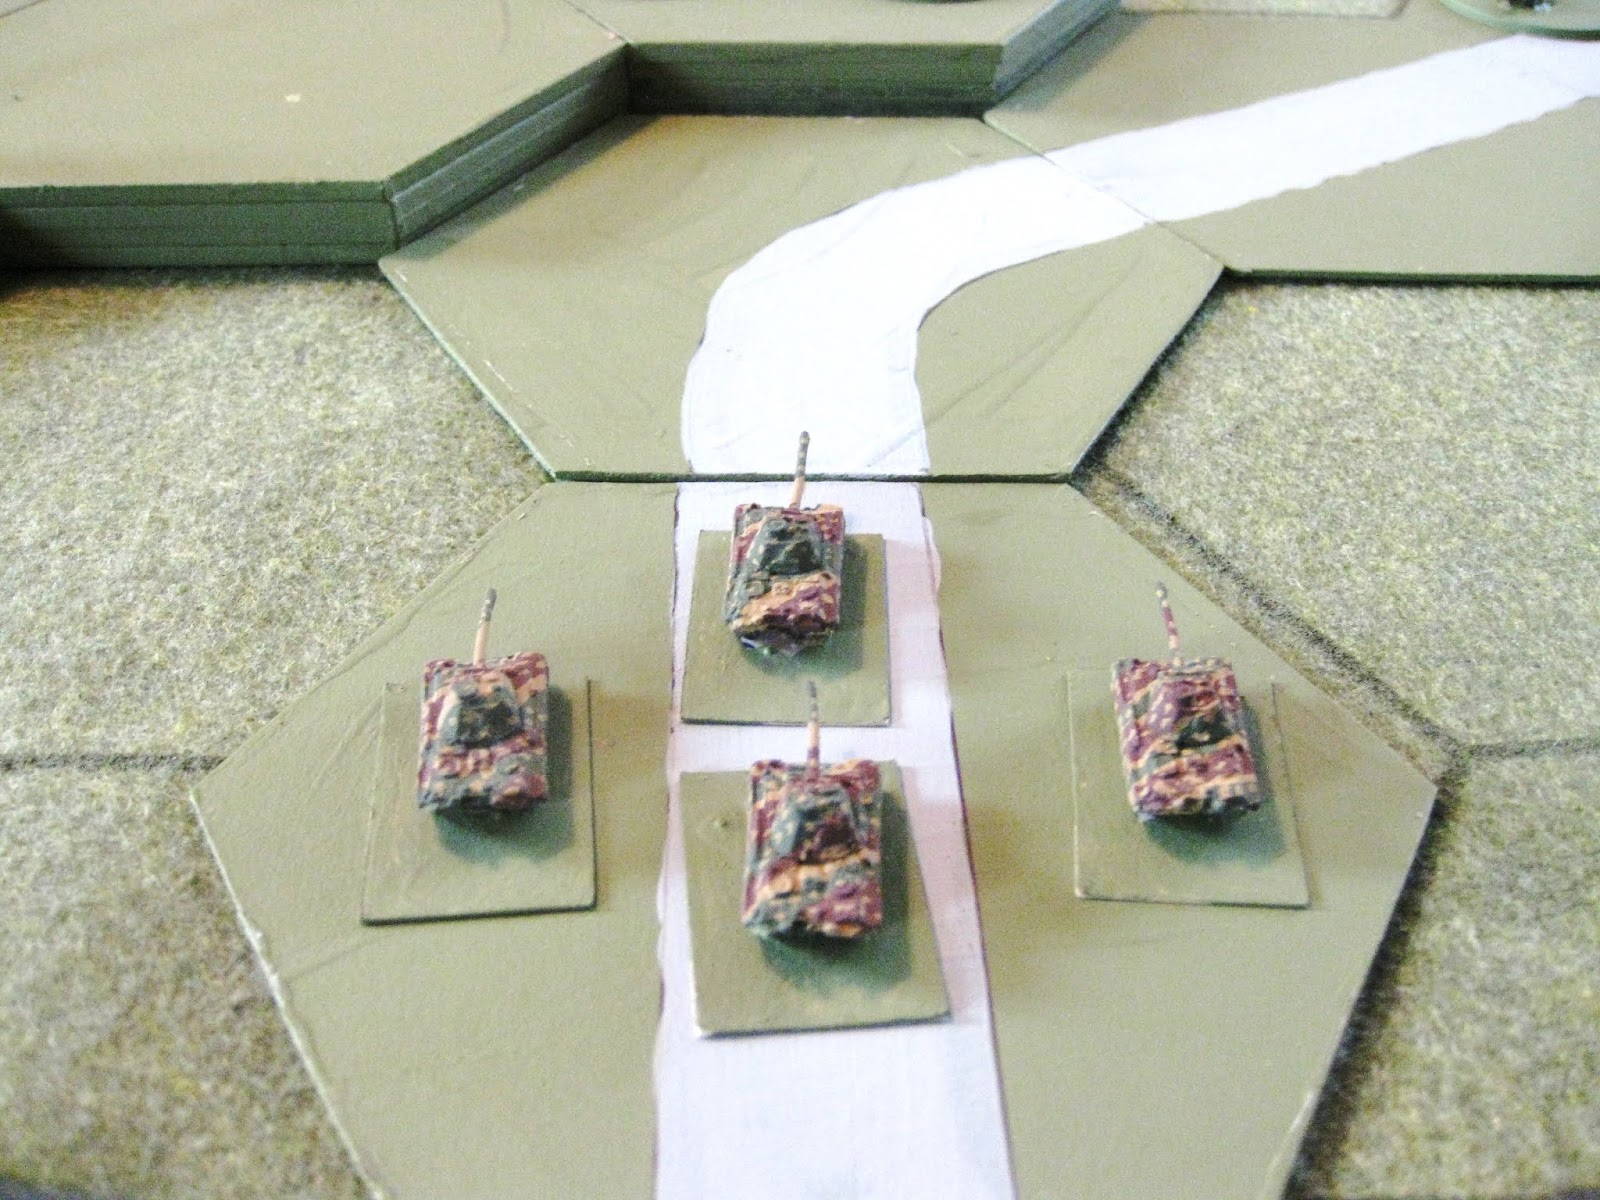
At almost the same time German tanks appear on the approach road to the landing site:
But, the German tanks immediately come under fire from the anti tank guns, quickly losing three of the four vehicles, the fourth being driven off:
Whilst this is good news for the allies, it means that lack of activation points has slowed the beach landing down and the initiative is being handed to the Germans.
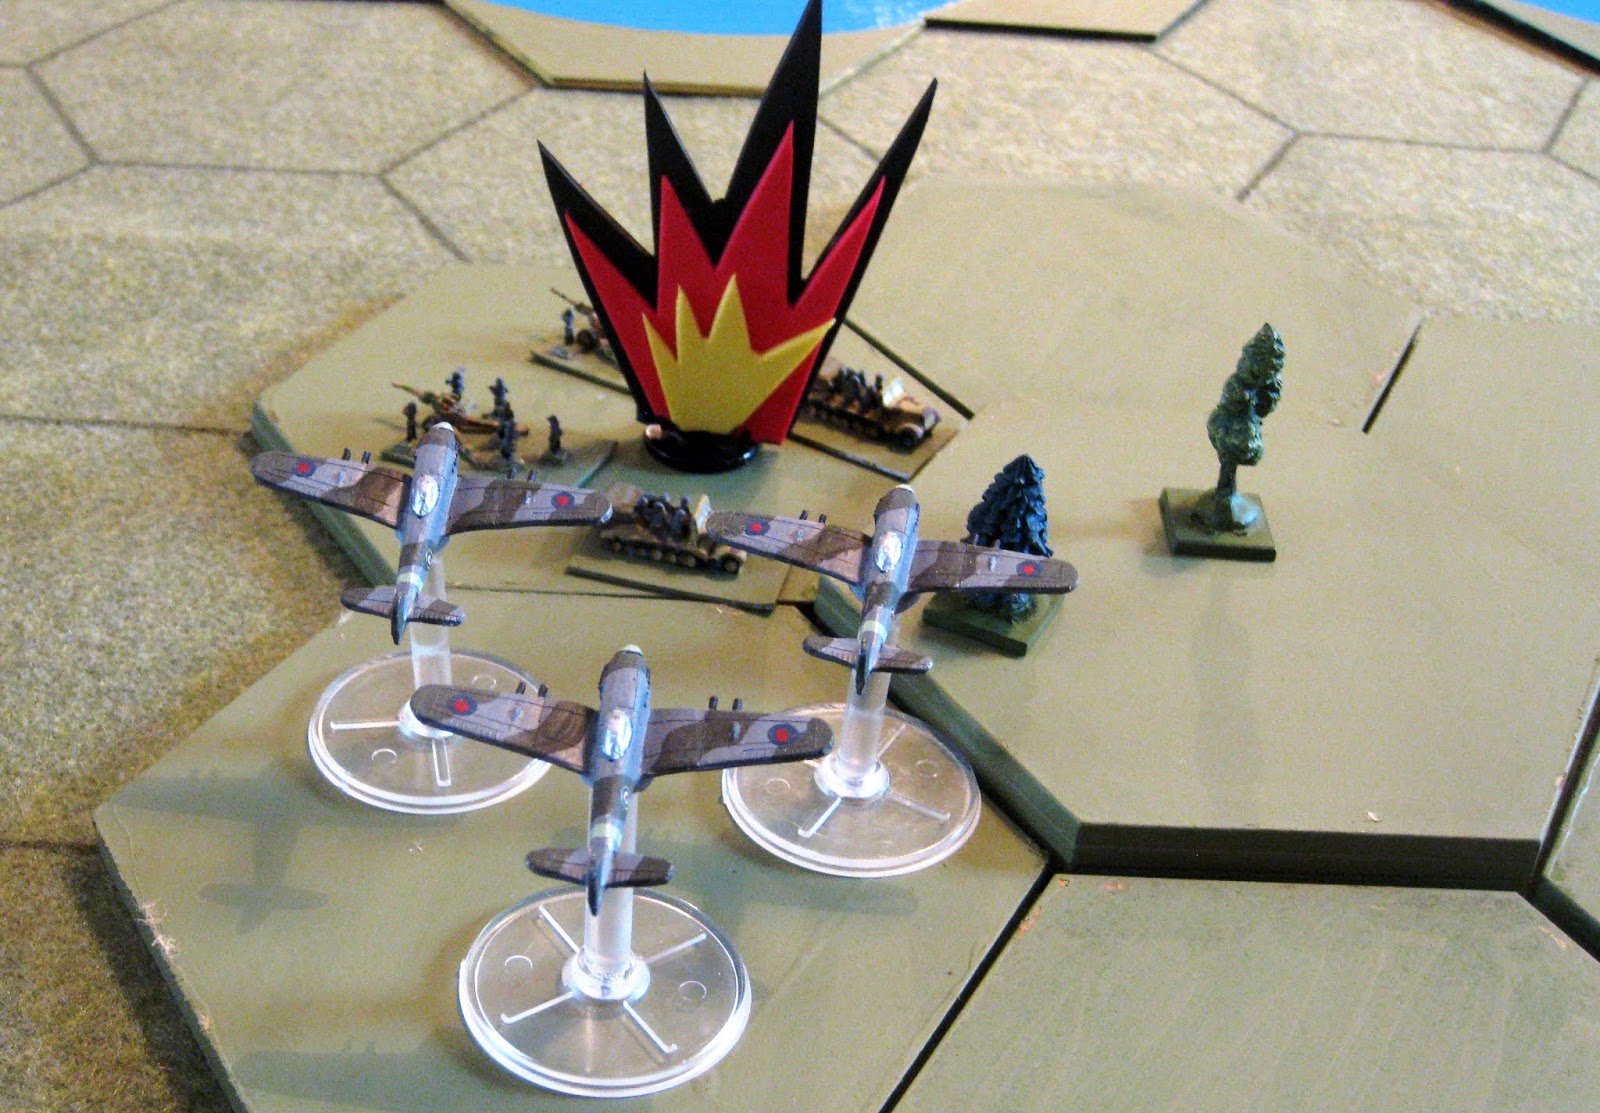
To deal with the German artillery on the heights, the allies launch an air strike, which takes out the guns over two turns:
To add to the airborne woes German Panzer Grenadiers come roaring down the road:
There begins a slogging match between the German armour and the anti-tank gunners. Bit by bit the guns are forced back, although remarkably take few casualties. For the Germans the cost is high and soon more tanks and half-tracks are burning:
The British Typhoons are about to be tasked with further targets when two German FW-190s appear on the scene. They down one of the Typhoons and force the remainder to withdraw:
To make matters worse a further German Panzer unit arrives that squeezes the airborne perimeter even further as the anti-tank gunners take more casualties:
But, remarkably the gunners fight on and soon more armour is burning in the valley, and the German armoured survivors withdraw:
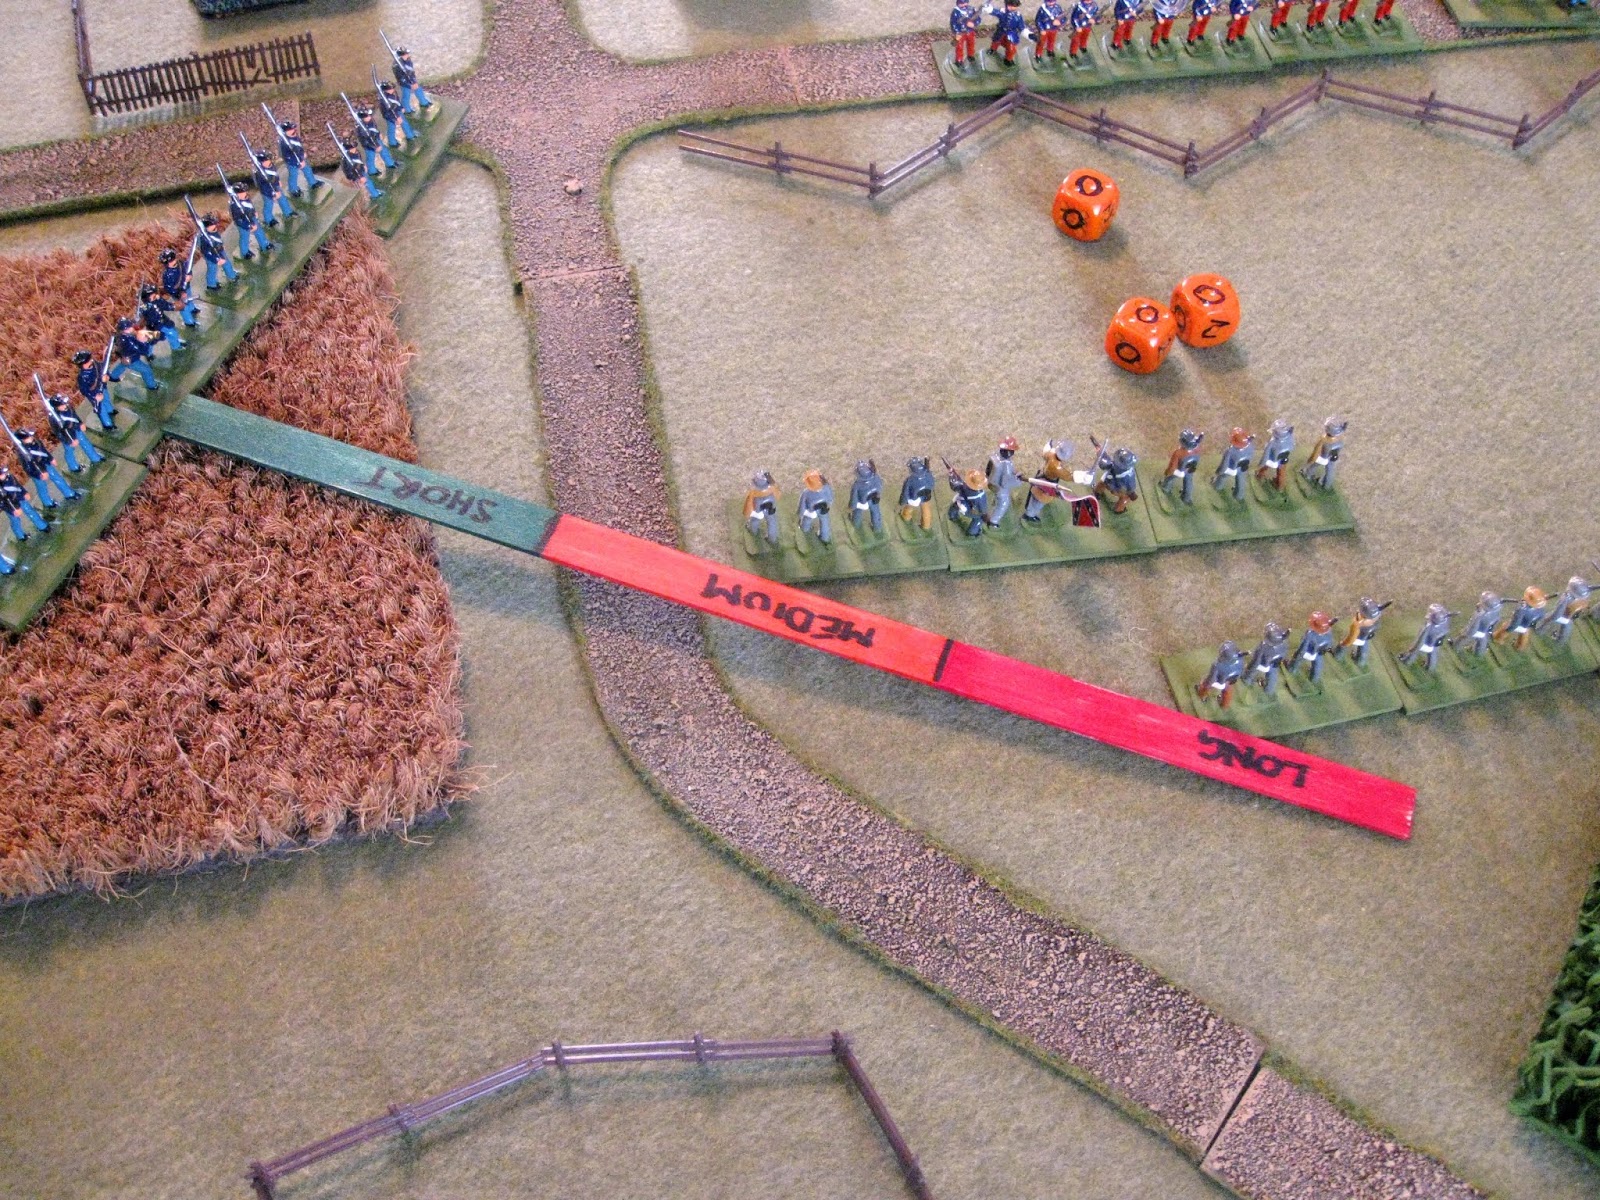
Now, with bit of breathing space the allies concentrate on the beach landing, bringing in more tanks and infantry; however, the Germans are not finished yet as they mount a vigorous counter attack in an attempt to take the town:
The Germans come close to retaking the forward strong points:
But, soon come under fire from tanks and infantry newly arrived on the beach, who take heavy casualties themselves from the 88mm beyond the road:
Despite valiant efforts by the Germans the allied armour closely supported by infantry edges into the town:
On the allied left some Shermans from the initial landing successfully edge around the German flank, clearing some mortars before them:
With the fighting continuing in the town, the Shermans move forwards and are soon in reach of the bridge:
German resistance on the left flank begins to crumble and the first allied tanks rumble over the bridge, connecting up with the airborne boys:
More troops enter the town as the Germans begin to surrender:
This proved to be an exciting and hard fought action. The allies had a lot of luck and the airborne forces should have been overrun.
What a nice way to spend a bank holiday!
: