Douglas Miniatures Logo

Douglas Miniatures Logo
Showing posts with label Douglas Miniatures. Show all posts

Thursday, 17 August 2023

Balaclava Revisited - Battle Report

 I have played variations of the Battle of Balaclava several times in the past, however, the presence of Phil and Will presented an opportunity not to be missed.  My Douglas Miniatures 20mm Crimean troops would take to the field once more.

The stage is set.  A huge Russian force surprises the mainly British and Turkish allies, as it advances towards the Turkish manned redoubts on the Causeway Heights.  Masses of cavalry and infantry move southwest in the general direction of the port of Balaclava.

The British Light Brigade, having had theit breakfast disturbed, mount up with the Heavy Brigade in the background, as the allied General Staff look on from the Sapoune Heights
The outer perimeter of Balaclava is lightly defended by a mix of Turkish and British troops, including the famous 93rd Highlanders 'thin red line'.
Russian infantry are already making their way along the Causeway Heights, capturing the first redoubt, while masses of Russian cavalry advance with artillery support.
The battle along the Heights proves to be a tough fight.  Having secured one redoubt the Russians attempt to drive off the remnants of a Turkish battalion.
The attack succeeds, but the Turkish guns rip through the supporting Cossacks:
The Russians move some artillery into the captured redoubt and infantry attempt to assault the second redoubt, with its steadfast Turkish supporting battalion.
The Russian assault is repelled with heavy casualties.
The situation after the stalled first Russian assault, as more Russian battalions move forward.
Russian cavalry eventually sweep the Turkish infantry off the ridge, but the stubborn Turkish artillery continues to hold out causing more casualties.
Meanwhile, the British reinforcements, consisting of the leading elements of the 1st Division arrive in the field.
With the arrival of allied reinforcements the pressure was on for the Russians to break through.  A large cavalry force begins to move around towards the British right flank.  
While this is going on the battle for redoubt number two continues.
The Russian cavalry that swept around the right flank smashes into the British Royal Marines.  The Marines are over run, but they cause massive casualties amongst the Russian cavalry, supported by allied artillery
The British 8th Hussars sweep forward and drive off the Russian infantry, but unsupported they are driven off as they run up against Russian cavalry and artillery. Still the Turkish redoubt holds out.
A fresh Russian battalion moves along the ridge and at last the Turks are overrun, as more Russians advance to exploit the success.  However, Russian casualties are now very high.
In order to prevent the Russians from occupying Redoubt 2, the Scots Greys charge into the Russian infantry. Again unsupported, the Greys are destroyed. 
However, over towards Balaclava the last of the Russian cavalry is destroyed and the Russian assault ends.  It is an 8 -5 victory for the allies, although they will have to fight to recapture the Causeway Heights - maybe it is time for "Lord Raglan wishes the cavalry to advance rapidly to the front to try to try to prevent the enemy from carrying away the guns".....But that is another story!
The game was played with modified C&C battlecry rules, on a hex board.  The figures are all 20mm, mostly Douglas Miniatures, with a few others added to make up the numbers.  This was an excellent game.  If the Russians had not thrown away four regiments of cavalry on an attempt to break the balaclava defences the result might have been different.


Wednesday, 28 October 2020

Autumn Review - British Army of the Crimea

 In rather the same format as my other Crimean autumn reviews of the the combined collections of Alan Cook and my own, there follows a series of pictures of the British Army.  There is a slight problem in that I have two Light Brigades on parade and more highlanders than were available at the time, however, It all comes together to make a fine collection.

I will let the pictures tell the story:


Sunday, 11 October 2020

Autumn Review - Russian Army 1854

 Just before he passed away, Alan Cook entrusted me with his Crimean War and Austro Prussian War collections. These are mostly Minifigs S Range figures, beautifully painted and organised.

I thought it might be nice to show off some of these figures, with the addition of my own collection besides them.  To kick off I have paraded the Russian army.  The combined force is massive and it was difficult to get all of the figures into the frame.  So, I will let the pictures do the talking:

The Russian Army in the Crimea:

First a general shot:


The right wing, cavalry and artillery:

The centre, mostly infantry:

The commander and siege artillery:

The left wing, more cavalry:


A view from the right wing:


View from the left wing:

I plan to have a similar exercise with the Allied armies, probably in three lots; the British, the French and Sardinian and the Turkish.  I think Alan would approve!


Friday, 7 February 2020

Alternative Balaclava - A Crimean Wargame

This is an alternative scenario for the battle of Balaclava - the charge of the Heavy and Light Brigades did not happen, nor did the thin red line. Instead the Russians, having captured the Causeway Heights overlooking Balaclava harbour, decide to fortify their position by moving guns and infantry onto the ridge occupying three of the abandoned redoubts, supported by a mass of Cossacks and cavalry.

It is now the morning after; the 26th October 1854 and the allied command has decided to use infantry supported by cavalry to recapture the Causeway Heights, as the Russian presence threatens the rear and the key supply line from the harbour to the siege lines. Unable to release too many troops, Lord Raglan orders a half strength 4th Division to assault the Russian positions, supported by about half of the 1st Division, a Turkish Brigade and the Light Brigade.

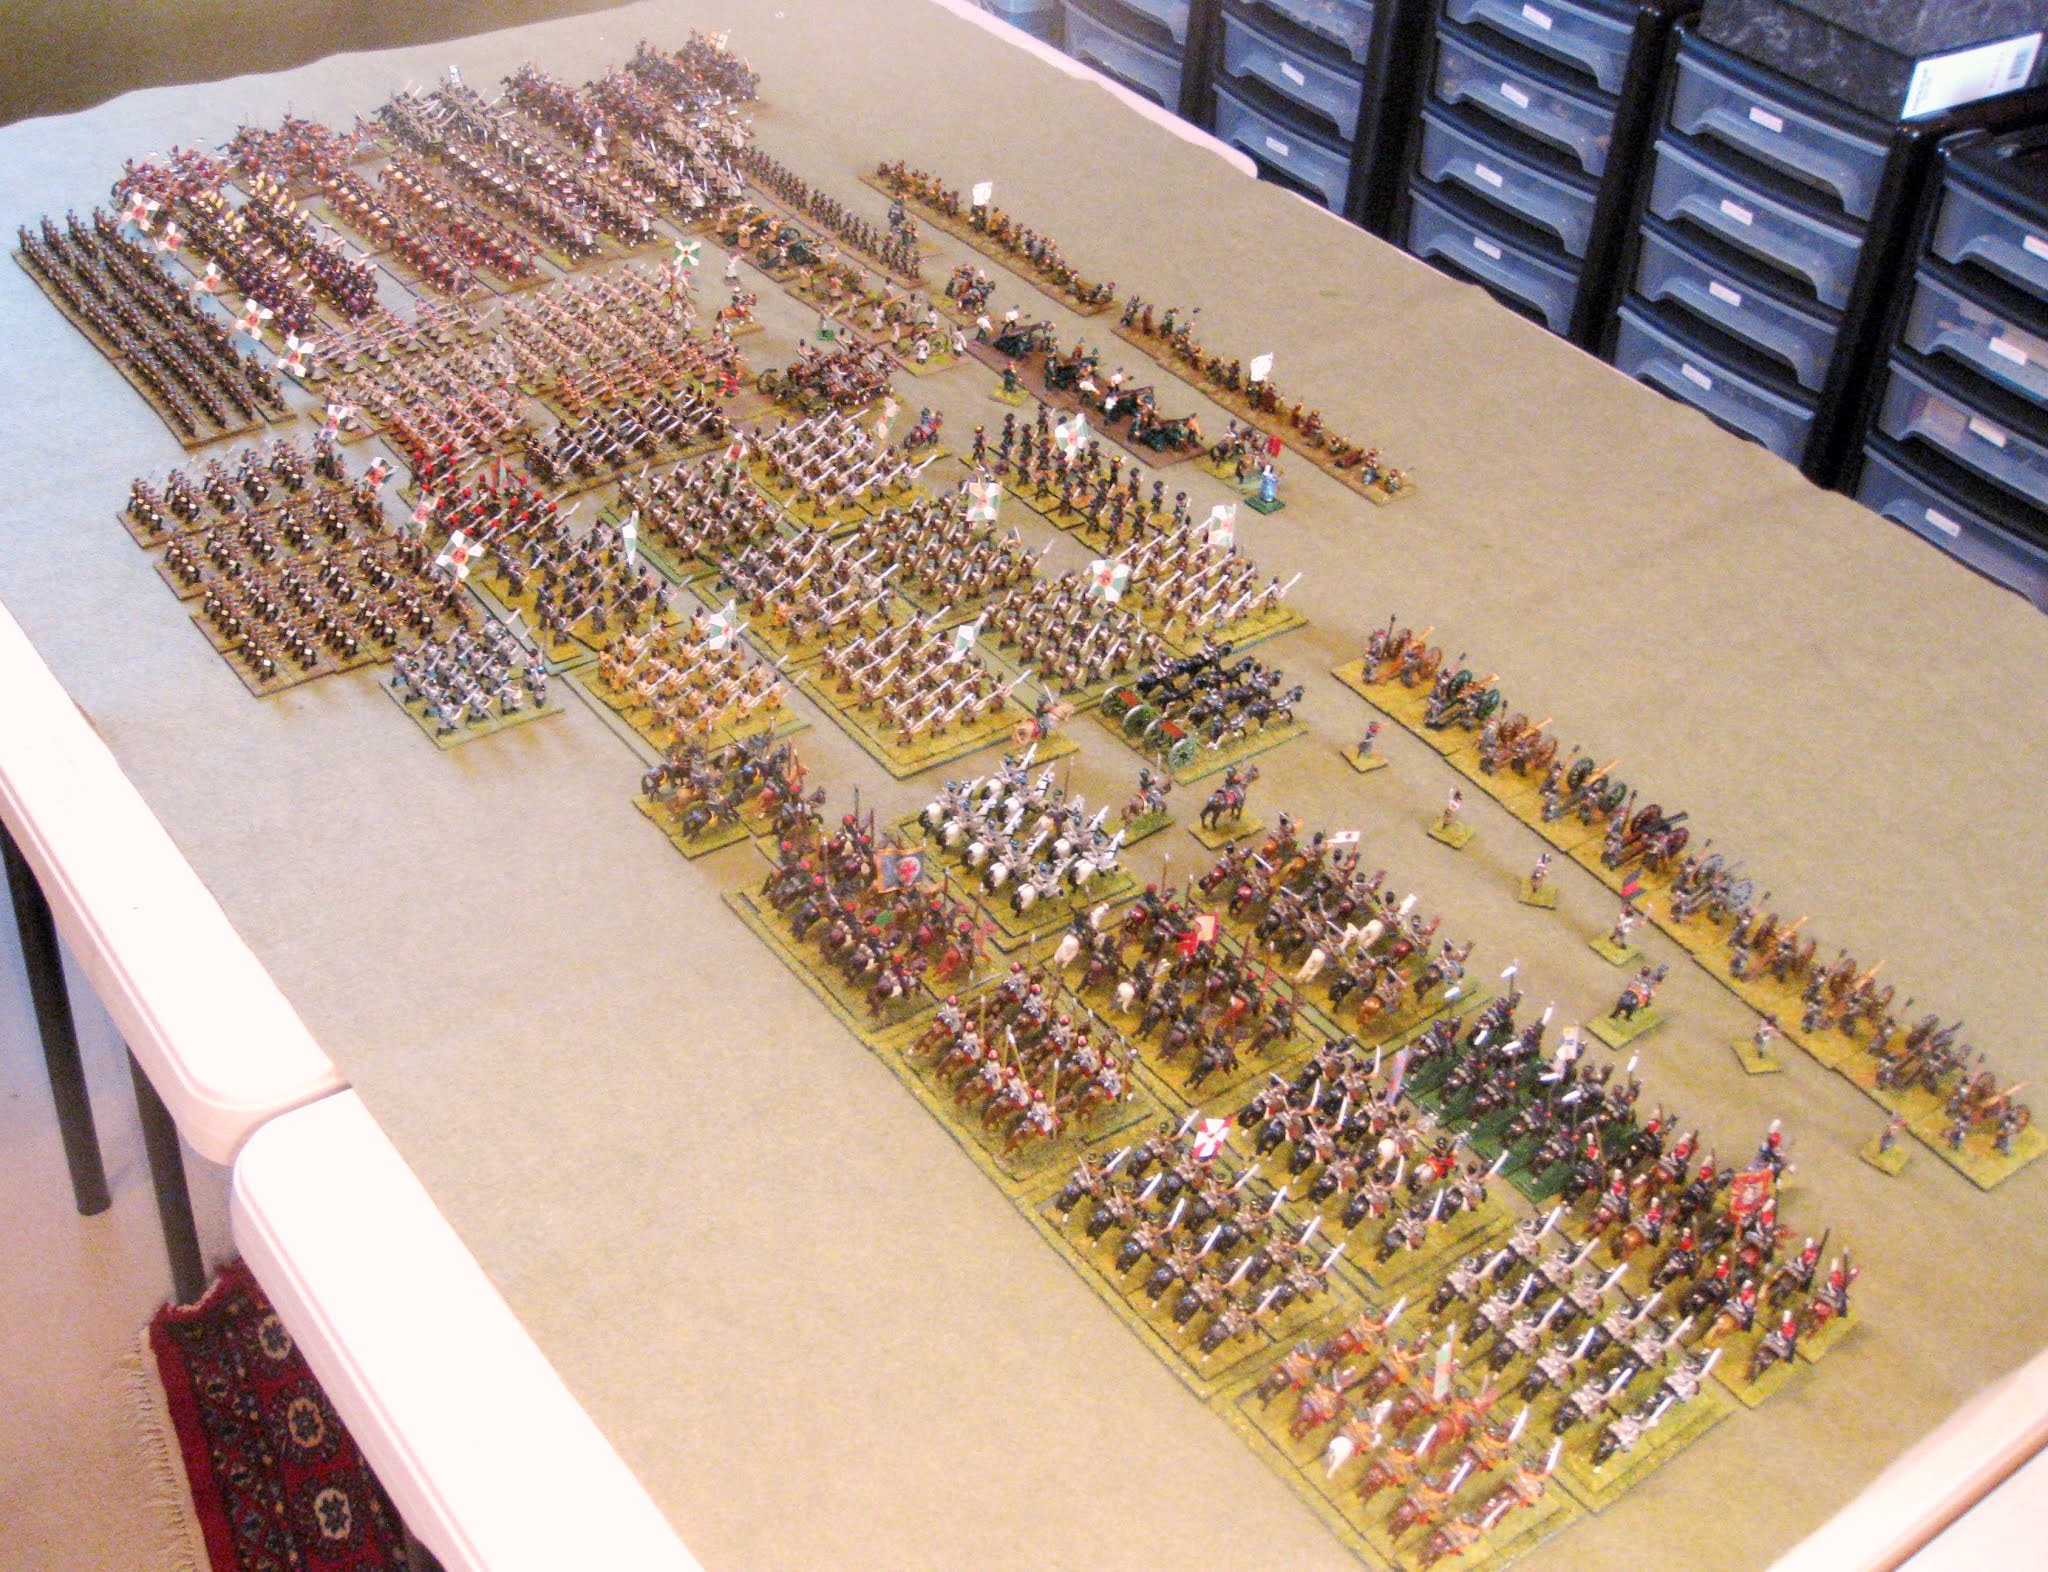
An overview of the battlefield, the Light brigade on the left, with the 1st Division enetering the field, while the 4th Division moves towards the ridge with two of the occupied redoubts:
The game begins with the 4th Division deploying towards the ridge:
With the 1st Division hurrying down to support the attack:
On the far left flank the Light brigade covers the mass of Russian Cossacks:
While on the allied right, the Turkish brigade deploys forward, supported by artillery and Turkish cavalry, towards their objective, Canrobert's Hill, which is held by artillery in a redoubt and some infantry:
This where the action begins, with the Turkish infantry moving towards the hill and coming under fire from the Russian guns, initially with little effect:
The Turks deploy into line and the Turkish artillery causes some casualties amongst the Russian infantry:

Meanwhile in the Centre the 4th Division begins its steady advance, screened by the Rifle Brigade, who begin a brisk fire fight with Russian Caucasian riflemen.  Initially the Russians have the upper hand and many of the British rifles fall:
However, after several minutes and mounting British casualties a timely charge by the Turkish cavalry, routs the Russian skirmishers:
But, the Turkish cavalry over extend themselves and come under fire from guns in the redoubts and from Russian infantry -  they are cut down and the remnants rout from the field.

The brave Turkish action may have saved the Rifle Brigade, but it leaves the Allied right flank very exposed, with its only cavalry support eliminated.  The Russians spot an opportunity and their Hussars charge down the slope into the left hand Turkish battalion, almost at the same time the right battalion fails in an assault on Canrobert's Hill taking heavy losses. To add to the problem a Russian infantry battalion moves down in support. The allied right is severely threatened:


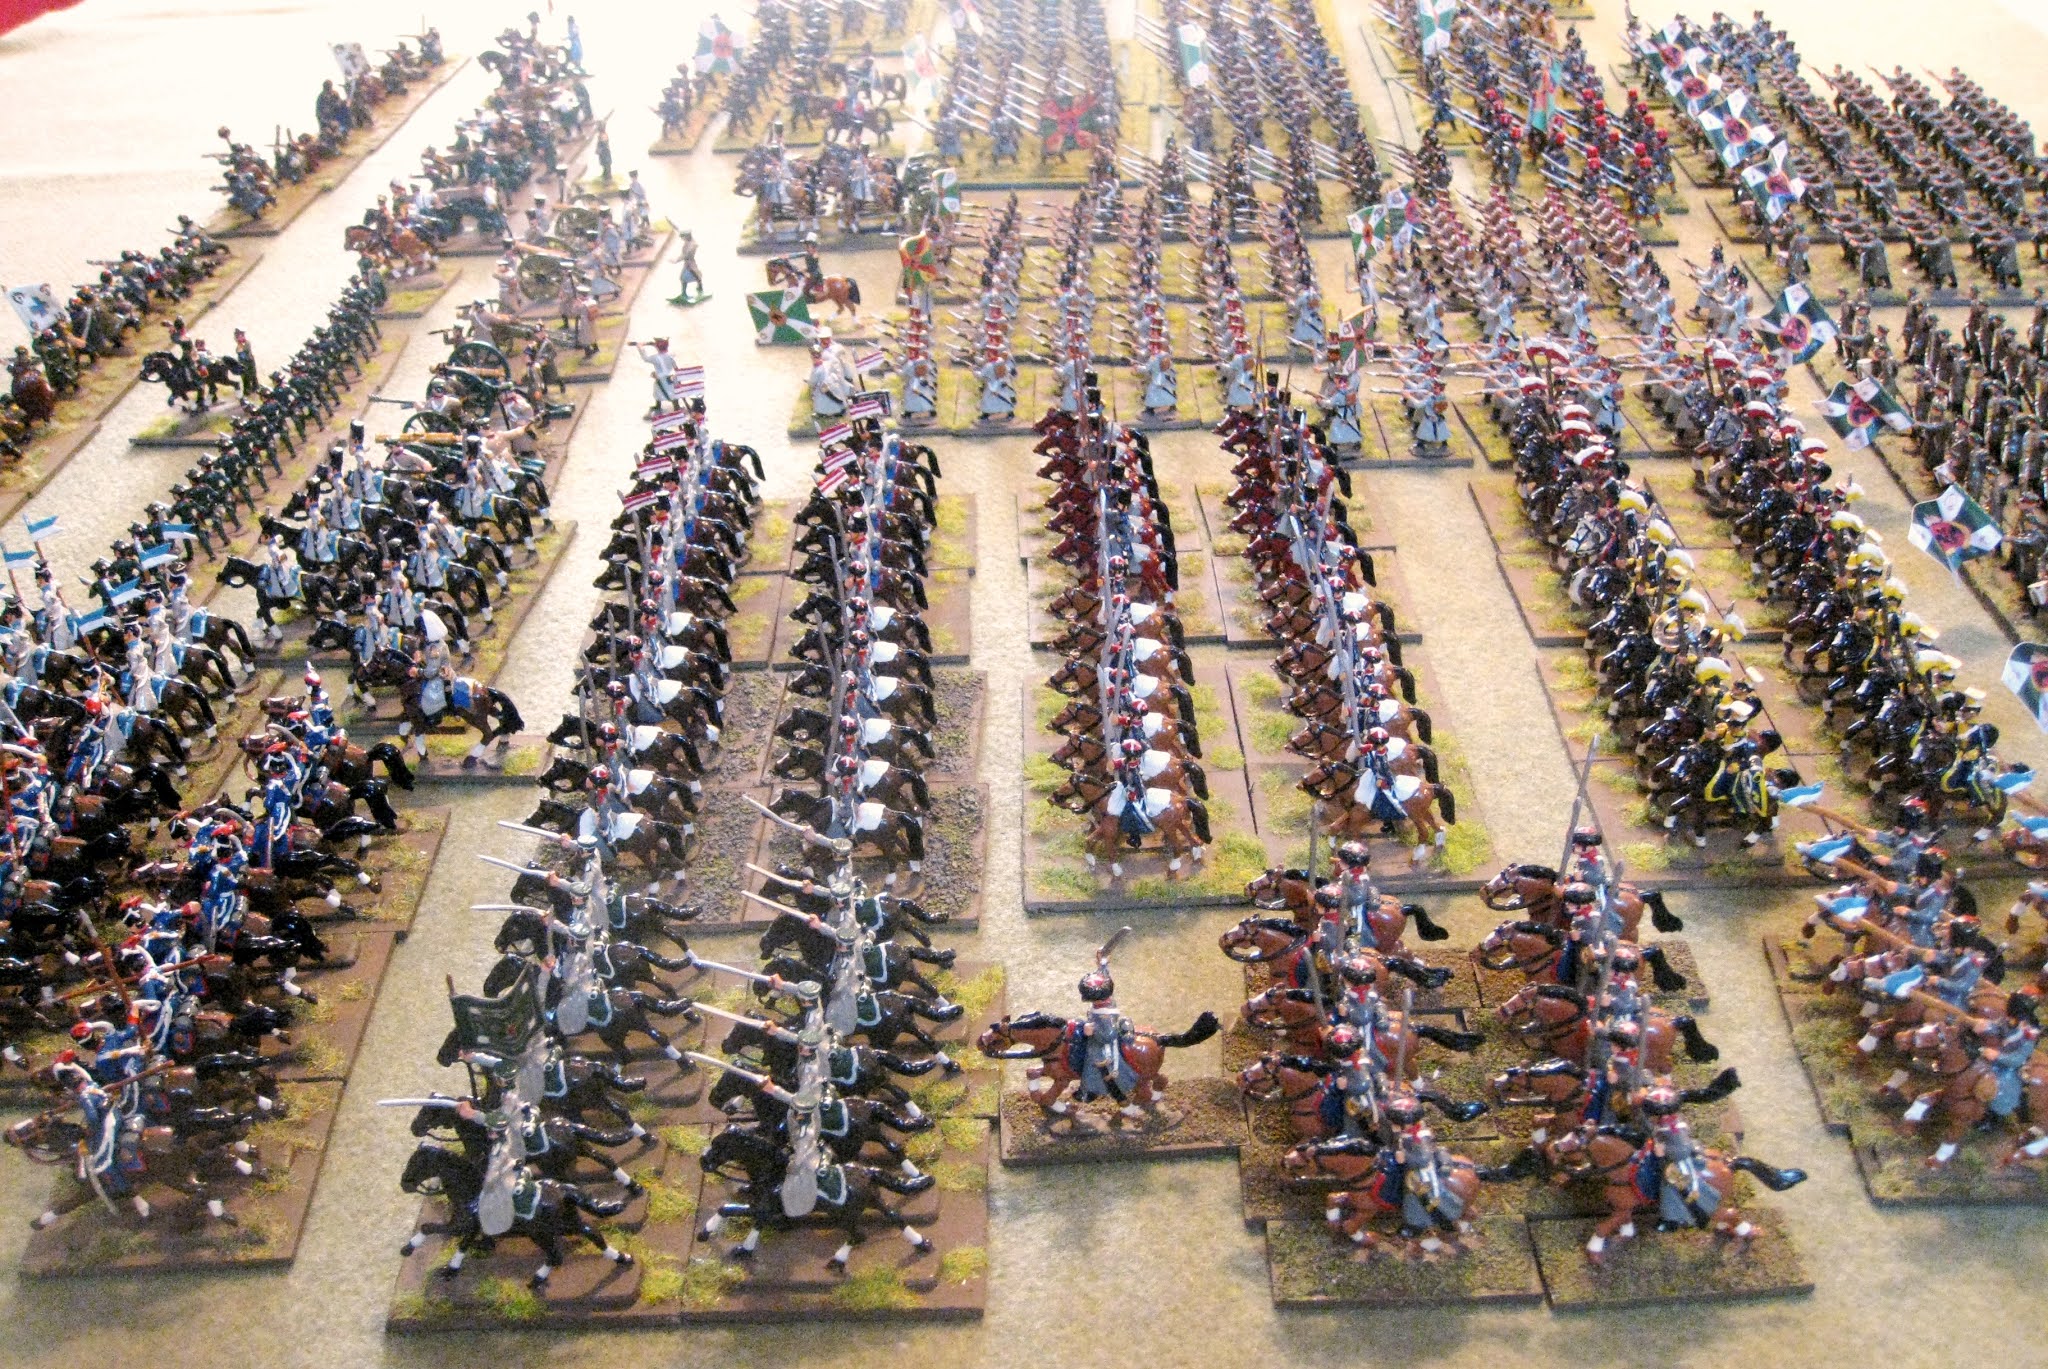
Over on the left flank the Light brigade advances to drive away the Cossacks, who threaten the deploying 1st Division.  The 17th Lancers, 13th Light Dragoons, supported by the 8th Hussars engage in a significant cavalry battle that rages on for the entire battle:

Eventually the British cavalry push two Regiments of Cossacks off the field, however a third attempts to outflank the Light Brigade, but is engaged with cannister by horse artillery and driven off by the 4th Light Dragoons:
The action now turns back to the centre, with the 4th Division engaging the the Russian infantry at long range causing hundreds of Russian casualties. The Russians can do little as the British are out of range of their elderly muskets. They attempt a charge, but are mown down:


As this is going on the Guards of the 1st Division begin to turn the Russian flank:
The Russian infantry collapses and retreats out of rifle range. Fearing the loss of the guns, the Russian commander orders the guns to be limbered up and withdrawn, and for the remaining infantry and cavalry to cover the withdrawal:
Over on the right flank the allies bolster up the remaining Turks, who somehow manage to hold on against the Russian hussars, despite heavy casualties. The remnants of the Rifle Brigade, the 11th Hussars and the 68th Foot deploy towards the right flank:
This is where we leave the alternate battle of Balaclava - the Light brigade did charge, but not down the north valley. The Russians were clearly driven off the Causeway Heights and thus, it was an Allied victory, although, if the remaining Turkish battalion had not hung on so long the Russians might have turned the Allied flank.  As always it is a lot of fun getting out my shiny Crimean toy soldiers!

An Allied victory, although it was a grave mistake to keep all of the British cavalry over on the left flank.