Douglas Miniatures Logo

Douglas Miniatures Logo
Showing posts with label 2mm Wargaming. Show all posts

Sunday, 28 January 2024

Waterloo in 2mm - Part 2

 The Battle for the Ridge

With Hougoumont now in French hands,  Reille orders his brigades to push in to the allied right.  At the same time his second Division is on the move to reinforce those already committed.

Having forced the Brunswick brigades into square Reille's artillery pounds the German soldiers that are pinned by Pajol's cavalry.  However, the British cavalry brigades of Vivian and Grant arrive and counter attack the French horse. This cavalry battle is set to last for most of the game. 

The cavalry action leads to casualties on both sides:
As the cavalry battle it out Reille's infantry around Hougoumont, now reorganised, advance on the trapped Brunswickers.
The Brunswickers, unable to change formation are suffering heavily as the French infantry batter them.
Seeing the emerging threat on his right flank, Hill orders three Hanoverian brigades up to support the beleaguered Brunswickers.
The Brunswickers have collapsed but in the nick of time the Hanoverians, with Hill's artillery block the French. However, the remainder of Reille's corps is beginning to arrive 
The French assault the Hanoverians, destroying a brigade.  The British 1st Division is unable to assist in the background as Reille's 2nd Division is fast approaching. To bolster up the Hanoverians, two Dutch brigades are ordered over to the right.
Napoleon's plan is beginning to unfold.  The French assault on the right is drawing off allied units weakening their centre.  
Over on the allied right the French cavalry have forced back Vivian and Grant's brigades and once again the allied right is exposed.  More allied cavalry from the KGL and Hanoverians move into position.
Despite causing casualties to the French, the Hanoverian infantry is heavily reduced, with just one brigade left intact. The cavalry are once again locked in combat. The allies come off poorly during the initial stages.
Seeing the threat from Reille's 2nd Division the Guards of the British 1st Division charge down the slope and crash into the French, causing many casualties, weakening French morale.
The final Hanoverian infantry brigade collapses, allowing the remnants of Reille's 1st Division to swing around onto the flank of the British Guards
The French 2nd Division is badly mauled but the Guards too are now in trouble with the threat to their right flank.  In the background Dutch reinforcements can be seen.
The Dutch hurry down the road to support the right.
Sensing that the Allied centre has been weakened, Napoleon orders the 3rd and 2nd cavalry corps of Kellerman and Exelmans up to support Reille.  In the background, Lobau's infantry corps advances towards the Allied centre, planning to strike to the left of La Haye Saint.

Meanwhile, back on the ridge the British Guards are hanging on, having defeated Reille's 2nd division, but are now under pressure from the French 1st Division moving in from their right.  French cavalry have forced a square to be formed.  This is being bombarded by French artillery.

Seeing the advancing French cavalry corps, Wellington orders Ponsonby and Somerset 's heavy cavalry up to support the Guards and block the french
Also, the two Dutch brigades have arrived just as the Guards collapse under French pressure.
The Guards and Dutch form a defence line;
Meanwhile Pajol's cavalry continue their struggle with their allied opposite numbers.
With the last of the Guards out of the way, Reille's Corps (now seriously depleted) fires volleys into the  Dutch lines.
The situation is looking bleak for the allies. This overview shows the battle for the ridge on the allied right.  In the centre Kellerman's Cuirassiers are now engaged with Ponsonby and Somerset.  Exelman's corps sits in reserve,  In the background Lobau's infantry begin to climb the ridge.
A huge cavalry battle unfolds in the centre between the French and allied heavies.  Excelman's corps joins the fray as Somerset and Ponsonby are reinforced by Hanoverian light dragoons.  Lobau's corps now moves up to the left of La Haye Saint and Reille continues his fight against the Dutch on the far left.
Pajol's exhausted cavalry finally succumb to the allied horsemen and retreat down the road.
Battle is joined on the ridge. On the far left, the remnants of Reille's corps have defeated the Dutch infantry.  The French heavy cavalry are gaining the upper hand and Lobau's infantry are forcing their way onto the ridge
The allies are crumbling and now Napoleon sends in the Imperial Guard to support Lobau.  D'Erlon's Corps is preventing the Allied left from swinging around to reinforce the ridge. For Wellington it is time to withdraw. 

The French win the day.  Of course the Prussians did not arrive in this scenario.  Even if they had turned up, with D'Erlon uncommitted and the Imperial Guard still available, I am not sure whether the allies could have won.  Maybe on another day (when I have painted the Prussians) we will see.

All of the figures are by Irregular Miniatures and the rules used are a variation of Command & Colors.


Tuesday, 23 January 2024

Waterloo in 2mm

 Part 1

The actions around Hougoumont.

I have always wanted to play an epic game to refight Waterloo, with near accurate troop numbers.  The acquisition of a preprinted 6 x 4 cloth map and a pile of 2mm figures from Irregular Miniatures provided the starting block.  I also purchased some buildings from Brigade Miniatures that were about the right size.  

I organised my units as Brigades, each with three or four regiments.  Four or five brigades, with artillery and cavalry formed a Corps of two divisions.

Here is the start point.  The French are closest to the camera, with the Anglo Dutch forces on the ridge beyond.  Hougoumont can be seen at middle left, La Haye Saint on the road in the centre and Papalotte farm on the far right.  Most of the French artillery is deployed forward on the French ridge with Reille's Corps on the left and D'Erlon's on the right.  Lobau's Corps is sitting further back in the centre, with the Imperial Guard behind that:


A view across the field showing part of the French army. La belle Alliance can be seen left centre near the edge of the table.:

The battle kicks off with a French bombardment of the allied lines, primarily to degrade the allied artillery.  The French have some success causing casualties amongst the allied gunners:

The allied artillery responds, although they are heavily outgunned by the French.  They do have some success damaging some of D'Erlon's artillery.  Napoleon's HQ is nearby:

The exchange of artillery goes on for several turns, after which Napoleon orders Reille to turn the allied right flank.  Reille oders one of his divisions to move around the left against Hougoumont:

Meanwhile, the French artillery continues to pound the allied line, reducing considerably the allied artillery (viewed from the allied positions):

Battle is joined at the North Gate of Hougoumont. Two French brigades are halted but the third manages to overwhelm the allied defenders

The battle in the Chateau grounds continues.  The allies order two Brunswick brigades forward to reinforce the position, but the timely arrival of Pajol's cavalry blocks the Brunswickers forcing them to form squares.  At the same time another of Reille's brigades pushes around the east side of the Chateau.
Seeing the danger the Allies order Vivians's cavalry forward to counter the French cavalry threat:
However, as this is going on The Chateau is overwhelmed and falls into French hands. French artillery bombards the exposed Brunswick squares. Rielle orders his second Division to advance and requests further cavalry support.
The battle will continue in Part 2.

Sunday, 27 September 2020

The Action at Twee Heuvels

 Having assembled my 2mm Armies, in the shape of a French and an Allied Corps, I spent the weekend setting up and playing out a small action.  I based this upon the battle in Bob Cordrey's Portable Napoleonic Wargames book, designed to be used with his army/corps level rules.  

My game consisted of a meeting engagement, with an Allied corps, consisting of three infantry divisions, a cavalry division and an artillery brigade.  The French force was roughly the same size. As per the book, the Allies pushed forwards to sieze the village of Twee Heuvels and the ridges on either flank, with the Dutch division taking the allied right hand ridge and the cavalry on the left.  The third British division is moving up in reserve.

The French, seeing that the allies have taken the key ground, begin to organise themselves for an assault. This is where we pick up the action. The French move two divisions up to assault the village, supported by artillery, while the cavalry and the third division move around the flank towards the Dutch. Here is a picture of the situation seen from the French end:


Two French divisions prepare to assault the village:

Held by four British brigades totalling 12 battalions:

On the next move the allies move up the reserve division behind the village and the Dutch engage the French cavalry - very badly, inflicting no damage.  On their turn the French cavalry crashes into the Dutch forcing them off the ridge and causing casualties. Not good for the Allies, as their right flank collapses;


In the same move the French assault goes into the village, causing heavy British losses:

During the next turn, the allies use up their iniative points on firing at the attacking French, with little effect.  The French cavalry now finish off the Dutch division, which routs off the field and the French infantry carry the village, destroying the British 1st Division.

However, now it is the allied turn to win the initiative, the British 3rd Division, supported by the allied cavalry driving into the French 2nd Division:

The French are destroyed and the British 3rd Division turns its attention to the village.  Meanwhile the French cavalry attempt to attack the allied artillery, but are intercepted by the allied cavalry. A major action ensues over on the allied right flank:


The French cavalry is all but destroyed by combined artillery fire an an allied cavalry attack.

Meanwhile, in the centre, the British 3rd Division storms into the village, taking out significant numbers of French troops, despite close support from French artillery:


The French exhaustion point is now very close, and luck remains with the allies. Just as the French bring up their reserve division it is hit by Allied cavalry thundering down off the ridge. 

In the village French restance collapses and the battle ends. The Allies win a costly victory by holding the village and driving off the French. This was a fun game, the rules allowed things to move on quickly and the battle was over in less than an hour.  It would be easy to play with multiple corps, allowing some full scale napoleonic engagements.


Wednesday, 16 September 2020

My Big Idea

I have always had a desire to play games representing some of the bigger battles, with several corps or complete armies involved.  I have looked at some of the Command and Colors scenarios and also Bob Cordery's Portable Napoleonic Wargames systems.  Both rule sets are very good and work for me; however, the one thing that does not is the representation of the units and formations on the table.  

Obviously, to make a game portable it has to be quite small and involve just a few playing pieces, but for me, wanting to use the rules on a bigger table, having a corps made up from nine figure divisions does not work.

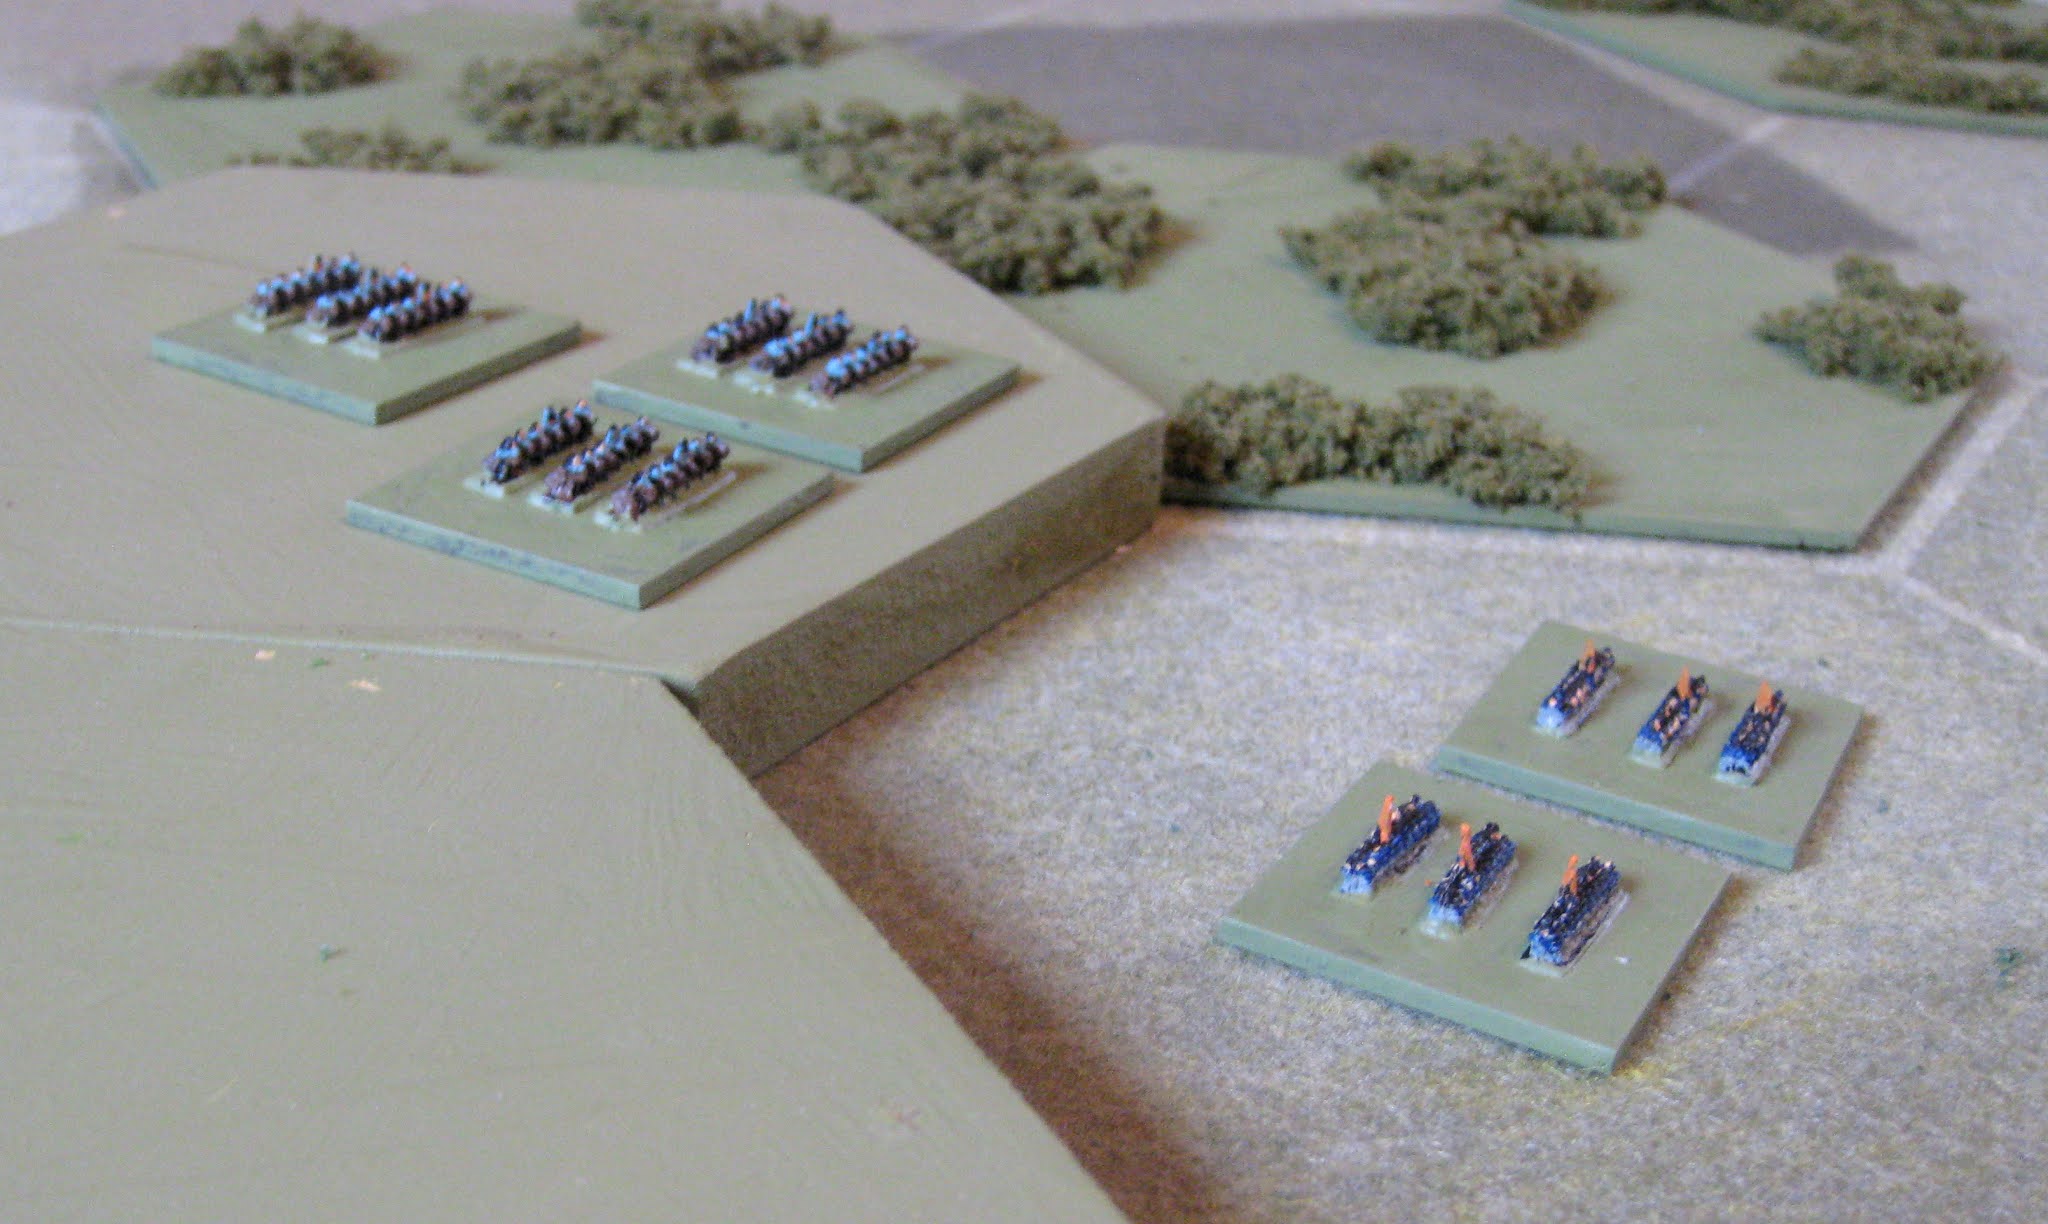
So, for the past year or so, I have been looking at ways of addressing this and finally came to the conclusion that 2mm figures provide the answer.  I have replaced each figure used in the Portable game with around 70 in 2mm scale.  Thus a corps, in this case Anglo Dutch Napoleonic, would like this:


It occupies the same space on the board (I am using four inch hexes) as the 25mm figure version, but I think it actually looks more like an army corps.  Three or four of these would make up a complete army.

Furthermore, painting is quick. Once based and primed in black using a rattle can, the above corps took me less than a day to paint. It is possible to get a bit of detail onto these figures too. here is and artillery unit:

I have also started my French army:


I plan to continue to build up my armies and will play out a scenario to see how it works with small figures.