Apologies to those who may have followed this blog, but domestic chores and a funeral have kept me away from posting.
In part 1, we saw the Russian Corps led by Read storm the heights driving off the French on the allied left and orders to Liprandi's Russian Corps sent his columns towards the allied centre to secure a second crossing of the river.
Heavy fighting around Telegraph Hill finally saw the resolute Sardinians being forced off this key feature.
Part 2
Taking stock of the situation, the French commander was stunned by the speed, tenacity and success of the Russian assault on his left flank (as was I). He sent a dispatch to the Turkish and Sardinian commanders requesting that they secure the centre and right by meeting the threat from Liprandi's Corps, which by now was beginning to cross the river in strength. The Turks and Sardinians began to adjust their line to meet the threat:
Meanwhile on the left, Read's Russians began to swing around to assault the French left flank which was defended by the guards, some zouaves and line infantry, supported by batteries of artillery that poured cannister into the Russian columns. There then followed a series of Russian assaults and the battle swung back and forth.
On the allied right flank the Sardinian Bersagleri retook Telegraph Hill and the bitter struggle for the position continued:
For a while it seemed that the French line would crumble, however the elite French regiments took a toll on the Russians and a charge by French dragoons scattered one of the enemy columns:
At one point the Russians push a French line regiment off the crest, threatening the Guard's rear, but a counter attack restores the situation.
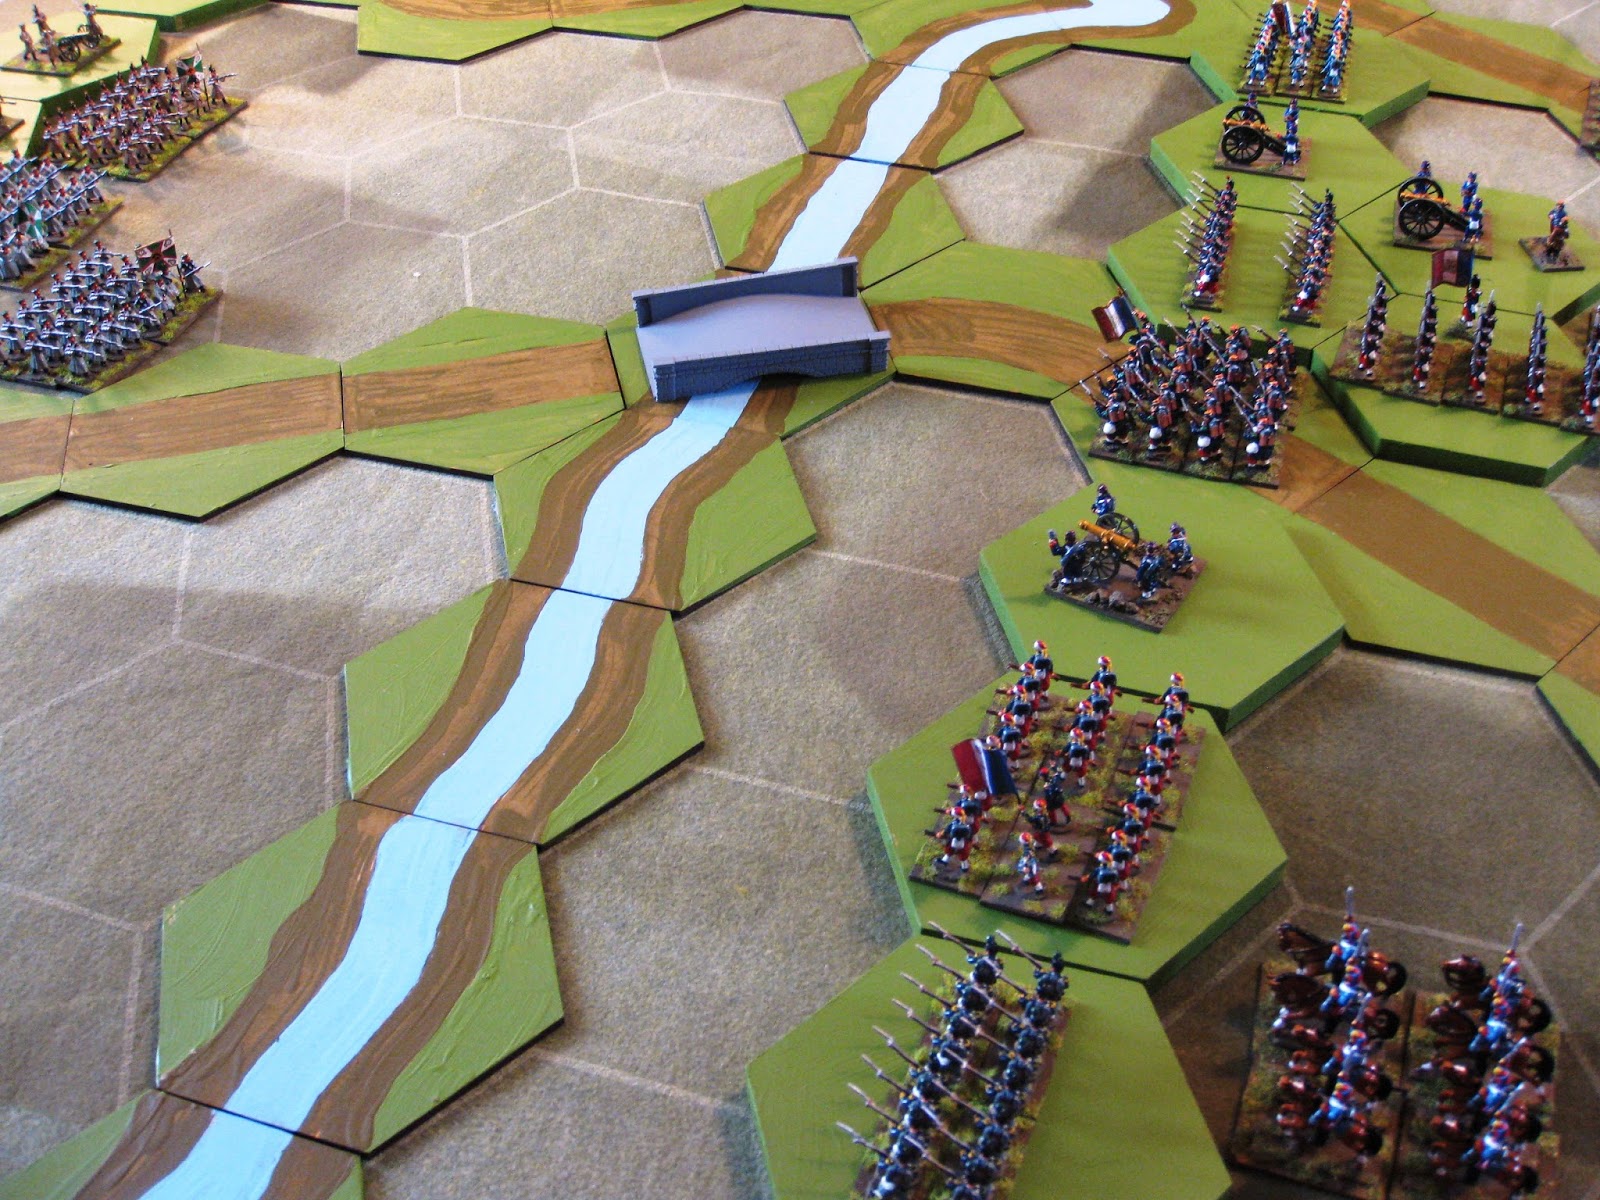
On the allied right the Sardinians and Turks form a solid line along the river and engage Liprandi's Corps:
The battle for Telegraph Hill continues with the Russians taking very heavy losses here. However, Liprandi's leading units storm over the bridge towards the wall of Sardinians:
This point is the high water mark for the Russians. On the allied left the Russians cannot dislodge the French guards, supported by deadly artillery and heavy cavalry; while Liprandi's Regiments are beaten back by the Turkish and Sardinian firepower. The Russian army has reached its exhaustion point and the attack begins to falter. The Sardinians on Telegraph Hill drive off the last of the Russian columns and Read's Corps pulls back across the Chernaya. Both armies are worn down, but the Russian commander conceeds that his forces will not be able to dislodge the tenacious Sardinians in the centre. At this point the battle ended.
The rules gave a very interesting action, with surprising results. I think it might have been different if I had given the three allied components their own exhaustion points, as the French may well have collapsed. The heroes of the day were the Bersagleri, who clung on to Telegraph Hill. The rules made capturing a hill with earthworks a very difficult nut to crack; and the French Guards were also remarkable, fighting off four Russian regiments and holding firm.
This is a battle I may revisit in the future.
Douglas Miniatures Logo

Showing posts with label Battle of Tchernaya River. Show all posts
Tuesday, 28 March 2017
Saturday, 4 March 2017
Battle Report - Part 1 - Tchernaya River
As mentioned earlier, my plan was to test out the newly published 'Portable Wargame' rules by Bob Cordrey - although my battle is far from being portable, but it is grid based!
Unlike the actual battle, which saw the Russians doomed from the outset following confused orders and an unprepared assault, I decided to give my Russian force time to deploy and coordinate the attack. The Russian commander decided to attack on the right flank with Read's Corps to force a crossing of the river and tempt the Allies to reinforce that flank. The plan below shows this attack at '1', while an attempt would be made at '2' to drive the Sardinians off Telegraph Hill. Finally, once Read has successfully assaulted the Allied left, Liprandi would assault with his Corps in the centre '3':
The battle kicked off with a Russian artillery barrage in support of Read, whose Corps began to advance towards the river:
As they closed in on the river they began to take casualties from the French infantry and guns on the heights.
Despite this, several Russian Regiments crossed the Tchernaya and assaulted up the slopes on the far bank:
The French counter attacked and after a bloody struggle the Russians were repulsed and driven back across the river, following a charge by French Chasseurs d' Afrique .
However, Russian morale held and Read rallied his troops for a second assault:
This time the already weakened French could not stop the Russians and the dense columns stormed into the allied lines:
Despite several counter attacks the French are forced off the ridge, losing their artillery and cavalry. A regiment of Zouaves fought on valiantly, but were also overwhelmed. The Russians consolidate their gain and swing towards the Allied centre:
Seeing the gains made by Read's Corps, the Russian commander initiates phase three - the assault of the Allied centre by Liprandi's Corps. Liprandi's troops begin to move forward towards the Tractir bridge:
In the background a brisk firefight continues around Telegraph Hill, but so far the Russian fail to dislodge the stubborn Sardinians.
Part two to follow.
Saturday, 18 February 2017
Battle of the Tchernaya River 16th August 1855 - War-game
This was to be the last major land battle during the Crimean war, fought between the allied French, Sardinian and Turkish forces against the Russian field army. The Russians launched their attack in the early hours of 16 August 1855 with around 58,000, mainly infantry, troops. Their plan was to attack the allies in the rear across the Tchernaya River in an attempt to break the siege of Sevastopol. This would be their third and final attempt to do so, having failed to succeed in doing this at Balaclava and Inkerman.
The allied force consisted of mostly French troops, supported by Sardinians and some Turks, that were positioned along the North edge of the Fedioukine Hills. The photo below gives an overview of the main part of the battlefield, with allies at the top of the map and the Russians at the bottom:
For this game I am using a gridded board, with 5 inch hexagons. The rules I will use will be an adaptation of Bob Cordrey's portable war games system. Here are some further views of the battlefield and opposing forces:
Off to the right, not shown above, are the Turks, the Sardinians can be seen in the background:
Forward of the allied line is a small hill, known as Telegraph Hill, which covers one of the river crossings. This was defended by Sardinian light infantry behind some field works:
This is the allied centre, with French troops guarding the key Tractir Bridge.
The French left, with the Tractir Bridge in the background
An overview of the allied centre from the left.
Now the Russians:
On the Russian right is Read's Corps:
While in the centre and left we have Liprandi's Corps:
From the Russian left the Telegraph Hill feature can be seen in the background:
Finally a look along the Russian line from the left:
Some notes:
The Tchernaya River was a deep wade, with difficult banks. There was also a second water obstacle; an aqueduct which ran parallel to the river. I have not included this using the river to represent the complete valley floor, as in reality there were also ditches and dykes. To reflect this the river will restrict movement, taking a complete turn to cross, except via the two bridges.
The hills are quite steep giving the defender higher up an advantage.
In the real battle the command and control of the Russian forces was poor, leading to a piecemeal attack before they were properly prepared. I will reflect this at the outset.
The allied force consisted of mostly French troops, supported by Sardinians and some Turks, that were positioned along the North edge of the Fedioukine Hills. The photo below gives an overview of the main part of the battlefield, with allies at the top of the map and the Russians at the bottom:
Off to the right, not shown above, are the Turks, the Sardinians can be seen in the background:
An overview of the allied centre from the left.
On the Russian right is Read's Corps:
From the Russian left the Telegraph Hill feature can be seen in the background:
Finally a look along the Russian line from the left:
Some notes:
The Tchernaya River was a deep wade, with difficult banks. There was also a second water obstacle; an aqueduct which ran parallel to the river. I have not included this using the river to represent the complete valley floor, as in reality there were also ditches and dykes. To reflect this the river will restrict movement, taking a complete turn to cross, except via the two bridges.
The hills are quite steep giving the defender higher up an advantage.
In the real battle the command and control of the Russian forces was poor, leading to a piecemeal attack before they were properly prepared. I will reflect this at the outset.
Subscribe to:
Posts (Atom)