Short, but not so sweet...............
I started off by deciding by dice whether the opposing commanders were bold, average or cautious. The Rebel General, Brig Gen Stone Jaw Mackeson proved to be bold and aggresive, whilst his opponent, Union Brig Gen Nate Burman was deemed to be cautious.
Turn one:
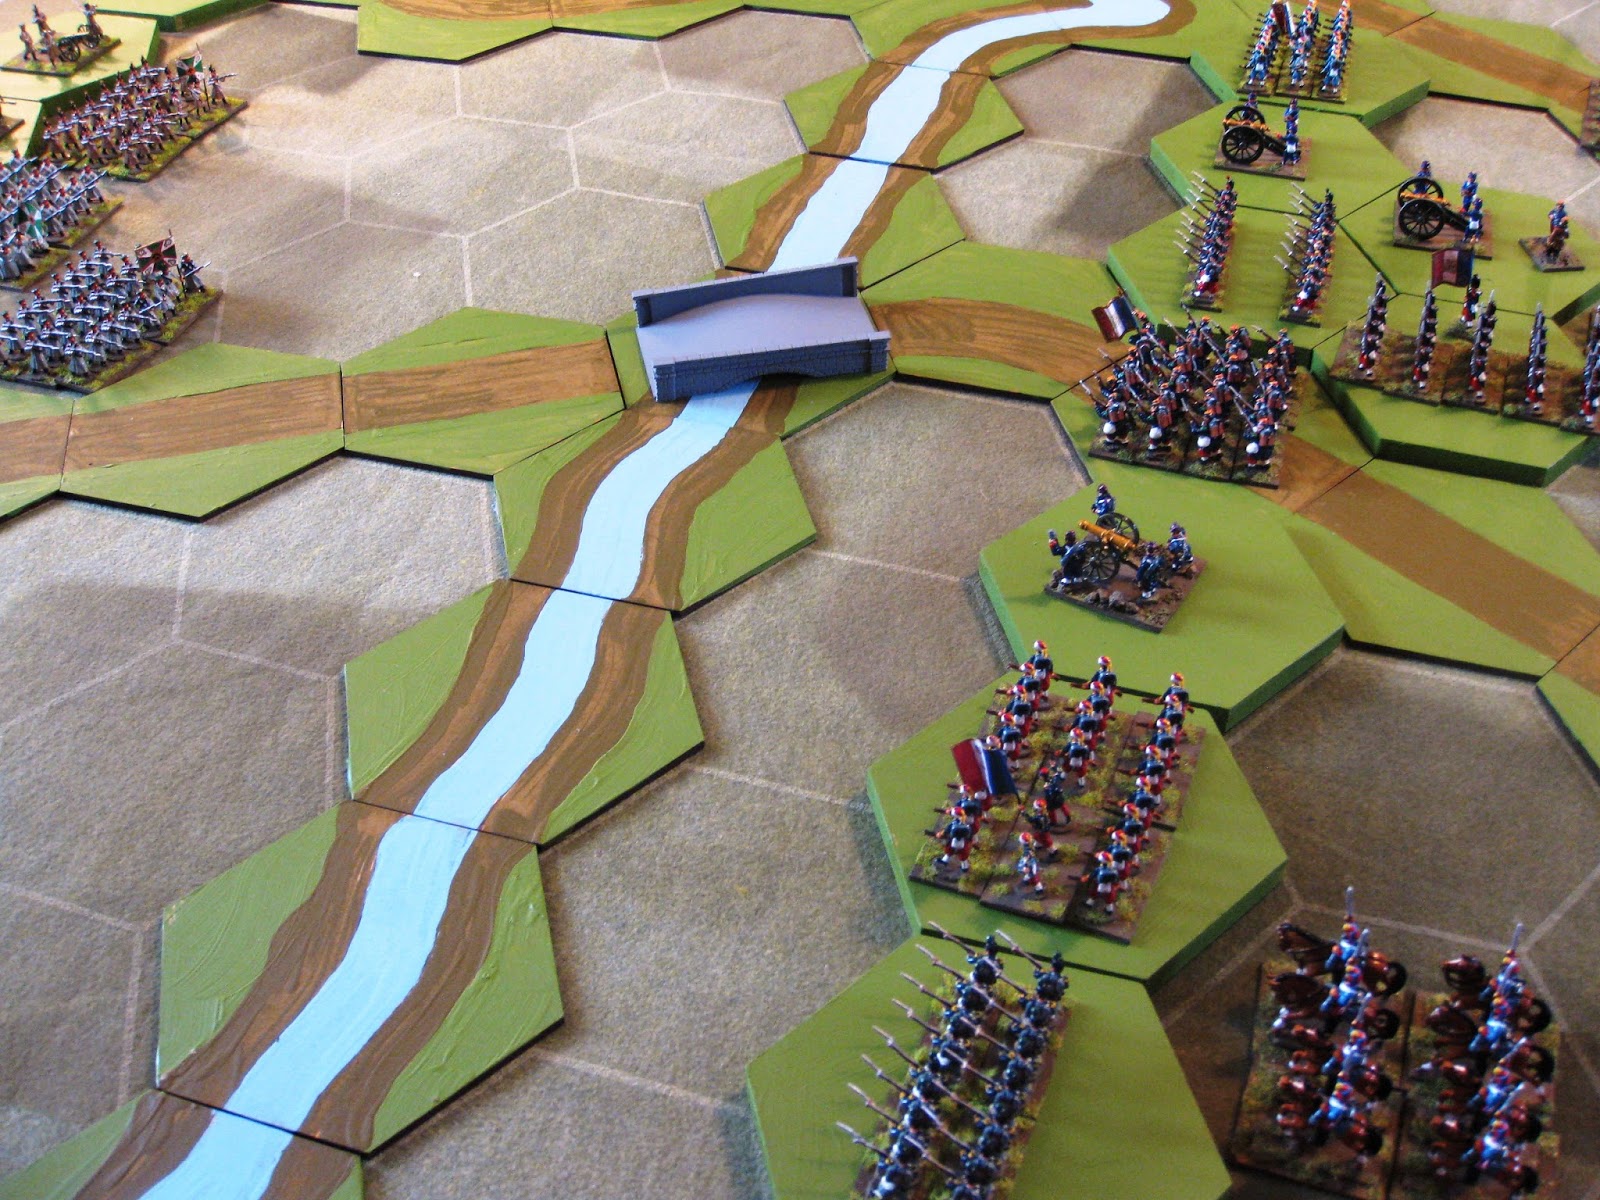
The rebels kick off by ordering the cavalry to sweep around their right flank behind the wood to threaten the union line:
Also, Mackeson ordered the two infantry Regiments, Alabama (nearest the camera) and Kentucky to rush forward, take and hold the wall, supported by the gun, which also advances:
The more cautious Burman decides to sit tight, making slight adjustments by ordering the New York Regiment up to the Turnpike aligned with the Ohios on the left; although he orders his cavalry to sweep around to the right and threaten the Kentucky regiment:
The New Yorkers advance to the Turnpike:
The Union gun fires an opening salvo, but misses its target.
Turn 2
The rebel gun unlimbers and both the Alabama and Kentucky regiments continue their advance. Now the rebel commander shows some indecision, as he sees the union cavalry sweeping around the wood on his left flank and the solid line of the Ohio Regiment; so he orders his cavalry to halt and about turn to meet the Union cavalry. The rebel infantry. spurred on by 'ol Stone Jaw reach the wall
While the rebel cavalry about turn:
The Union side have now formed a defence line consisting of the two infantry regiments and the gun, which fires a salvo into the Alabama regiment, causing some casualties. However, worse still for the Kentucky boys is a ripple of volleys from the Ohios, which drops 5 figures. The rebel infantry take a morale test and both regiments stand.
Turn 3
Turn three turns out to be pivotal. Both sides exchange fire at medium range. The rebel infantry volleys drop 3 New Yorkers and one Ohio; however, the union fire is devastating - the Kentucky regiment loses 13 and the Alabamas take three more casualties. Worse still, General Stone Jaw falls from his horse mortally wounded. The rebel infantry are shaken and the Alabamas break and pull back, leaving the exposed Kentucky regiment.
Meanwhile on the flank union cavalry surge forward to assault the Kentucky regiment.
The rebel cavalry rush to assist the infantry, but are still some way off.
Turn 4
The situation for the rebels looks dire; their general is gone, their infantry have lost over 50% of their number and one regiment has broken. The Kentucky regiment is about to be smashed by Union cavalry. On the Union side, despite a few casualties morale remains solid.
As the Kentuckys attempt to meet the oncoming Union cavalry the charge goes home and Union general Burman orders the New Yorkers to advance:
The Kentucky Regiment is slaughtered and the union cavalry take just one casualty. In the background the retreating Alabama regiment rallies and the rebel cavalry are almost in position to attack their union counterparts. A lucky salvo from the the Union gun destroys the rebel artillery, knocking it out completely.
Turn 5
It looks like the end for the rebels, however the Alabama Regiment fires into the rallying Union cavalry bringing down several men and horses, and as the Union horsemen try to withdraw the rebel cavalry crashes into their flank completely destroying the regiment.
The Ohios have by now moved forward to the wall and prepare to fire at the Alabama Regiment.
Turn 6
The rebel cavalry quickly reorganise and decide to charge into the New York Regiment, but before they make contact they are met with 4 volleys of rifle fire, and are destroyed.
On the other flank the Ohios fire into the already weakened Alabama Regiment and are reduced by half their strength. It is the end. The Alabama Regiment breaks and flees the field and the Union forces are victorious.
Verdict? The Union forces have swept the field, losing just their cavalry, while just about destroying the rebels. This is the fastest wargame I have ever played; just over one hour and 6 moves. The rules work - they are very simple, but give good results. I will use them again in the future - being more aware of the devastating effect of rifle fire.
: