Douglas Miniatures Logo

Douglas Miniatures Logo
Showing posts with label British Army. Show all posts

Thursday, 28 July 2022

Epic Battles Waterloo 15mm British Army

 Last night I finished off the last of the figures in the British Army starter set making up 15 battalions of infantry, seven of cavalry and five batteries of artillery.  In all over 1000 figures.  I must confess that I did not paint them all, sending a load off to a painting service. On completion they look good and fit in well with my 5" hex playing surface.

Here is an army overview:

The infantry:

I bought some French and painted them as Nassau allies. I will paint some Belgians and dutch too:


There is a heavy cavalry brigade of four regiments:


A light cavalry brigade of three regiments:

Each cavalry Brigade has a horse artillery battery in support:

As well as three batteries of foot artillery:

Finally a command group as there are plenty of spare mounted officer figures:


Wednesday, 28 October 2020

Autumn Review - British Army of the Crimea

 In rather the same format as my other Crimean autumn reviews of the the combined collections of Alan Cook and my own, there follows a series of pictures of the British Army.  There is a slight problem in that I have two Light Brigades on parade and more highlanders than were available at the time, however, It all comes together to make a fine collection.

I will let the pictures tell the story:


Monday, 17 August 2020

A Demonstration Game

Last week I was paid a visit by the ABC Wargamers, well B and C (Bob and Alan).  We set out to play a long promised wargame, using a set of heavily adapted Command & Colors rules, that essentially dispensed with the cards and were reduced to one side of A4. The aim was to provide Bob and Alan an introduction to the mechanisms and to provide a quick game.

The scenario was a Peninsula War Napoleonic action which saw a French advance guard attempting to seize a river crossing held by a Spanish force. Reinforcements in the shape of a British Brigade were en route to join the action.  I took on the French, Bob the Spanish and Alan the British.

This is the layout of the action There are more French units off camera to the left:

The French, who were attacking, planned to push hard on the right flank to capture the ford in an attempt to draw off troops from the Spanish centre and left, and hopefully draw in any reinforcements. Once committed the French would switch their attack to the left flank.

Things went well for the French to start with. An artillery bombardment, with infantry and horse artillery moving on the right flank saw off a Spanish regiment and did considerable damage, but a irritating Spanish battery did some damage to the French:


The French plan, however, was working and the British reinforcements arrived and beefed up the Spanish who by now were now under pressure:


With the British committed and the Spanish left fixed, the French attack switched to the other side of the field.  There, a desperate action took place, with both sides committing cavalry to the fray:

The French mounted several attacks but each time they were thrown back by a very spirited Spanish resistance.  Eventually the French were worn down by artillery and musket fire.  It was clear to the French commander that he lacked the forces to breakthrough in sufficient strength and so he broke of his attack upon reaching the exhaustion point.

The battle was a closely fought affair that swung back and forth. At one point it did seem that the French would break through and the battle hung in the balance. But it was not to be. All of the figures used were 25mm Warrior Miniatures.

The victorious allies:
Apart from a few adjustments that will be needed, the game worked well. The whole action was completed in less than two hours; plenty of time for a post match debrief over lunch!


Friday, 3 July 2020

Another small addition to my colonial armies

The latest unit to join the ranks is a Gatling Gun and crew.  I believe these are by Hinchliffe.  They will give my small Sudan and Afghanistan British forces some much needed firepower:


Thursday, 29 November 2018

The BEF - Airfix Figures

I have now finished my British WW1 force, based upon Airfix figures.They will represent a 1914 Division, with three brigades, supporting artillery and cavalry. I have also produced some casualty markers for the game:
The cavalry were made from adapting the Airfix RHA outriders:
Each Brigade consists of a command element, a machine gun unit and four stands representing each of the four infantry battalions.

This structure can be adapted to represent a single brigade or a battalion for tactical games.

I have made good progress with the Germans too. I have completed the artillery, a large part of the infantry and some of the support elements.


Friday, 27 October 2017

Battle Report Part 1 - Struggle for Kreuzdorf Village

The British plan is to delay any enemy advance by defending Kreuzdorf village until it becomes untenable and then withdraw D Company and the Yeomanry Saladins back behind A and B Companies, that form the main defensive position.

All goes well to begin with. As the Soviet recce vehicles approach the village they come under heavy fire from the British armoured cars. A lucky hit knocks out a PT-76 light tank and as a BRDM-1 scout car runs for cover, it too is taken out. The Soviet probe around the church is destroyed.

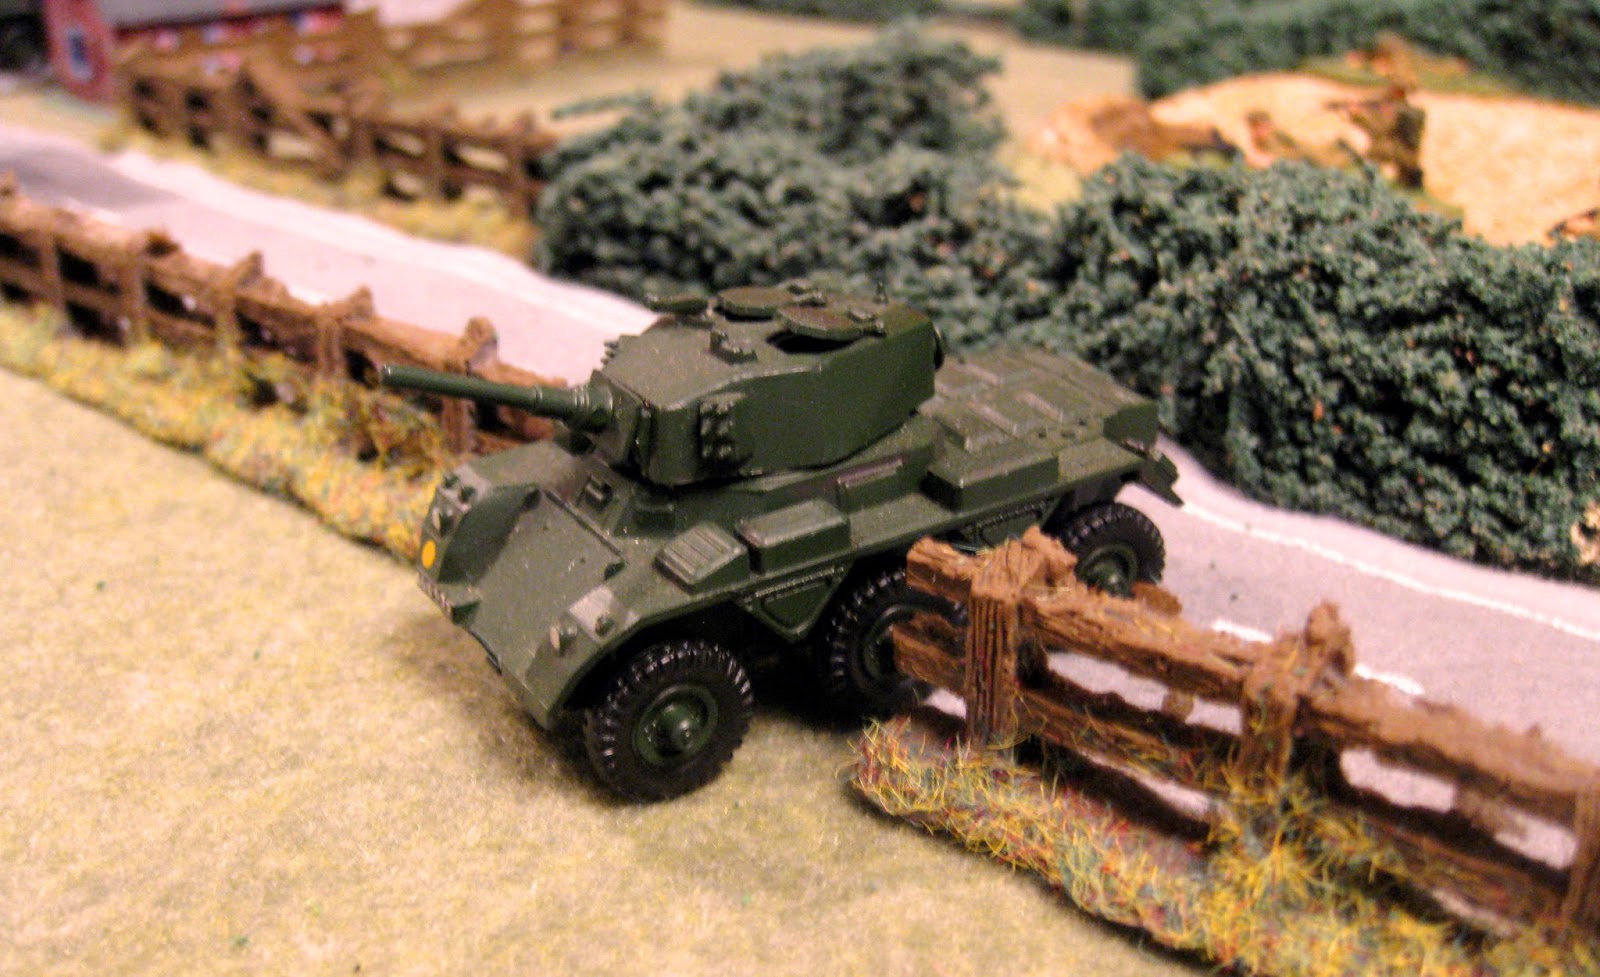
The Saladins have less luck on the eastern route, failing to damage any enemy vehicles.

The Soviets are alerted as the recce troops radio back the presence of the British in Kreuzdorf. The Soviet commander moves up and takes a position of observation on the hill outside the village. He also brings up a 120mm mortae team and SPG-9 recoiless anti-tank guns:

The exchange of fire between the Saladins and the PT-76s continues, with the Yemanry losing one vehicle:
On the next turn the British Artillery observer requests a fire mission, but is turned down as all guns are busy. The Soviet commander however, uses his 120mm Mortars to good effect on the village. This stonk takes out the HQ of D Company and a couple of riflemen. The PT-76s destroy another Saladin:
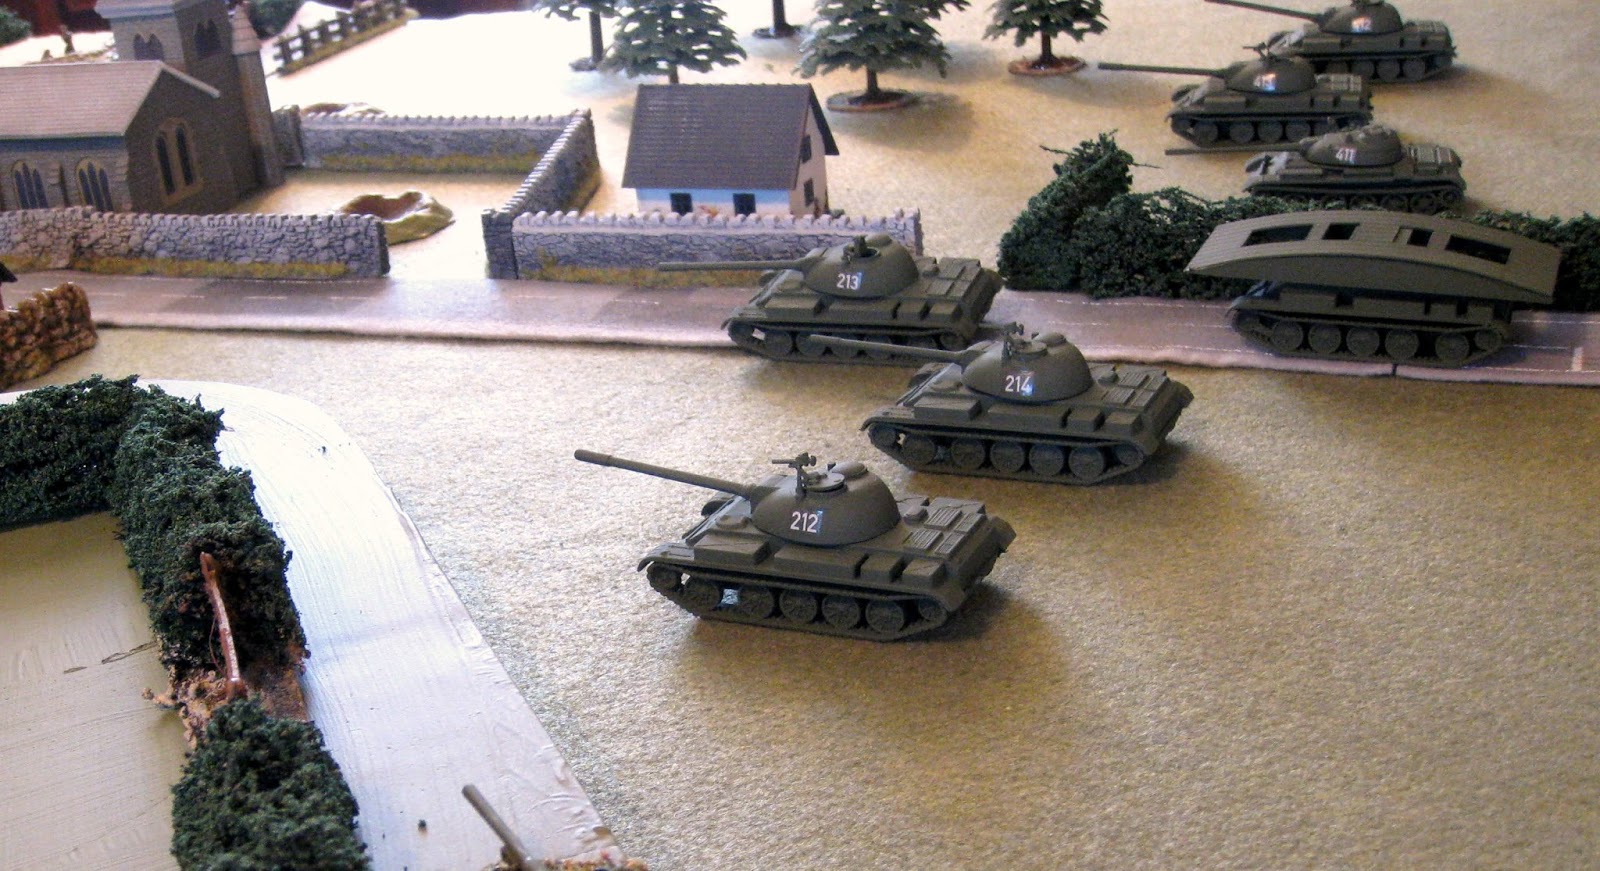
The British are losing the battle for the village, and the order is given to D Company and the Yemanry to pull back. The British Commander wonders whether he should have deployed some of his Cheiftains forward. As he ponders the sound of battle tanks can be heard beyond the village as a company of Soviet tanks appears:
The Saladins pull back, but one is taken out by a Soviet tank:
Only one Saladin remains and it scoots back towards A Company:
At last the British artillery observer is allocated some guns and he brings down fire that smashes into the Soviet HQ, killing the commander and a rifleman:
However, more Soviet tanks rumble onto the field:

The remnants of D Company fight their way out of the village:

Not such a good morning for the British, although they have blunted the enemy recce and disrupted the Soviet command and control - for the time being.

Next.....................the Soviets close in on the bridge.


Wednesday, 25 October 2017

Kreuzdorf Bridge - Early Cold War

This action is set in the late 60s, early 70s, with the British Army on the Rhine reacting to a surprise attack mounted by Soviet forces. The covering force did not have time to fully deploy and Soviet armoured formations have made thrusts through the british defences. A line has been hastily drawn along a river and sappers are preparing to blow the bridges.

One such bridge is the steel structure just outside the village of Kreuzdorf; which is being defended by an understrength battle group, of four infantry companies from the Loamshires, two tank squadrons from the Hussars and a Territorial Army armoured car squadron from the Yeomanry. There is also an artillery observation team, but there are no guns in direct support. Artillery will have to be requested when needed. The Battlegroup has a mortar platoon and battlegroup HQ.

Soviet forces are estimated to be a Tank Regiment group, with supporting infantry and artillery, as well as strong recce forces.

Here is an overview of the battlefield from the british positions:
It can be seen that the Yeomanry with D Company are in the village itself to provide warning and delay;


while A and B Companies are dug in on the far bank of the river.


The tanks, C Compant and BG HQ are on the home bank.


Engineers are preparing the Bridge for demolition.
Almost as soon as the Battle group takes up its positions the leading Soviet reconnaissance elements can be seen approaching the village from two directions:

Battle report to follow