Douglas Miniatures Logo

Douglas Miniatures Logo
Showing posts with label BAOR. Show all posts

Sunday, 3 February 2019

Battle Report - Minding the Gap!

In no time the soviet recce elements began to probe forward to determine where the NATO defensive positions might be. Already the Recce commander can hear firing off to his flanks and he guesses that the ridge to his front is defended. Doctrine forces him to push on and he sends his light tanks up the road, whilst his scout cars probe around the flanks.

His three PT-76s reach the cross roads:

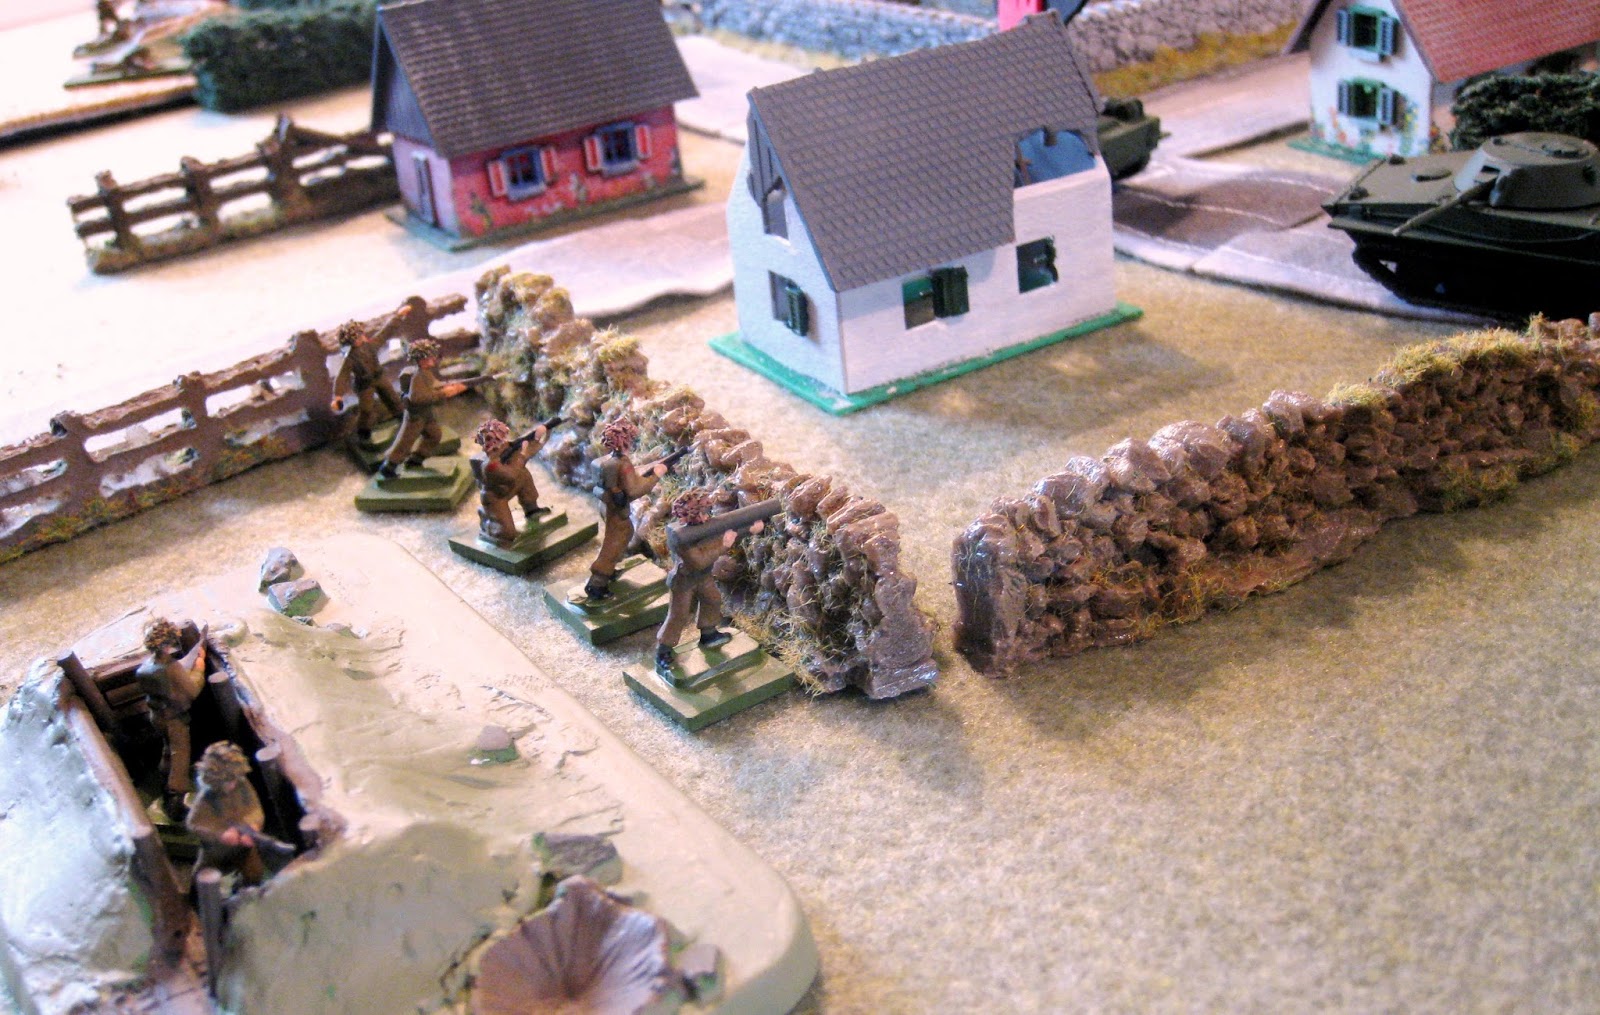
 As reports of enemy movement come into combat team (CT) HQ, the NATO CT commander moves up onto the ridge to take stock. His plan is to try to fight off the recce with his infantry, while keeping his tanks concealed for the main attack.
 Two BRDMs nose their way around the soviet right flank and are engaged by a Wombat. The shot misses and the vehicles pull back:
At the same time the two leading PT-76s are engaged by concealed infantry 84mm and are quickly taken out:
The soviet recce commander decides that it would be folly to try to move more light tanks through the close country and he orders the accompanying infantry to move forward and clear the hedgerows.

 He also orders an artillery barrage to soften up the objective and shells crash down on to the Blankshires trenches:
The dismounted infantry surge forward:
 And despite the artillery support are met by a wall of fire that causes many casualties.

 Temporarily halted, the soviets call for smoke and soon the attacking infantry are masked as they once more attempt to cross the road:
 The right hand Wombat repositions, and takes out one of the BTR-60s:
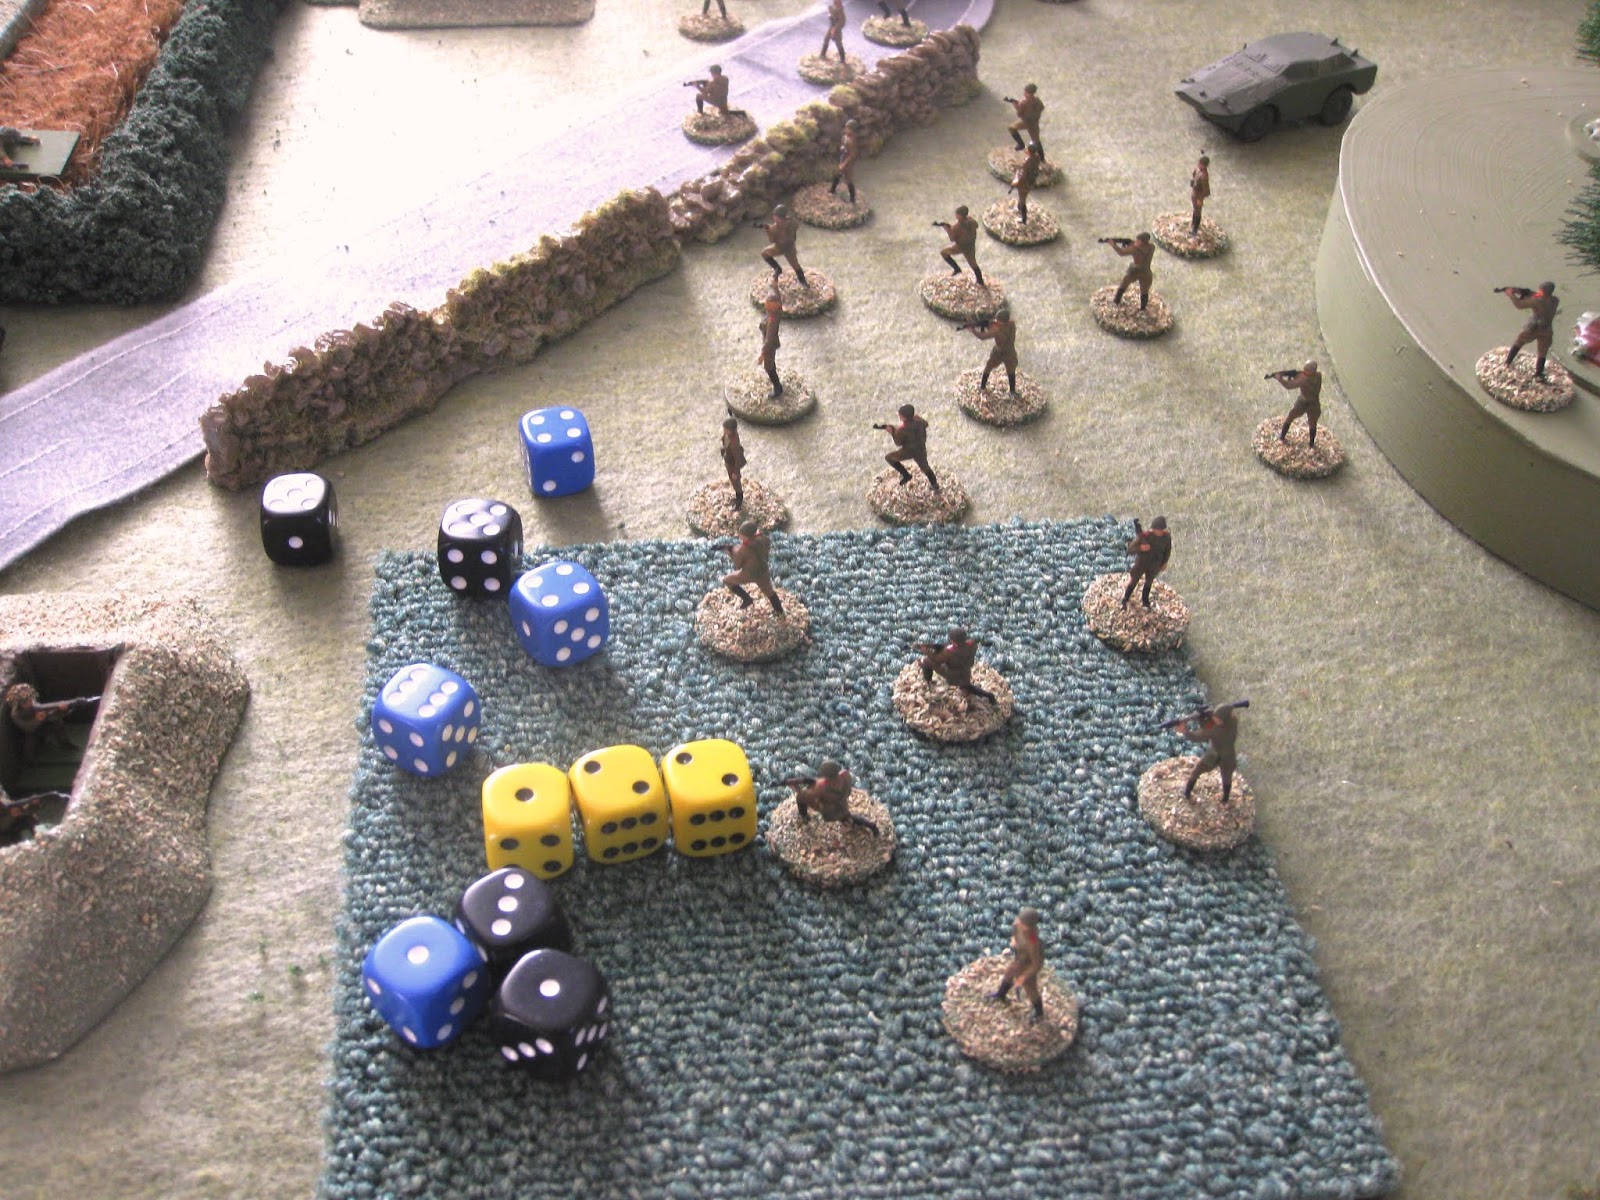
 The soviet infantry emerge from the smoke and surge forwards:
 
An infantryman with an RPG engages the Wombat armed APC and destroys it:


 The Blankshire's right flank is now in serious danger of being over run and so the platoon commander calls for a 'danger close' mortar stonk, which lands around the position, cutting down the exposed soviet troops, but killing one of the Blankshires too:
The remaining PT-76 pushes up the road, firing into the flanks of the British infantry, but is taken out by a Chieftain on the ridge, but the Chieftain has been spotted.


 The CT commander looks beyond the battle in front and can see columns of tanks and APCs moving along the road in the distance. To his horror he realises that these are not old BTRs and T-55 tanks; but more modern T-62s and BMP tracked APCs:
 After more stiff fighting the soviets capture the CT right hand position and they push forwards:
 Having located one of the British Chieftains the soviets bring up an ATGW BRDM, which fires Swatter missiles; but misses its target:
 The soviets fire everything they have got at the Chieftain and a 115mm round from a T-62 slams into the turret ring, knocking out the British tank
 The first Chieftain burns:
 The newly arrived BMPs begin to disgorge their infantry onto the CTs left flank and put pressure on the dug in infantry:
 A supporting T-62 crunches through the hedge and blasts away at the British trenches:
 On the CTs right, tanks and APCs support the infantry assault:
 Increasing pressure on the defending infantry.
 The Chieftains on the left ridge open up but miss their target and quickly another Chieftain is knocked out by concentrated tank and ATGW fire:
 The remaining Wombat attempts to engage a T-62, misses and is destroyed by tank fire:
 With one tank remaining and the anti-tank guns knocked out things look bad for the CT.

In an attempt to stop the infantry assault on the CTs left flank artillery fire is brought down, causing a number of casualties amongst the soviet infantry:
 But, BMP and tank fire pins the British infantry as the soviets close in.
 On the CTs right flank soviet tanks and APcs nose their way up onto the ridge. The CTs position is all but lost:
 The CT commander orders non essential troops and CT HQ to withdraw:
 The last remaining Chieftain accounts for one of the BMPs before pulling back off the ridge
 On the other flank the soviets are in control of the ridge as they pass a knocked out Chieftain:
With one remaining tank and just half of the infantry, Combat Team Charlie withdraws, having failed to do much damage to the soviets or delay them as long as required. A win for the soviets.


Sunday, 5 November 2017

Battle Report - Kreuzdorf Bridge - Finale

With the Bridge now ready to blow, the priority for the British commander is to recover A and B Companies to the home bank and destroy the bridge before the enemy tanks break through.

At last luck changes for the British, with a high troop activation dice throw, two of the Chieftains depoly on to the high ground, following more good luck as the Artillery Forward Observer requests a fire mission to take out the annoying Swatter ATGW launcher. His request for fire is granted by being allocated a regiment of 155mm guns. Five rounds fire for effect sees 90 shells slam into the hill, obliterating the BRDM Swatter launcher:

The rest of the British movement sees A and B Companies begin their withdrawal.

On the other hand, the Soviets have a very poor activation; limited to just one pot shot at a Chieftain, that misses.

This pause allows the British infantry to break clean and pull back, and the Chieftains to take up their new fire positions on the higher ground:
The Soviets now have better luck, and realising that the bridge will be blown soon, their commander decides to push his armour forward en masse. Three companies  of tanks supported by two infantry companies surge forward:
The soviet tanks now come into range of the Chieftain 120mm guns and two T-55s are soon on fire:
Meanwhile most of B Company and the A Company APC make it to the bridge and cross over:
The soviet tanks rumble forwards and A Company comes under serious pressure and is unable to move, taking fire from infantry and tanks:
On the other flank Soviet tanks push through the abandoned B Company forward positions:
But are halted by accurate fire from the Chieftains:
Another T-55 is hit as it attempts to break through A Company:
The remnants of A Company capitulate as they are overun by tanks. In the centre, two tanks of the Soviet centre company rush for the bridge, as those men of B Company who managed to escape cross over to the home bank:
The British Commander decides that A Company is lost, the survivors of B Company on the far bank will have to swim for it as he gives the order to the engineers to blow the Bridge:
The Bridge collapses into the river and the enemy advance is halted. The Chieftains kill two more T-55s before pulling back from their firing positions.

The battle is a win for the British, although they lose over a third of their infantry and tanks.  However; the Soviet advance has been halted for the time being.

The last headlong assault was very costly for the soviet commander. He has lost over half of his tanks and failed to take his main objective, the bridge.


:


Sunday, 29 October 2017

Battle Report Part 2 - Kreuzdorf Bridge

Following the destruction of the Yeomanry Saladins, D Company and the remaining Saladin pull out of Kreuzdorf and despite a few shots from the advancing Soviet tanks they make it to the Bridge and cross in safety:
The Soviet tanks edge forward around the wood besides the church:
However, the Soviet commander decides that it is too risky to venture further into the village and close country without infantry support, so he orders up his infantry battalion, with two companies on the right:
Who dismount and move into the wood:
And a third Company on his left, tasked to clear the hedgerows:
The soviets also order an artillery strike onto the bridge to disrupt the British engineering activity. This strike hits its target and eliminates half of the engineers; the rest run for cover. Some of the demolition charges are damaged by the fire:
For the British the situation is becoming serious, a large attack is developing in front of A Company and Soviet forces are pushing forward. The British Command is desperate for artillery support, but is turned down due higher priority targets eleswhere; besides he now finds that his observer team is too exposed and it too has to withdraw over the bridge under a hail of fire from the Soviet tanks in the village.

A brisk fire fight develops between the advancing soviet infantry and A company, who hold their ground, supported by mortar fire and a Chieftain on the hill behind the river, which destroys a BTR-60 that strays too far forward:

One British soldier is eliminated, but the soviets lose one APC and three men to the mortar and tank fire.

The Soviet commander orders his recce tanks to probe forward into the village, but they come under fire from a B Company 84mm, which misses:
But a Chieftain on the high ground does not miss and the leading PT-76 goes up in flames:
The Soviet commander decides that he must deal with the British tanks on the high ground by deploying additional anti-tank assests. First a man-portable anti-tank missile is fired from the high ground:
This misses its target and comes under fire from a second Chieftain also on the hills beyond the river. The soviets bring forward a BRDM-1 Swatter, which has a very lucky hit on its first shot, destroying one of the Chieftains:

This is a serious problem for the British as the Swatter launcher is beyond the range of the British tank guns and can fire with impunity. The British artillery observer is now in position and he requests a fire mision against the Swatter; but he is turned down once again:
The Soviet commander does not have such a problem as he has his own artillery under command, which continues to harry the engineers working on the bridge. He also has air support, which he now calls down upon the second Chieftain which has exposed itself:
Two ground attack fighters roar in and a second Chieftain tank is on fire:
On the soviet left their infantry have worked through the fields and come under fire from the B Company APC, killing a couple of men; however, an RPG round soon takes it out:

The situation is looking very grim for the defending British; however, the engineer commander radios in that the demolition is prepared and the bridge is ready to blow.

The final installment will cover how A and B companies extract and whether the bridge can be demolished in time to prevent the soviets crossing the river.