Douglas Miniatures Logo

Douglas Miniatures Logo

Saturday 27 May 2023

Battle Report - Bussaco 2 - Ney's Assault

After trying the scenario of Reynier's attack on the left, Will and I thought we would have a go at Ney's assault.  For this battle we swapped sides; I took the French and Will the Allies. Once again we used Command and Colors (C&C) rules.

Here is the C&C map of the battlefield:

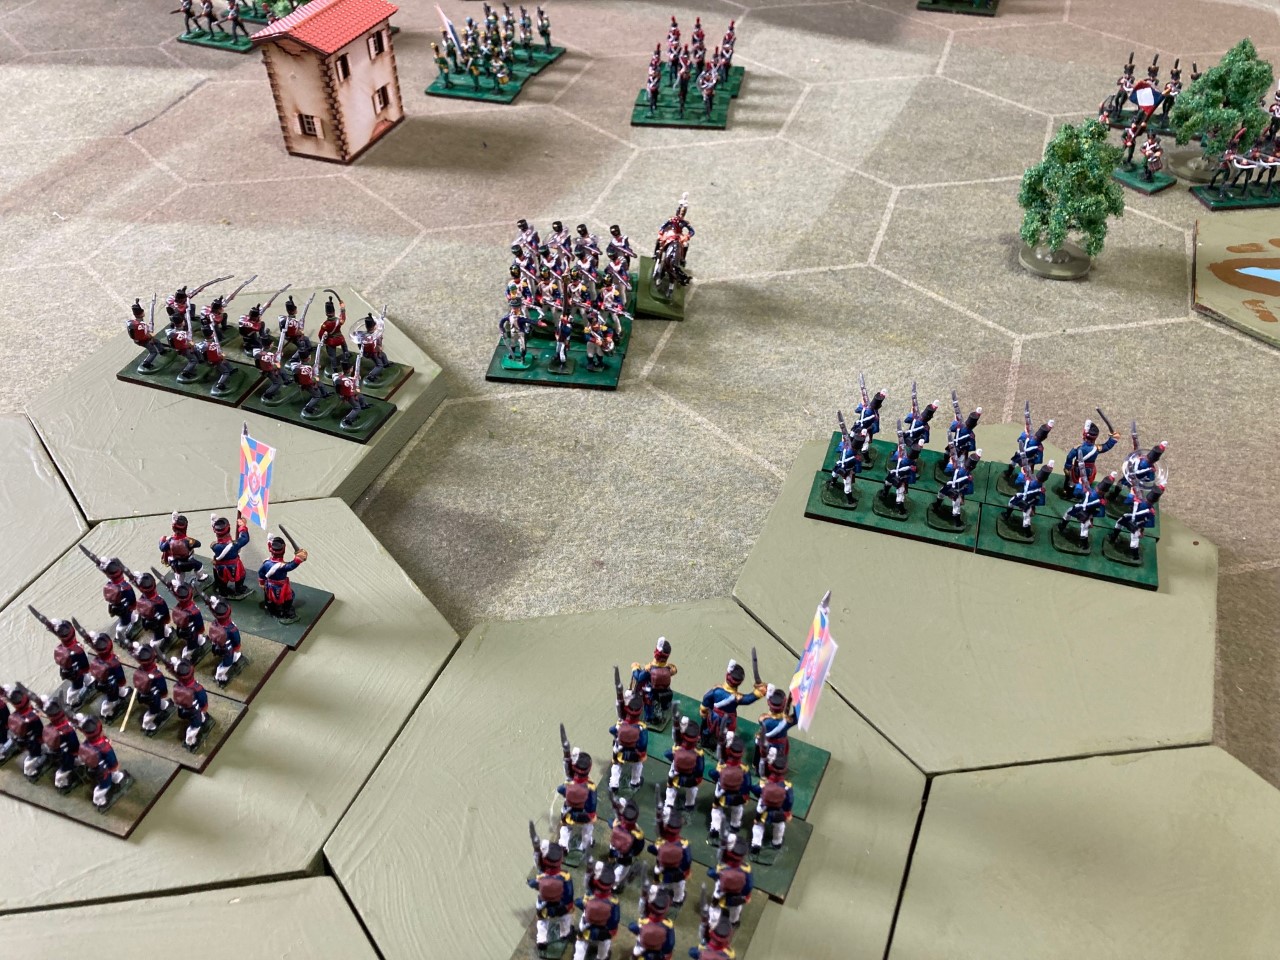
And the battlefield laid out looking across from the Allied positions on the ridge, with the village of Sula in the centre.  The Allies have pushed light troops out to the left of, and in the village itself.  Looking to the right there is a second small village, Cerquedo.  Both of these villages would be the scene of bitter fighting.

The battle began with the French moving in the centre, to clear out the advanced light troops and secure Sula as a jumping off point for the attack on the Allied ridge:

The French piled in more infantry and quickly overwhelmed the defenders of the village and the Allied light infantry were pushed back.


Looking along the ridge, the French attack is pushing into the Allied centre.
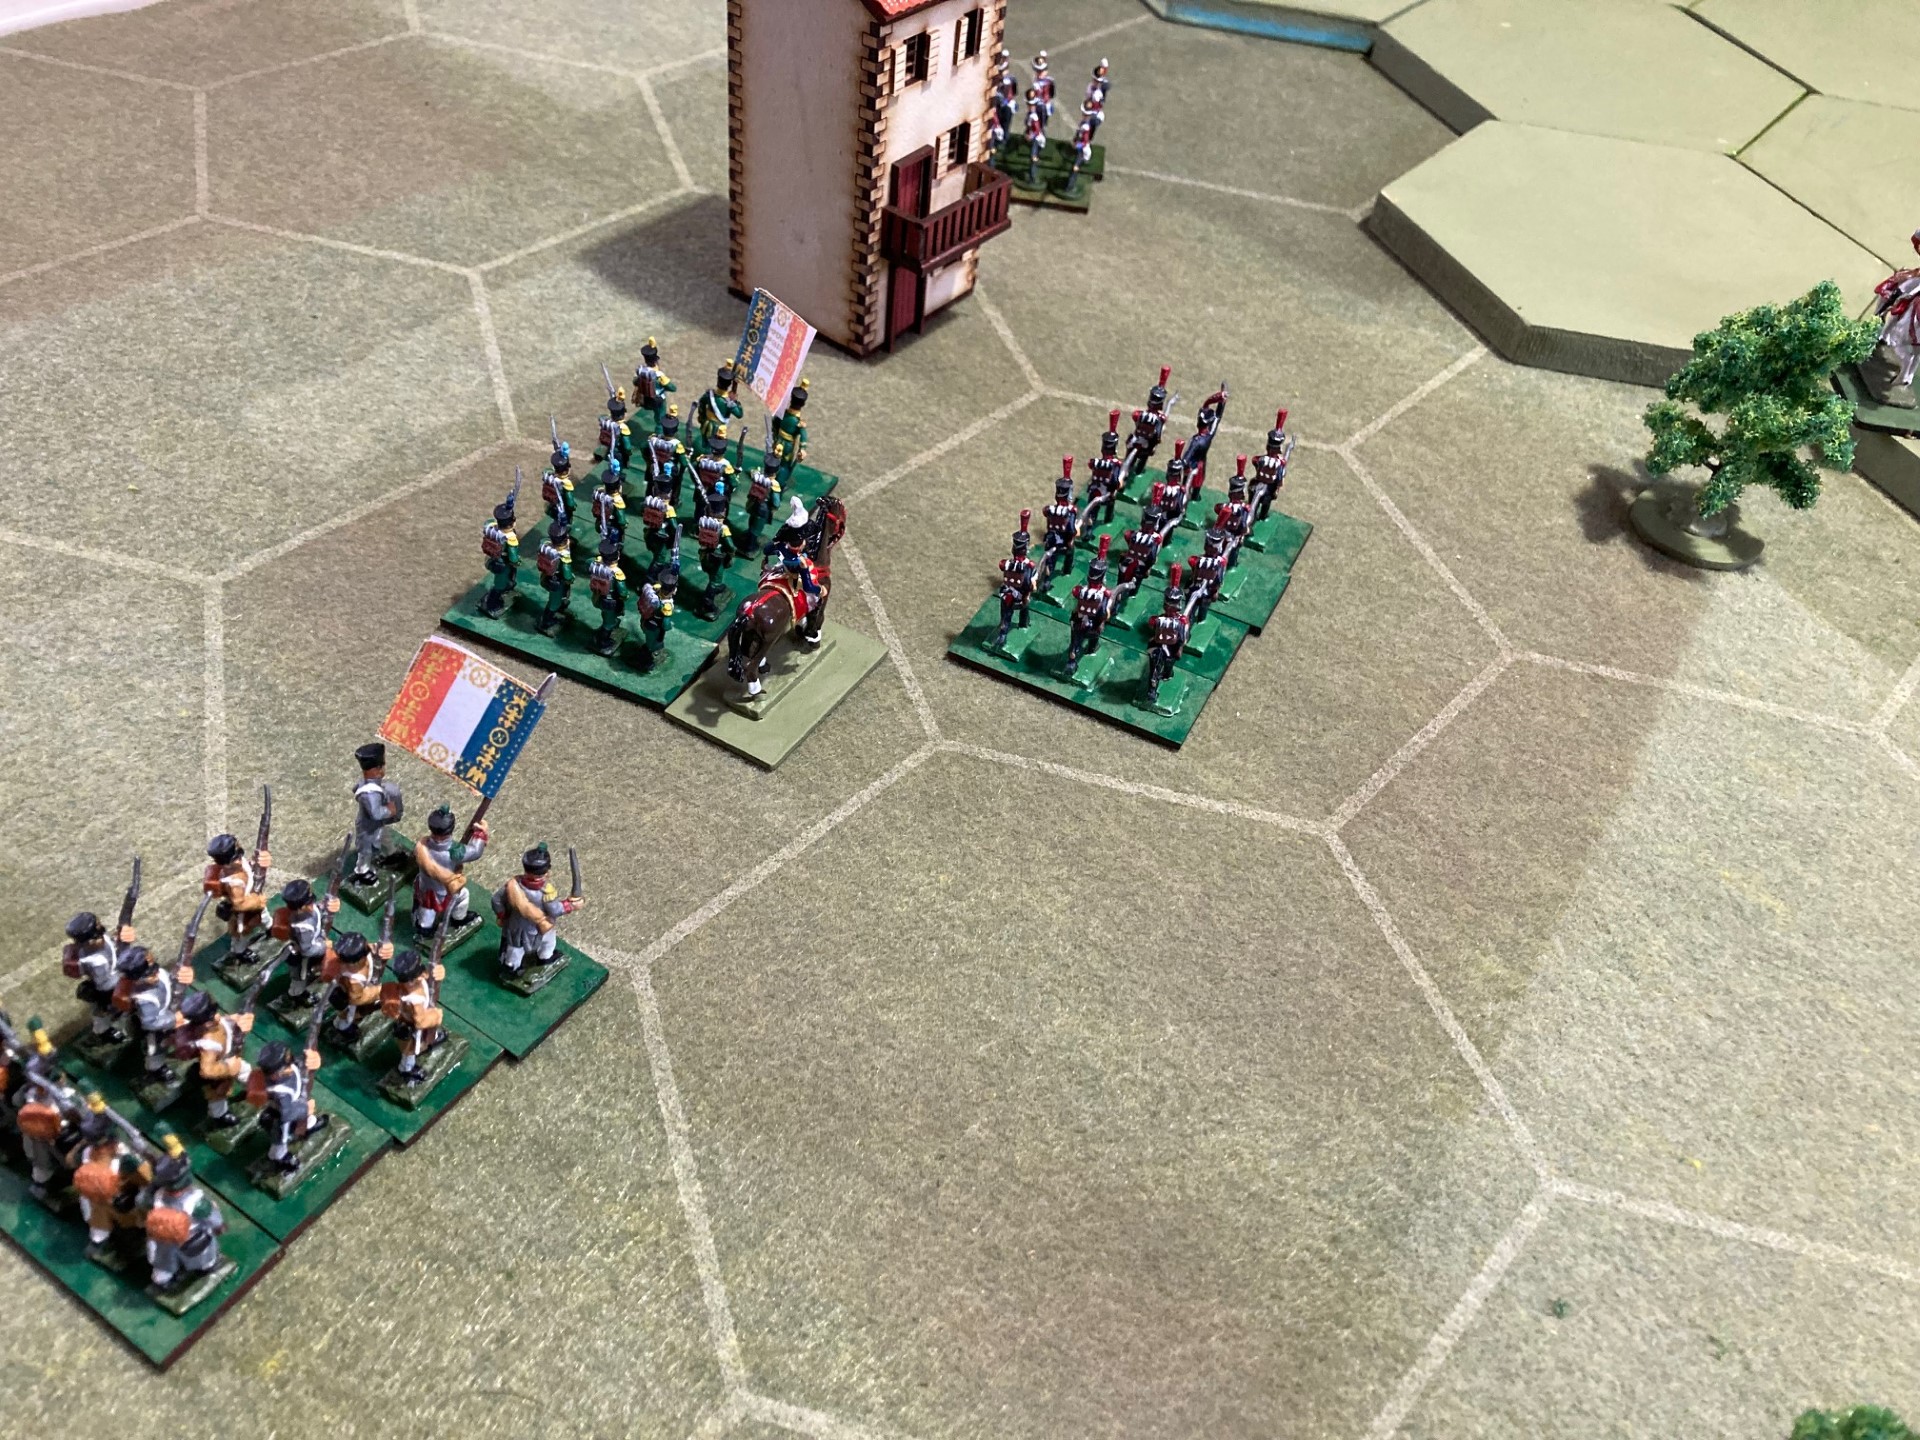
With cavalry in support the French infantry continue their push into the centre, but casualties are mounting and the Anglo Portuguese units begin to consolidate their defence on the ridge.

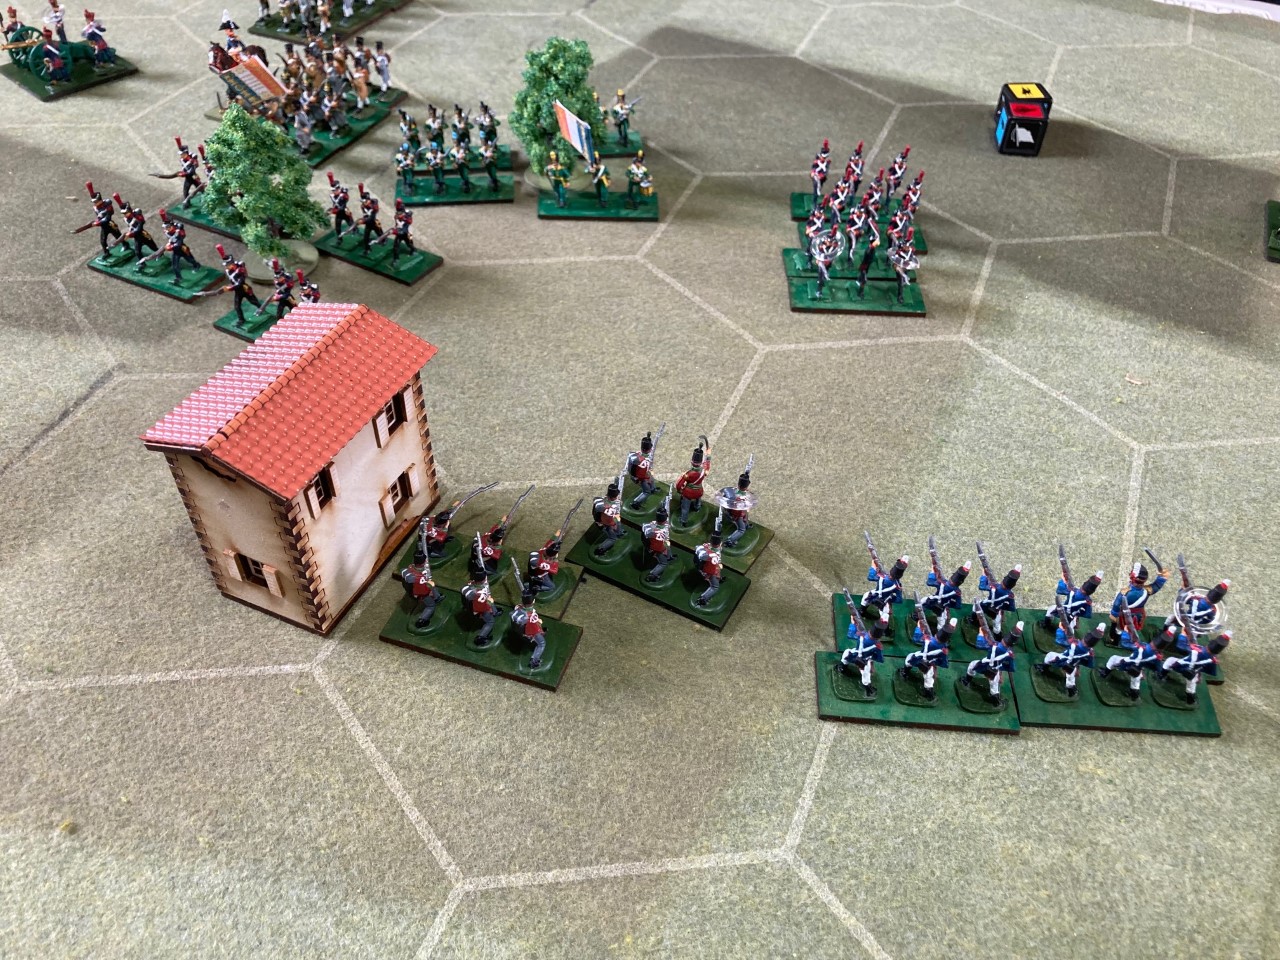
With the French assault in the centre beginning to slow down the french launch a second assault on the Allied right with the aim of capturing the village of Cerquedo and turning the Allied flank
The Allies form a defence line to resist the French attack
The French, pushing forward, run into stiff opposition
It's a classic case of French column vs British line and to make matters worse for the French the left hand British troops are Grenadier Guards, whose volleys are devastating.  In short order the three French columns are destroyed.
The assault in the centre is also beaten back as the French begin to run out of steam.
The French exhaustion point is reached and the Allies win the day with a resounding victory.  It looked so promising at the early stages, but the heavily defended ridge proved too much for the French.

As before, we used Command & Colors rules.  All of the figures were from Will's 20mm collection and very fine they look too!


Monday 22 May 2023

Britains Herald Knight - Refurbished

 I have quite a few of the old !/32nd scale Herald figures sold by Britains.  Many are in poor condition with missing or broken weapons and poor paintwork.

When the mood takes me I get out the brushes and have a bit of fun.  One such figure was this  medieval pikeman:

His original paintwork has been applied roughly and is a bit battered.  Also, his pike is broken, so I wrote off to Ian Kay at Irregular Miniatures and he supplied me with some cast metal weapons.

After a quick paint job and a new weapon he is ready to go into battle once more:


Monday 15 May 2023

Battle Report - Mortimer's Cross 2 February 1461

Will came over for  a game yesterday and for a change, we thought we would have a go at a Medieval battle using the Command & Colors set of rules.  Looking through various sources I selected the battle of mortimer's cross as, what appeared to be, a fairly balanced deployment with few features on the ground.

The troops were laid out as shown here, with the Yorkists at the top and Lancastrians nearest to the camera.  I wasn't sure of the various banners so it may be we had some of the wrong troops fighting for the two sides - but they often changed sides during the Wars of the Roses.  Of note is the low hill and woods on the left and the marshes top right in the low ground leading down to the River Lugg.:


The Lancastrians opened the battle with several volleys of arrows, which were returned by the Yorkists:


This was followed by a major Lancastrian advance of cavalry and men-at-arms, supported by archers, to take the high ground on their left:

Initially this went well, but a Yorkist counter attack quickly blunted the advance:
The die were not working well for the Lancastrians, who began to suffer heavily, and importantly began to lose cohesion.  In this version of C&C cohesion is very important in preventing units from breaking.


Also at this point we realised that we had been interpreting some of the rules incorrectly and made adjustments as required.

In order to try and draw off troops from the Yorkist counter attack, the Lancastrians advanced on the their right flank between the road and the river.  This move was countered by some cavalry and infantry, as Lancastrian heavy knights pushed into the Yorkist line:

The battle on the right flank went on for several turns with the advantage swinging back and forth.  However, having lost heavily the Lancastrians cleared this side of the field.  Here is an overview of the battle at this point:

However, despite the small victory on their right, the Lancastrians were in big trouble.  The left was crumbling and casualties continued to mount and the Yorkist advance continued:


Then it was all over, the Lancastrians collapsed and began streaming from the field, with cohesion lost and having been forced into fighting a number of isolated actions against a solid Yorkist line:


The battle turned out to be very enjoyable, after a stuttering start as we began to better understand the rules.  The final tally was a 6 - 4 win for the Yorkists  - I played the Lancastrians :-(

The figures, mostly Perry 28mm, were largely painted and based by the late Alan Cook and it was a real joy to see his troops back on the table once more.

We adjourned for lunch, after which we played another game - the battle of Towton.  More on this soon.


Friday 12 May 2023

Battle Report- Bussaco

A couple of weekends ago, Will and Emma visited for a couple of games.  Will brought his extensive collection of 20mm Anglo Portuguese and French armies, while I had set out the terrain.  We had decided to refight the battle of Bussaco, September 1810, which was an attack by Reynier against the right of the allied line.  For rules we used the Command & Colors (C&C) Napoleonic set, including use of the cards.

Will and Emma played the French, while I had the Anglo Portuguese army, sitting upon the ridge.

Here is the map of the battlefield (copyright Command & colors):


Unfortunately in the excitement of getting started I forgot to take pictures until after the game was underway, so this report gives an overview of the action rather than a blow by blow account:

To kick off the French began their assault in the centre and on their left, with the stream village and woods on the other flank creating a constraint:

The French initial main effort was a thrust in the centre that was heavily defended by the allies.

The French are beaten back, losing heavily:
The allies then counter-attacked, driving into the French centre, ending the French assault.

Over on the allied right/French left, things remain quiet with the French not wishing to attempt an assault over the stream.


The French now shifted attention to the allied left, with an assault by several regiments.

Once again the stiff allied defence of the ridge prevented any real progress for the French as each assault was countered and pushed back.  By now French losses were mounting steadily.

A final attempt on the ridge was made by a major French cavalry attack in the centre forcing some of the Portuguese into squares and forcing a battery to pull back.


French supporting infantry advance from the village, but too far away to assist the cavalry who were impotent against the allied squares:


Unfortunately for the French this attack came too late with the loss of a general and more casualties taking them over their casualty threshold.  As in the real action, Reynier's assault fails.

After lunch, we decided that we should attempt Ney's assault further along the ridge.