
Will and I decided to give the Command & Colors Waterloo scenario a go, again using my in house rules. I played Napoleon and the French and having read accounts of this battle on the C&C website I felt pretty confident of a french Victory.
For the game (appropriately) we used my Epic Waterloo figures and the 'village in a bag' buildings to represent the various objectives. Before I begin, I should add that I was suffering from a really bad head cold and as the day wore on my enthusiasm waned, but what the heck, wasn't Napoleon ill back in 1815 and he er....lost!
Here is an overview of the battlefield, French on the right, Allies on the left:

Looking towards the Allies positions with La Haye Saint centre left:


Meanwhile, French infantry advanced towards and take La Haye Saint but suffer heavy casualties.
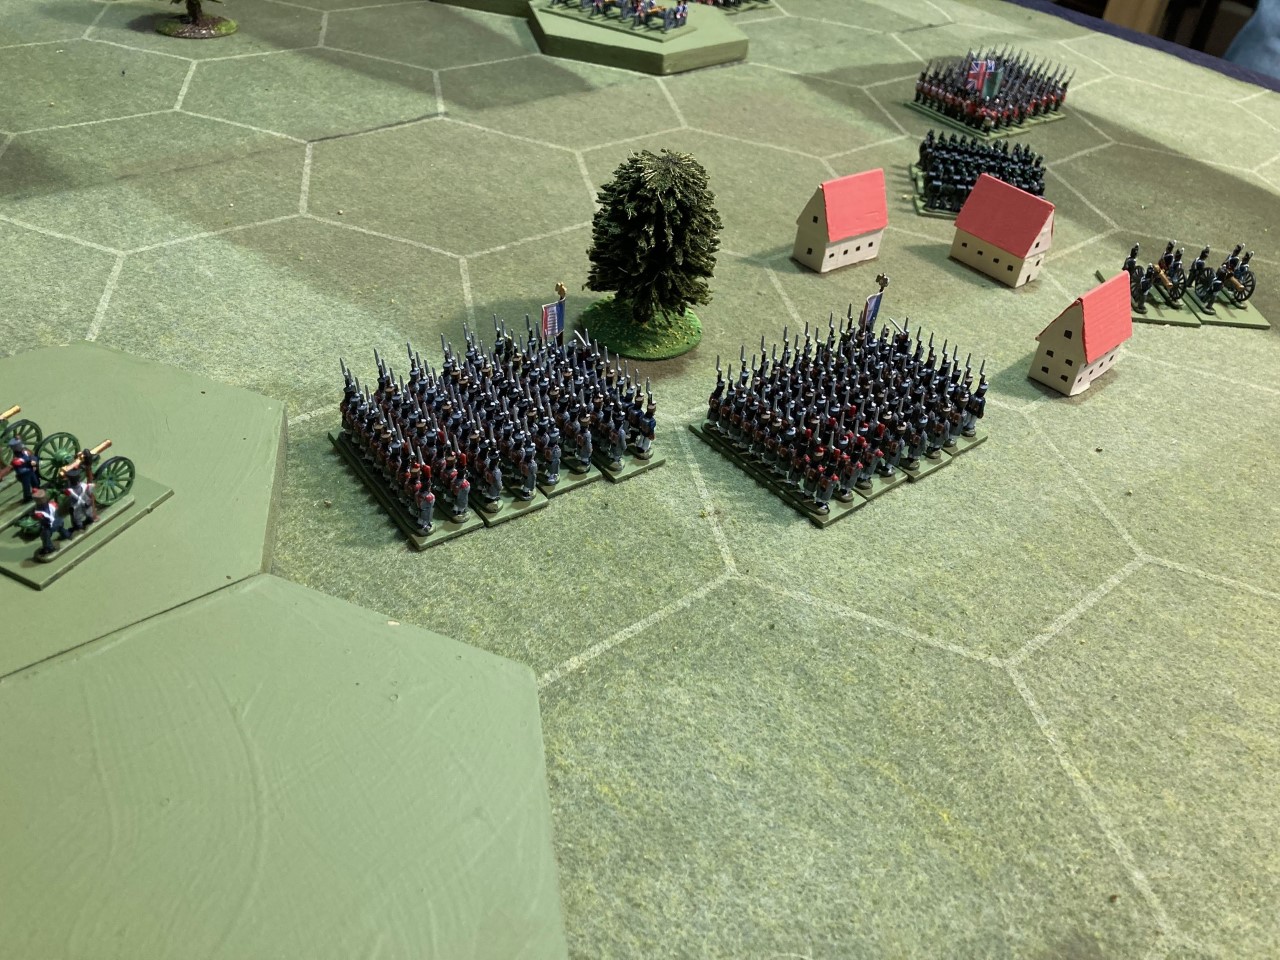
Supporting French cavalry is cleared away by a bold charge by the Union Brigade and French infantry casualties mount.

Over on the French left a concerted assault by the Allies destroys the French light and in the next turn the French hold on La Haye Saint crumbles. The French are more or less back to their start positions having lost about half of their infantry. An extensive exchange of fire by the opposing gun batteries cause further casualties but it is clear that the have lost the ability to continue the attack being just one loss from their exhaustion point.

Napoleon concedes and sneaks away to bed, hot lemon, and sympathy!
Overall the allied defence was strong, the French were over extended and maybe should have just concentrated on taking one objective rather than both. I suppose one conciliation was that following a salvo from the Imperial Guard Foot Artillery it was observed that Wellington was unhorsed and seen being carried from the field!
In any event it was a clear victory for the Allies.
A lovely looking game Bob…
ReplyDeleteThe Warlord figures work really well…
All the best. Aly
They do look good, however on the table it is quite hard to work out what unit is what from a couple of feet away.
Delete