Douglas Miniatures Logo

Douglas Miniatures Logo

Thursday 28 June 2018

Peninsular Warriors - more highlanders

These figures were very kindly given to me by a fellow collector and have been on my to do list for quite a while.  These are older Warrior 25mm figures, made of a much softer bendy metal, but they paint up just as well. This unit depicts the 79th Cameron Highlanders:


Wednesday 27 June 2018

Battle of Brandywine Creek 11 September 1777

Back from my hols, I had much fun completing this scenario, which I set up before I departed. The game is based upon the Command and Colors scenario and can be found in the Napoleonic section.

Essentially, the Americans established a very strong defence of the creek to prevent the British crossing the three fords; however, they failed to spot a British flanking attack that had crossed further along the Brandywine Creek. This is where the battle starts, with the British appearing on the edge of the American right. The map below shows the American dispositions along the creek:

Only at the last minute did the Americans deploy forces onto the high ground on their right to counter this threat.

The British flanking force consisting of Grenadiers, artillery and line troops comes into view and heads towards the Americans deployed on the high ground:

This is where the action is concentrated, with a stiff fight for the slopes, but the Americans are quickly overwhelmed and pull back:
In order to prevent the Americans from reinforcing their right with troops from the main position, the British on the far bank of the creek advance to pin the Americans to the bank:
And they engage the Americans across the river:
The battle along the creek swings to and fro. Some British units are forced back by the heavy fire from the home bank:
But, two American Regiments are also forces into retreat:
With the Americans fighting on two fronts only a dribble of reinforcements make it to the right flank, where they account for one of the Grenadier regiments, but they cannot withstand the British attack. A brave stand is made in a gap between two woods:

However, the American right flank begins to crumble as the British continue to push through into the woods:
The Americans finally give way and the British win the day. On this occasion the dice favoured the red coats, but it could have gone the other way quite easily.


Friday 15 June 2018

Away for a few days

I am off on holidays. I may not be able to respond to comments and most likely will not be posting again until I return home in about 10 days.

Tuesday 12 June 2018

Cisterna di Littoria - Italy May 1944

This battle is based upon an unofficial Memoir '44 scenario. The setting is an attempt by the US forces to break out of the Anzio stalemate in May 1944.  The US objective is to seize the town of Cisterna and punch a hole through the German defences. The battlefield is set out:

The town of Cisterna lies in the centre, with its heavily built up area and the railway running across the board. On the right is the Mussolini Canal, which is fordable, but remains an obstacle and is crossed by a railway bridge.  Defended farms on the right cover the approach from the canal. The whole area is extensively mined, with wire obstacles and fortifications. The US approach is over open, flat ground. Here is a view of the US approach in the centre:
German tanks lurk in the woods to the rear on the left and right flanks:
As dictated by the cards, US activity kicks off on the right with an assault by 504 Regiment, supported by tanks and artillery. At first all goes well as the US rapidly advance and capture the bridge:


 The US forces run into trouble when their armour is destroyed on the bridge and they take casualties in the infantry, which are quickly reduced to just one unit.
A German counter attack drives the last of the 504th back and on the right the US take on a defensive posture.
 The Germans continue to counter-attack, but over extend themselves, losing a tank. The action on the right reduces to a stalemate, with the Germans firmly in control of the canal crossing.
The US try their luck on the left. Armour and engineers push forwards:
 The engineers reach the minefield, with some casualties and begin clearing a path through.
 A German tank counter-attacks, but is quickly destroyed
However, heavy fire from Cisterna force the engineers back and eventually eliminates them. With such slow progress the US commander diverts his armour from the left to support an assault by US Rangers in the centre.

Taking heavy casualties the Rangers, supported by tanks, move forward with engineers to clear the mines:


Initially the attack goes well, and despite heavy casualties from machine guns in the town and artillery, the Rangers force the defenders back:

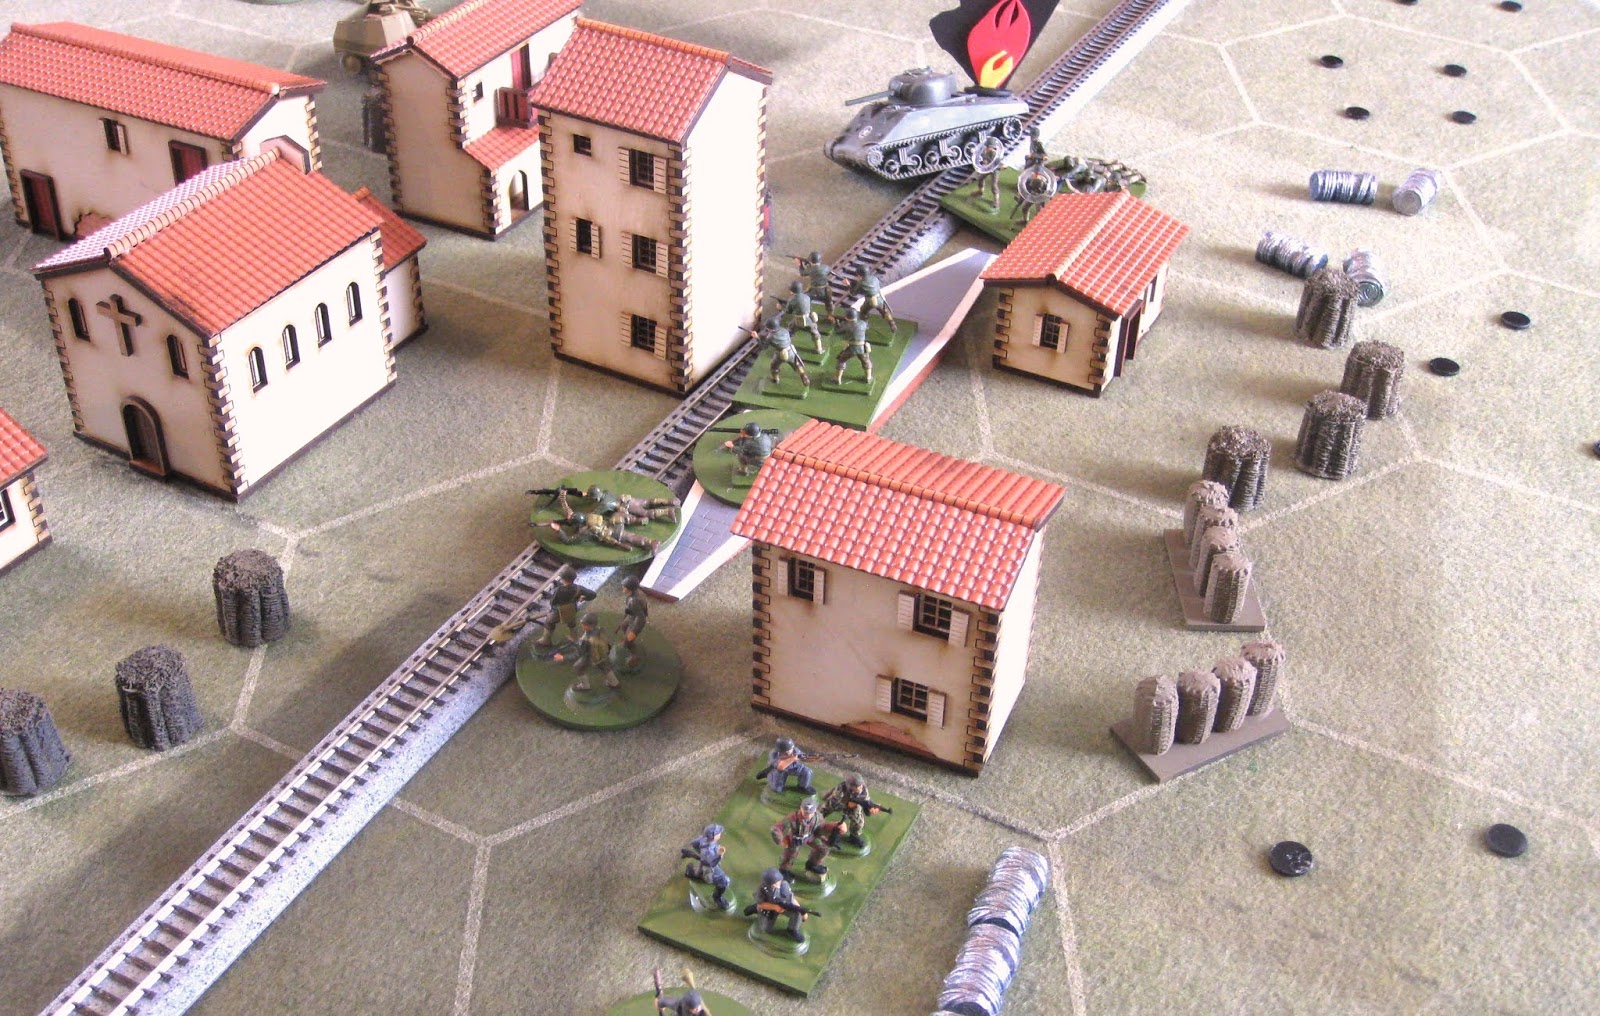
Having almost succeeded in taking the town a German counter-attack destroys the two remaining US tanks and forces the engineers and some of the Rangers back:

But, the German effort is not enough. The US regain the momentum and clear the depleted Germans from the town. With just one unit and the artillery remaining the German capitulate. The battle is a very close run US victory in the Centre, but the Germans won on the flanks where the US were ground to a standstill and pushed back. This was a really good scenario, which could have gone either way.


Saturday 9 June 2018

Training Manuals - Airfix Guide Nos 12 & 20

Having been mentioned several times in previous post comments and as they are a constant source of information and inspiration, I thought I should mention these two little gems that have been in my collection for decades, They are Airfix magazine guide 12, Afrika Korps and number 20, 8th Army in the desert.:
These slim little books are packed with organisation, uniform, equipment and campaign history, all supported by great photographs and drawings:


Over the years I have collected a number of these guides and here is my complete collection:


Army Reforms 2 - 8th Army

Continuing to reorganise my old Airfix soldiers, it is the turn of the 8th Army.  I really like these figures as there is so much potential for conversion jobs, to upgrade existing and create new weapons that are not included in the set.  I have used a few matchbox figures, especially their mortar teams. I have also scratch built some 2 pdr anti tank guns:

The tanks are by EKO, similar to ROCO minitanks:
Artillery consists of 25 pdr field guns, 5.5" medium gun, 6 pdr anti-tank gun and 40mm Bofors anti-aircraft guns:


Then, best of all, we have the infantry. I just love these advancing figures:
Support weapons are the 2 pdr anti-tank gun, Boys anti-tank rifle, Vickers machine gun and 3" mortar:


In addition there is a motorised battalion, with mostly Matchbox figures:
And last but not least some sappers:


Tuesday 5 June 2018

Army Reforms - Afrika Korps

I enjoyed my Arnhem game very much, which promted me to dig out some of my old plastic WW2 figures. I thought I could reorganise them to be used in future Memoir '44 engagements.  The first figures that I stumbled across were my WW2 desert forces and these old Airfix Germans, along with some Roco Minitanks make up a useful 1942 force:
There are two infantry groups with supporting machine guns, light anti tanks guns and engineers:
Armour consists of some Mark 3 tanks:
Some Mark 4s:
An anti aircraft unit:
Assault gun:
And artillery:
The same box has some Airfix 8th Army figures that will allow a similar force to be generated. Some desert battles coming up, I think.