Douglas Miniatures Logo

Douglas Miniatures Logo
Showing posts with label Donald Featherstone. Show all posts

Tuesday, 1 December 2020

Rabbit Run part 2 - Battle Report

 Many have observed the similarity of this game to the demonstration game set in the Plattville Valley by Donald Featherstone. Those observations were correct.  I was going to refight this battle, however, given the size of my table I had to adapt it somewhat.  Also, the troop levels were completely different.

All that said, the battle kicked off just after lunch, both sides having deployed on to the high ground on each side of the river.  The CSA forces decided their position was strong enough to defend, while Federal General Smith realised he was going to have to assault and force the rebels off Mole Hill and the features dominating the bridge over the river.  

The Federal plan was to attack on the left across the bridge to fix the rebels and try to draw off the resrves and put in the main attack on the right flank against Mole Hill and its farm.

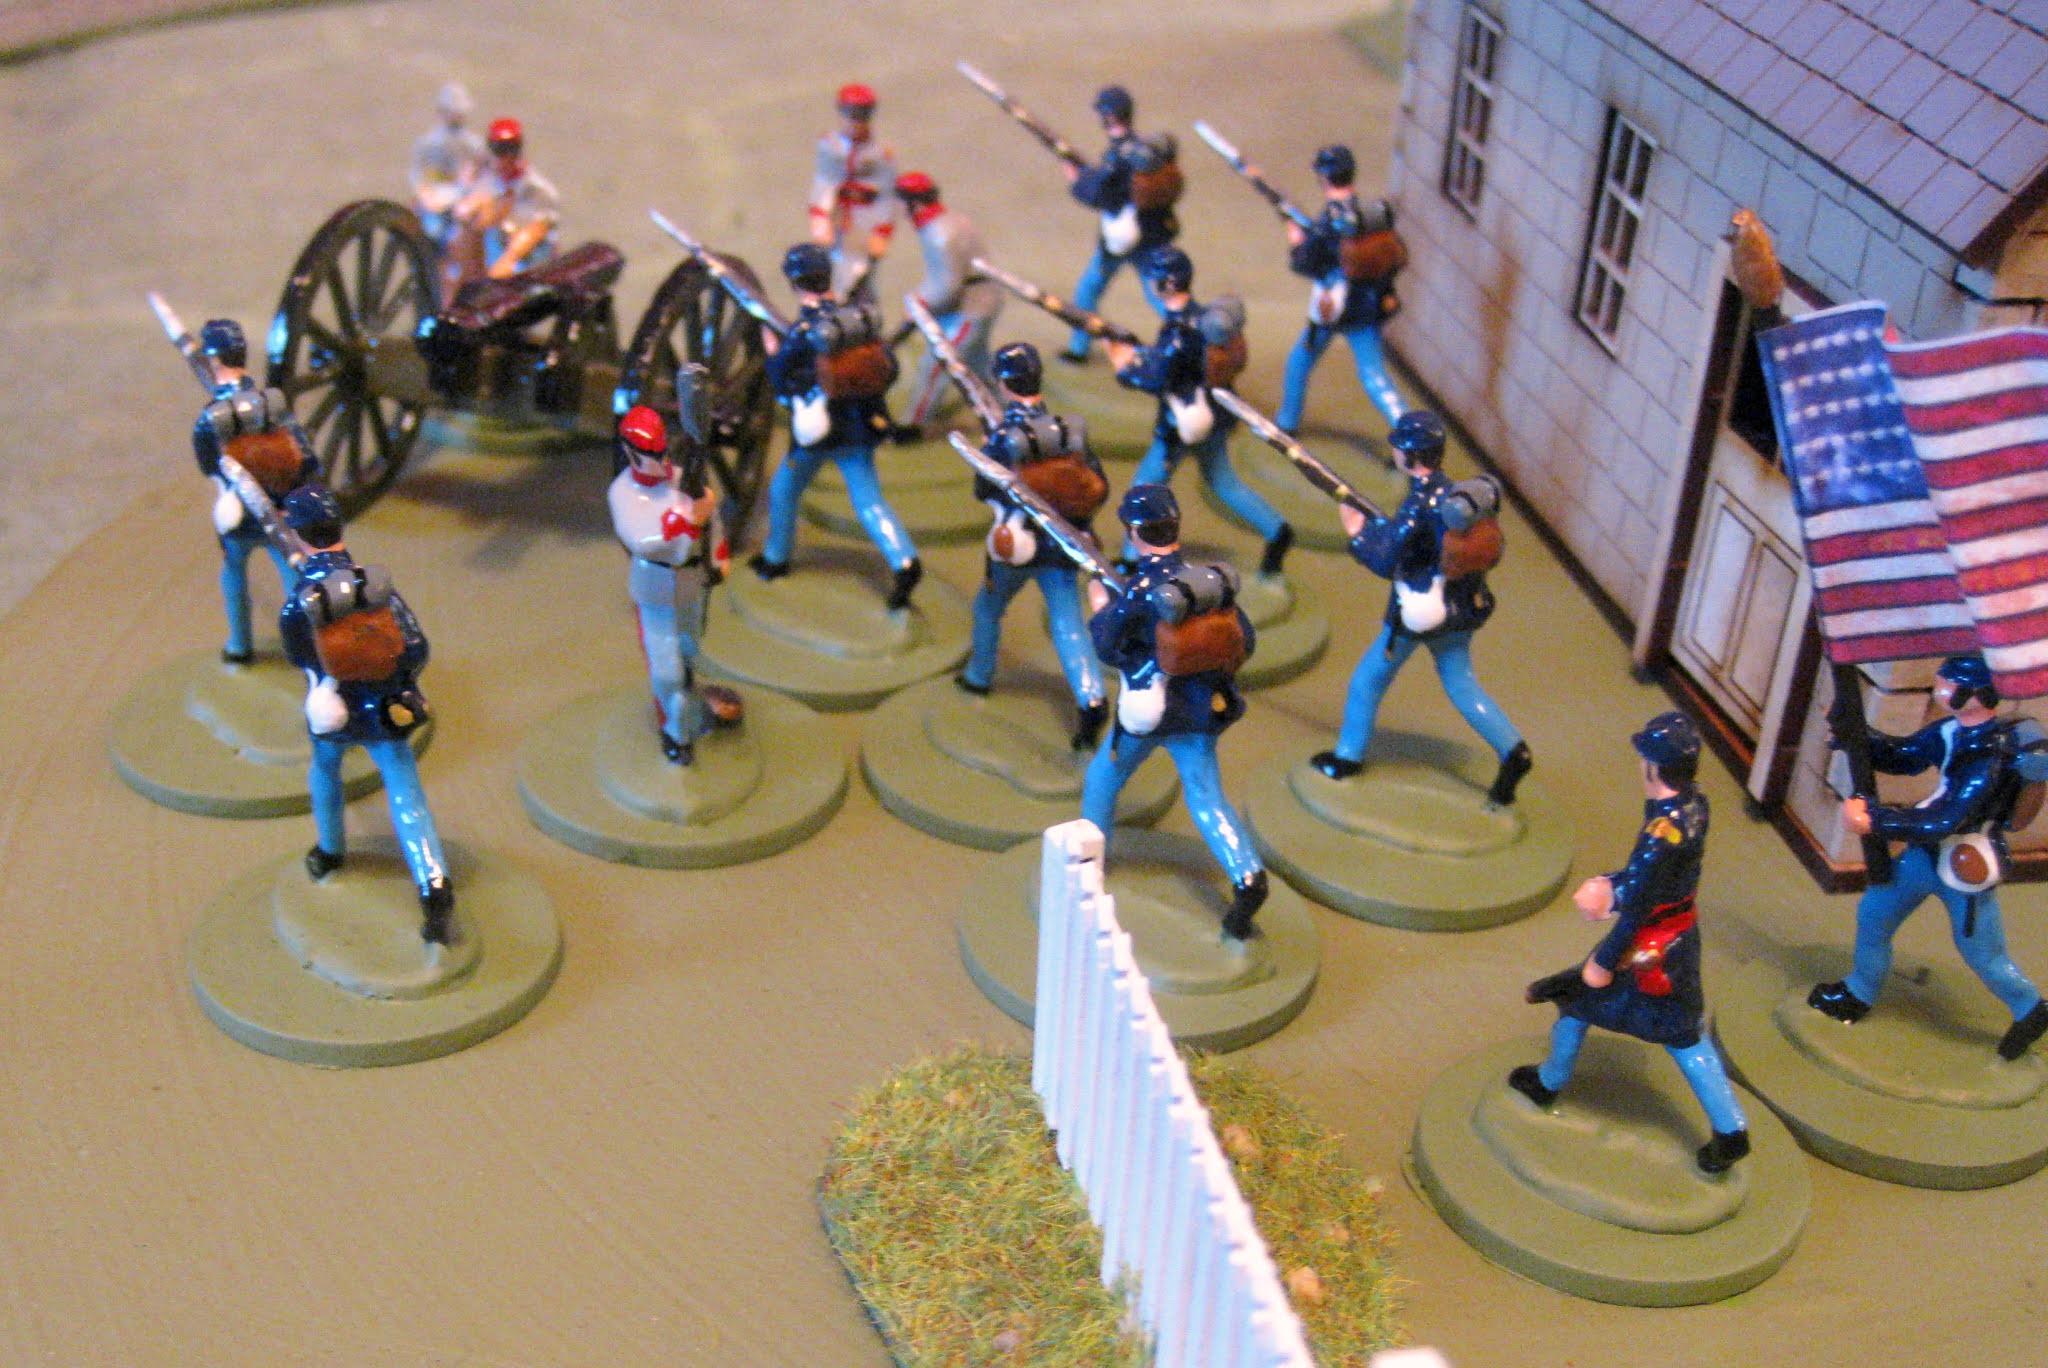
The action began with the Iowa Regiment rushing the bridge in the face of artillery fire and musketry from the Texans.  They got off lightly, only losing one figure, while Union battery 3 engaged the rebel guns taking out a gunner:

The Iowa Regiment made it to the fence line OK and attempted to shake out into a firing line:

But, now they were in range of the Texas veterans who poured volleys across the wheat field, as did the rebel gun:

The Iowa's colonel fell and their morale broke causing them to rout back over the bridge, where they were decimated by fire from the Alabama Regiment on Warren Ridge.  Their rout continued off the table despite an attempt by General Reeves to rally them:

The Federal attack on the left had failed and action was reduced to an exchange of fire over the river between the Alabama Regiment and the New Jersey boys, that caused casualties on both sides.

Federal General Smith, decided that further attacks on the left would be futile and he sent orders for Parson's Brigade to take Mole Hill.  This action began with the Federal Sharpshooters advancing towards the corn patch where they ran into the Mississippi Sharpshooters.  A brisk fire fight developed between the two groups of skirmishers. Initially the Federal sharpshooters were forced back after taking light casualties:


However, having rallied the Federal skirmishers saw off the Mississippi Sharpshooters, who doubled away to the rear past the Kentucky Regiment::

The Federals now concentrated their fire on the Georgia Regiment holed up in Mole Hill farm and the combination of musket, skirmish and artillery fire caused several casualties:


Meanwhile, having been tangled up amongst the snake fences around the Wheatfield, Parson's brigade shook out and began its move towards Mole Hill:

Taking some fire from the Georgians, the new Yorkers and Illinois Regiment pushed on. With a final charge, the Illinois Regiment stormed into the farm and a furious melee ensued:

Realising that the Georgians in the farm were in danger of being overun, CSA General Johnson orders the Kentucky Regiment to advance, while he heads off to shore up the defences of Mole Hill.

Unfortunately for Johnson, the Georgians are all but wiped out and the farm falls to the Illinois Regiment, who continue their rampage by charging into CSA Battery A, wiping that out too.  In the Melee General Johnson is pulled from his horse and dies:


The collapse of the Rebel left begins. With the loss of General Johnson, the Georgians and the artillery, the Kentucky Regiment must take a morale test. They fail and rout from the field.

On the other side of the field the New Jersey Regiment on Twin Buttes continues its exchange of fire with the Alabama Regiment, eventually forcing the latter back off Warren Ridge:

At the same time Federal artillery Battery 3 scores a direct hit on CSA Battery C, wiping out the crew:

With the demise of the CSA gunners, the Vermont cavalry decide to make a charge across the river bridge:


This is a mistake as they run into a hail of fire from the Texans, losing nearly half their number. However, this small victory cannot save the CSA army and General Spencer gives the order for a withdrawal, covered by the Texans and Virginia cavalry.  The battle is over leaving the Federals in control of the field, but they are exhausted and unable to pursue.

For this game I used Featherstone's rules.  I found that they could be very cruel when it came to a firefight, especially when followed by poor morale.  Infantry volleys are devastating when they hit home. That said, this was a fun game and an excellent way to give these lovely old soldiers a try out. It was certainly enjoyable and spectacular.  I think the Texans deserve a battle honour for this one!


Friday, 31 May 2019

Bank Holiday Battle - A Landing in Force

Appearing in Donald Featherstone's 'Wargames Campaigns' book, 'A Landing in Force' is one of those battles that has been on my list to play for many years.  I am guessing that it should be played as several actions, as it would be a tight squeeze on a regular wargames table, with a beach landing and an inland airborne operation.

I then had the idea of playing it out using 1/300 scale figures and the seeds were sown. This is the battle area as laid down in the book:
It can be seen that there is a heavily defended beach, a small town, a defended bridge over a river, leading to hills and a road down which will come German reinforcements in the shape of armour and armoured infantry.

Here is the table (most of it) laid out prior to the action:
Some of the features:

The beach, with obstacles and mines:
The strongly defended town:
With strong points, such as these 88mm guns:
The bridge; the objective for the British airborne element, defended by bunkers and infantry:
And artillery on the high ground behind the town:
Although the airborne forces went in first at dawn, the beach landing followed soon after; however, despite there being concurrent activity, I shall deal with the two actions separately. For rules, I used modified Memoir '44 systems, although I dropped the cards and used a dice based unit activation system. This was heavily weighted against the Germans for the first 5 turns to allow the Allies an element of surprise.

The Airborne Operation

My initial thoughts were a parachute drop followed by some gliders, but I then decided to bring in the whole lot by glider.  The airborne forces had two tasks. Firstly to capture the bridge and neutralise the bunkers at each end. Second, they were to delay the arrival of German reinforcements. To do this they had three units of infantry and two units of anti-tank guns.


The initial landing went well, with all gliders arriving safely and undetected by the Germans:
The troops spill out and organise themselves:

A brisk firefight ensues around the bridge and the first bunker complex is swiftly overwhelmed:
The airborne infantry then attempt to rush the bunkers on the opposite bank:
This does not go well and a complete airborne company is cut down and destroyed; however, a second attempt, overruns the bunkers and the bridge is secured, having lost around a third of the airborne infantry. A small battle takes place around the farm near the bridge and a German HQ unit is driven off.:
Meanwhile, the anti-tanks guns take up position on the high ground to await the inevitable German reinforcements:
Phase one for the airborne troops is successfully completed.

The Beach Assault

As would be expected the beach assault begins with a preliminary bombardment by ship mounted guns off the table. The strong points and bunkers are the primary targets:
In the first salvo the left hand coastal defence bunker is damaged and a second turn sees one of the 88mm guns destroyed; however, the allied commander is concerned that an extensive barrage would mean that the airborne troops would have to defend bridge much longer on their own and its loss would mean likely defeat. So, after just two rounds of shelling the assault craft are ordered in:

The first wave consists of tanks and infantry engineers, tasked with breaking through the obstacles and mines. One tank is lost immediately, but the engineers push through and begin clearing mines, covered by tank fire.

The engineers successfully widen the minefield gap, but take heavy casualties from the now fully alert Germans:
A second wave of landing craft bring in more tanks, engineers and infantry, who fight their way into one of the strong points:
Some of the allied tanks begin edging into the town:
But do not make much more progress as the allied activation points are needed to fight off a German attempt to recapture the bridge.

Battle for the Bridge

German artillery on the high ground behind the town turns about and begins to shell the airborne forces defending the bridge:

At almost the same time German tanks appear on the approach road to the landing site:
But, the German tanks immediately come under fire from the anti tank guns, quickly losing three of the four vehicles, the fourth being driven off:

Whilst this is good news for the allies, it means that lack of activation points has slowed the beach landing down and the initiative is being handed to the Germans.

To deal with the German artillery on the heights, the allies launch an air strike, which takes out the guns over two turns:
To add to the airborne woes German Panzer Grenadiers come roaring down the road:
There begins a slogging match between the German armour and the anti-tank gunners. Bit by bit the guns are forced back, although remarkably take few casualties. For the Germans the cost is high and soon more tanks and half-tracks are burning:

The British Typhoons are about to be tasked with further targets when two German FW-190s appear on the scene. They down one of the Typhoons and force the remainder to withdraw:
To make matters worse a further German Panzer unit arrives that squeezes the airborne perimeter even further as the anti-tank gunners take more casualties:
But, remarkably the gunners fight on and soon more armour is burning in the valley, and the German armoured survivors withdraw:
Now, with bit of breathing space the allies concentrate on the beach landing, bringing in more tanks and infantry; however, the Germans are not finished yet as they mount a vigorous counter attack in an attempt to take the town:
The Germans come close to retaking the forward strong points:
But, soon come under fire from tanks and infantry newly arrived on the beach, who take heavy casualties themselves from the 88mm beyond the road:
Despite valiant efforts by the Germans the allied armour closely supported by infantry edges into the town:
On the allied left some Shermans from the initial landing successfully edge around the German flank, clearing some mortars before them:
 With the fighting continuing in the town, the Shermans move forwards and are soon in reach of the bridge:
German resistance on the left flank begins to crumble and the first allied tanks rumble over the bridge, connecting up with the airborne boys:
More troops enter the town as the Germans begin to surrender:
This proved to be an exciting and hard fought action.  The allies had a lot of luck and the airborne forces should have been overrun.

What a nice way to spend a bank holiday!


: