Douglas Miniatures Logo

Douglas Miniatures Logo

Saturday 23 November 2013

Zouave Command Group  

In an earlier post I commented on the lack of figures in the Douglas Miniatures Crimean Range for French forces, with them being represented by just the single advancing Zouave figure. It was suggested that Wodensfeld ACW figures might be the solution, so a quick email to John Cunningham saw some samples arriving rapidly in the post. There is quite a variety of figures in the Wodensfeld range, which are also of varying sizes. I settled for these:


The uniform and headdress is very close to the DM figures, and these were the tallest of the Wodensfeld samples. Here they are next to the DM Zouaves:


I think they will work well. It might be a while before I paint them as they are in the stash of projects right now!

Sunday 17 November 2013

Russian Artillery 

The second part of my artillery project is now completed to match the British, also completed today. I have painted a second limber and added an artillery commander, a Strelets figure:


I have also painted a Strelets heavy gun, manned by a crew from the same company in a small defensive position. This was made from match sticks, cocktail sticks and DAS clay:


Next, back to painting Russian infantry!


British Artillery - Limbers and Gun Teams   

At long last I have completed the British artillery by adding two limbers and a second gun. The limbers and horse teams took a while to assemble and paint, but the result was worth while. Here are the teams, the guns, with their newly appointed commander, a Strelets plastic figure:


Saturday 16 November 2013

Hinton Hunt Crimean War Range  

The long disappeared figure producer Hinton Hunt produced a modest range of Crimean War figures, although nowhere near as extensive as the Douglas range. Most of the Hinton Hunt figures (if not all) are obtainable today from John Cunningham. I bought a few British Guards figures to do a comparison and here are the results, with the Hinton Hunt figures on the left. Height wise they are not bad, although the Douglas figures are more slender overall. On the table the units mix quite well:


This is a complete unit of Hinton Hunt British Foot Guards, painted a few month ago. The range has two types of officer figure, but no drummers or standard bearers. I converted standard bearers from charging officer figures:


Friday 15 November 2013

Quick Update 

Although I have not published much during the last two weeks, I am making steady progress. I am nearing completion of a second Russian limber, as well as assembling and painting two British limbers, a gun and Royal Artillery crew. Hopefully some pictures will be available at the weekend. This will complete my planned artillery component, although I am thinking about some siege guns and redoubts.

I have also begun painting another Russian unit, this time a line grenadier battalion. That should be ready soon. Following that I will start on a third British heavy cavalry regiment, the 5th Dragoon Guards. That will just about finish all the unpainted figures that I have, so will need to consider the next steps!!

Tuesday 5 November 2013

.

20mm Flags by Adolfo Ramos  

In an earlier post there was some discussion about a source of Crimean war flags, having discovered a company in Spain, Adolfo Ramos. I thought I would try some and I found it is possible to order in a variety of scales. I purchased some samples of the 20mm version. They are quite expensive, but are very well produced and with a high quality finish. My picture does not do them justice. It is possible to buy the flags already mounted on a pole with the cords fitted. They are wonderful, but even more expensive.

The biggest concern I have is the size. The 20mm flags in my view are a bit too big for the Douglas Range, but would probably work with the Minifigs S range, which have quite large poles. Anyway here is a picture of three examples of Russian flags next to a Douglas standard bearer and you will see what I mean:


Sunday 3 November 2013

R11 - Russian Lancers   

I have now completed the third and final examplw of the Russian cavalry types in the Douglas Miniatures range, namely the Uhlans, or Lancers. Dressed in the normal great coat attire, so common in the Crimea, these troopers are quite easy to paint. One figure had a malformed pennon, and so I reduced it and added a guidon. The unit represents the 12th Lancers:


Sunday 27 October 2013

R17 Russian Infantry Firing - Soft Hat   

Painted as Jagers, the latest addition consisting of Russian line infantry in greatcoats and soft hats in the standing firing position. Jagers were distinguished by their black leather straps. I have also converted the officer figure and standard bearer by removing the helmeted heads and adding soft hat heads. I also added a spike to the flag pole. This was made from the top of a cocktail stick:

Sunday 20 October 2013

B19 Highlander Advancing  

There is only one highland figure in the range:


British Artillery - Unpainted figures   


B12 Foot Artillery Officer with Sword


B13 Foot Artillery Gunner with Spike


B14 Foot Artillery Gunner with Ball


B15 Foot Artillery Gunner with Ramrod


B20 Foot Artillery Outrider


B8 Guards Officer   

Just for the record here is a picture of an un painted British Guards Officer:


The Scots Greys    

The latest addition to the British cavalry force is a painted unit of Douglas Miniatures B2, Scots Greys. These were fun to paint being a bit different, but I had real trouble with the swords. Most broke off and had to be replaced. The way I did this was to drill a hole into the sword hand having filed down the stump of the old sword. This hole can be carefully opened up to form a groove. The new sword is made from a thin strip of metal from the lid of a bean can, which can be cut with a good pair of scissors. The point is shaped with a quick trim and the new sword slots into the groove with some super glue to hold it in place. I decided that one figure should carry a guidon. This was sourced from the internet, sized and duplicated to get both sides. I added some cotton tassels, which were painted gold.


Wednesday 16 October 2013

French Infantry - Zouaves    

Douglas Miniatures has but one French figure in the Crimean war range, and that is F1, French Zouave. The figure is shown unpainted in an earlier thread, but here is a full unit painted:


They were great fun to paint, although the detail on the casting is quite vague. The next unit to be painted will be another British heavy cavalry unit, the Scots Greys.


Tuesday 15 October 2013

Russian Cossack Horse Artillery      

After a short break from painting, I have just completed one of the limber sets, which I featured in an earlier post. This has now been assembled and painted. It was a bit of a fiddle getting it all to go together, but got there in the end. Here is the new artillery team:


And deployed:


Wednesday 25 September 2013

My Rules - Don't Laugh  

Over the years I have developed my own rules, learning from early experiences where once battle is joined it can take an hour or more per turn to resolve combat with complex charts and tables. These rules work for me and have no tables and are on one sheet of paper. They have two things which speed things up: 1; the use of coloured measuring sticks and a set of dice for each colour on the stick,numbered with higher probability for close range and lower for long range. 2; is that morale calculations are based on % casualties with a few adjustments. Everything else is much the same as other rules but greatly simplified. Here is the measuring stick for infantry in use. The British are firing on the Russians. Eight figures firing at medium range means two orange dice marked with 0,0,0,1,1,2 (see below)


Here are the rules as set out:

Bob’s quick play Crimean rules
Rule 1 – These rules should consist of no more than one side of A4 paper.
Scale: 1 figure = 33 soldiers. 1mm = 1yard.
Equipment: small arms measuring stick (300 yds); artillery measuring stick 1000 yds
Movement

Normal Move
Charge
Skirmish
River/hill/obstacle
Infantry
100
150
120
50
cavalry
200
240
200
100
Horse Artillery
200
200
-
75
Foot Artillery
150
150
-
50
Firing:
Muskets and carbines use orange and red sections only (200 yds)
Units fire once per move, charging units are fired at half way through the charge.
Use appropriate measuring stick to work out range (short, medium, long) roll one dice for every four figures or battery firing. Total dice roll is number of figures deducted.
Dice face value- , Green = 0,1,1,2,2,3; Orange = 0,0,0,1,1,2;  Red = 0,0,0,0,1,2 
Morale
Morale is based on casualties and is accumulative:
10% = Unit halts if advancing for one move, 20% = Unit pulls back half a move, 30% = Unit retires full move, 40% = unit retreats rear facing enemy, 50% = rout. (last two considered disorganized).
Adjustments
+ 10% if in hard cover, if Army commander present,if winning melee
-10% if General is killed, if under effective artillery fire, if flanking unit routs

Melee
Roll 2 ordinary dice, highest score wins deduct casualties based on one green dice for loser, red dice for winner.
Adjustments –
 +1 if uphill, if charging, if elite, defending building. Russians have +1 in melee
-1 artillery in a melee, skirmishers caught by formed infantry, -2 if caught by cavalry -1 if disorganized

Special rules
British have mostly Minie rifles, Russian have high number of muskets (except jagers). Russians use column, allies line. Russians get +1 in a melee


Tuesday 24 September 2013

First Contact - Action on the Bulganak, 19 September 1854


Having landed at Kalamita Bay during the period 13 – 18 September 1854, the Allied Army started south towards the city and port of Sebastapol, the primary objective of the force.  The British Army at this time was very short of cavalry and the movements of the allies were constantly being shadowed by groups of Cossacks. The allied Army was strung out over a great distance and the British and French forces had become separated, with the French moving on the right along the coast. Being outnumbered significantly by the Russian cavalry it proved very difficult for British patrols to locate the Russian forces, and so the approach south was very cautious. In fact the main Russian field army, under the command of Prince Menshikoff, was by now positioned on the high ground overlooking the River Alma. The Russians had deployed a detachment forward of the main position under the command of General Kiriakoff, and it is this force that the British were about to encounter.

On the afternoon of 19 September the allied army reached a small river, the Bulganak, beyond which was a ridge that blocked the view to the south. On the summit of the ridge sat a group of Cossacks. At this point the British army was stretched out over several miles with a very small cavalry force at the front.  The British dispatched 4 squadrons of cavalry to scout beyond the ridge.

At the crest of the ridge the ground dropped away over a shallow valley, beyond which was another ridge. In the low ground between the ridges a large force of Russian cavalry was slowly advancing in the direction of the British. On the far ridge were two regiments of infantry and some horse artillery.
This is the point that the battle begins. The British light cavalry are highly exposed facing an overwhelming force of cavalry and 
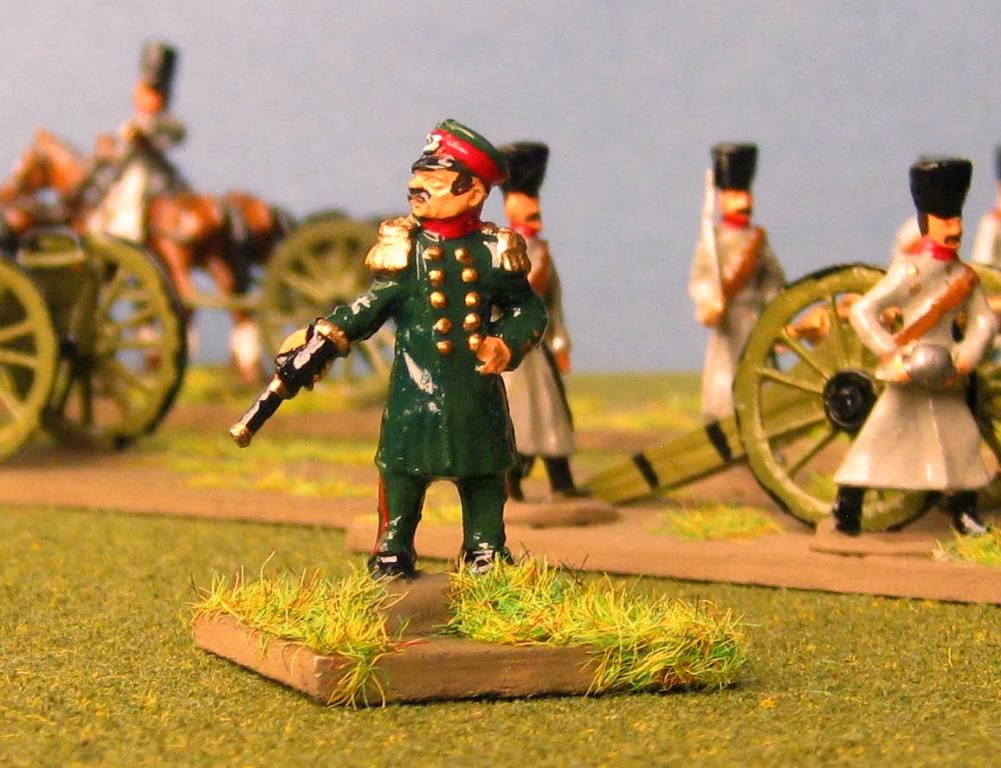
Cossacks. The cavalry commander, Lord Lucan arrives to survey the scene as the cavalry deploy into line. 


At first the Russians appear transfixed, unsure as to what they should do. The British can do little other than watch until reinforcements arrive. Lucan sends for Lord Raglan, the Army Commander, who in turn orders some artillery, the 2nd and Light Divisions to cross the Bulganak and close with the enemy. 


On the third move the Russian artillery on the ridge opens fire on the British cavalry to very little effect. Lord Raglan and his headquarters arrives on the field.


On move 4 the Cossacks deploy right and left to encircle the British cavalry, while the remainder advance in skirmish formation. The guns on the ridge continue their ineffective fire.


On move 5 a brisk skirmish develops with casualties mounting for both the British and Russian Cavalry. The British 2nd Division and Light Division begin to cross the river and an artillery battery rushes up across the bridge to engage the Russians.


Move 6 sees the Cossacks charge forward on the left crashing into the British cavalry destroying them, The remnants turn tail and rout back across the river. On the right flank the second group of Cossacks lunge for the British battery, which attempts to unlimber. A company of the Rifle Brigade attempt to engage the Cossacks with fire, but it is ineffective. The Cossacks charge home, smashing into the British gunners.


By turn 7, on the right flank the British artillery remnants run from the field, but the Rifle Brigade now have two companies on the ridge, who unleash devastating fire upon the Cossacks, cutting down over 60 of them. The Cossacks turn tale and retreat up the road.


On the left flank the 2nd Division, armed with Minie rifles tear into the Cossacks who have charged into the the British light cavalry and are regrouping after their charge. They take around a 100 casualties and break. Meanwhile the remaining Russian cavalry withdraw back out of rifle range towards the second ridge. The Russian artillery turns its attention to the 2nd Division which is emerging from the river. The British light cavalry rout from the field.


By turn 8 the two British Divisions are clear of the river and are advancing in a long line towards the Russians. On the other side of the valley, the Russian infantry advanced down the slope to engage the British.


On move 9 the British close the distance with the Russians and open fire at medium range causing some casualties. At this point the advantage of the rifle armed British becomes evident. The Russian muskets are not able to effectively reach the advancing enemy.


On move 10 both sides exchange fire along the ridge. The Russian fire is ineffective, but the British volleys are devastating. The Russian units begin to crumble and pull back up the ridge.
The battle is over. The British do not have any cavalry available to pursue and the remaining Russians withdraw beyond the ridge. So ends the first engagement.


 The historical battle ended with the cavalry skirmish, after which the Russians withdrew (the cossacks did not charge and there was no infantry firefight).