Douglas Miniatures Logo

Douglas Miniatures Logo
Showing posts with label Portable Wargame. Show all posts

Monday, 28 July 2025

Battle of Naseby 1645

 Will came over during the weekend and we decided to have another go at an English Civil War battle. Naseby turned out to be the venue for the game and the board was duly set up.  I would play Parliament and Will the Royalists.  The field consisted of a shallow valley, largely open, with just a couple of small wooded areas, although on one side were some high hedge enclosures.  The hills were not steep enough to cause movement penalties but gave cover from view and uphill troops had a melee advantage.  Here is the battlefield as set up at the beginning, with Parliament forces nearest the camera.

The two commanders meet prior to the action:

I was feeling rather smug as, in the real battle Parliament wins and has a considerable numerical advantage.  I kicked off the battle with an artillery bombardment that had little effect.  Will immediately responded by pushing forward all of his cavalry regiments, hurtling hell for leather towards my lines.  Having more cavalry I ordered four regiments forward to counter attack. Soon the Royalist cavalry were amongst my artillery lines:
My cavalry counter attacks on the right:
Over in the enclosures a regiment of Parliamentary dragoons begins to harry the enemy infantry and Will sends two regiments of foot to clear the dragoons away.
Will's cavalry continue to charge forward, this time on my left.
Over on the right a significant cavalry battle begins:
And, back on the left my cavalry begin to engage the Royalists:
An exchange of fire between the dragoons and Royalist foot begins, with little effect, although the dragoons take a few hits from Royalist musketeers.
Over on the left a confused battle between the horse units of both sides continues.  My foot units hold the ridge:
The action in the enclosures continues and the dragoons now are being pushed back, losing half of their number:
An overview of the battle, with the horse from both sides on the flanks fighting it out.  The dice was not in my favour and bit by bit I lose initiative points and seem to be failing in combat:
Will begins to move his infantry forward and one of my guns is destroyed.
On the left the Royalists begin to take casualties, but continue to hit back.  A Royalist general falls as his cavalry rout.
The same on the right with the cavalry of both sides continuing to fight.  By now all of the Parliament cavalry have been committed to the fray:
Having broken through my cavalry, the Royalist horse charge up the ridge:
Will's foot regiments advance and clash with their opposite numbers in the centre:
Meanwhile the dragoons and Royalist foot pop away at each other.  One of the Royalist foot regiments is beaten off:
Close quarter action in the centre:
At this point in the battle most of the Parliament horse have either been destroyed or routed, two guns are lost and Parliament's nerve is weakened.  Cromwell's army pulls away from the field and although badly battered the Royalists claim victory.  History is reversed and the monarchy is saved - for now!

This was a terrific game.  Once again we used the rules from the Portable ECW Wargame book and they worked very well, providing a fast moving fun game.  

This was a big action involving a lot of troops, however, the whole battle lasted just over two hours as we adjourned for lunch!


Wednesday, 21 October 2020

Old School Wargame - Battle of Leibnitz

 Another wet few days, so I thought it would be fun to have a quick wargame. I decided to base the action upon Neil Thomas's example battle of the same name in his book 'Napoleonic Wargaming'.  This game has eight units per side.

 I used my Warrior troops for this action, which include some very senior figures.  Two of the cavalry units were previously owned by the late Stuart Asquith and can be seen in action in December 2016 on Keith's Wargames Blog under the command of Stuart himself!

 The Russians have three cavalry, one artillery and four infantry  units,  The French have two cavalry, one artillery and five infantry units.  The battlefield looked like this:

The French are at the bottom of the picture.  The town of Leibnitz is on the left, occupied by Russian Jaegers. In the centre right is the Schiller Forest and below that is Mount Hegal, around which is positioned the French army.

The Russian plan was to pin the French between Leibnitz and the Forest and bring their cavalry and heavy infantry around the opposite flank.  The French meanwhile decided to bypass Leibnitz town and batter their way through the gap between the forest and the town.

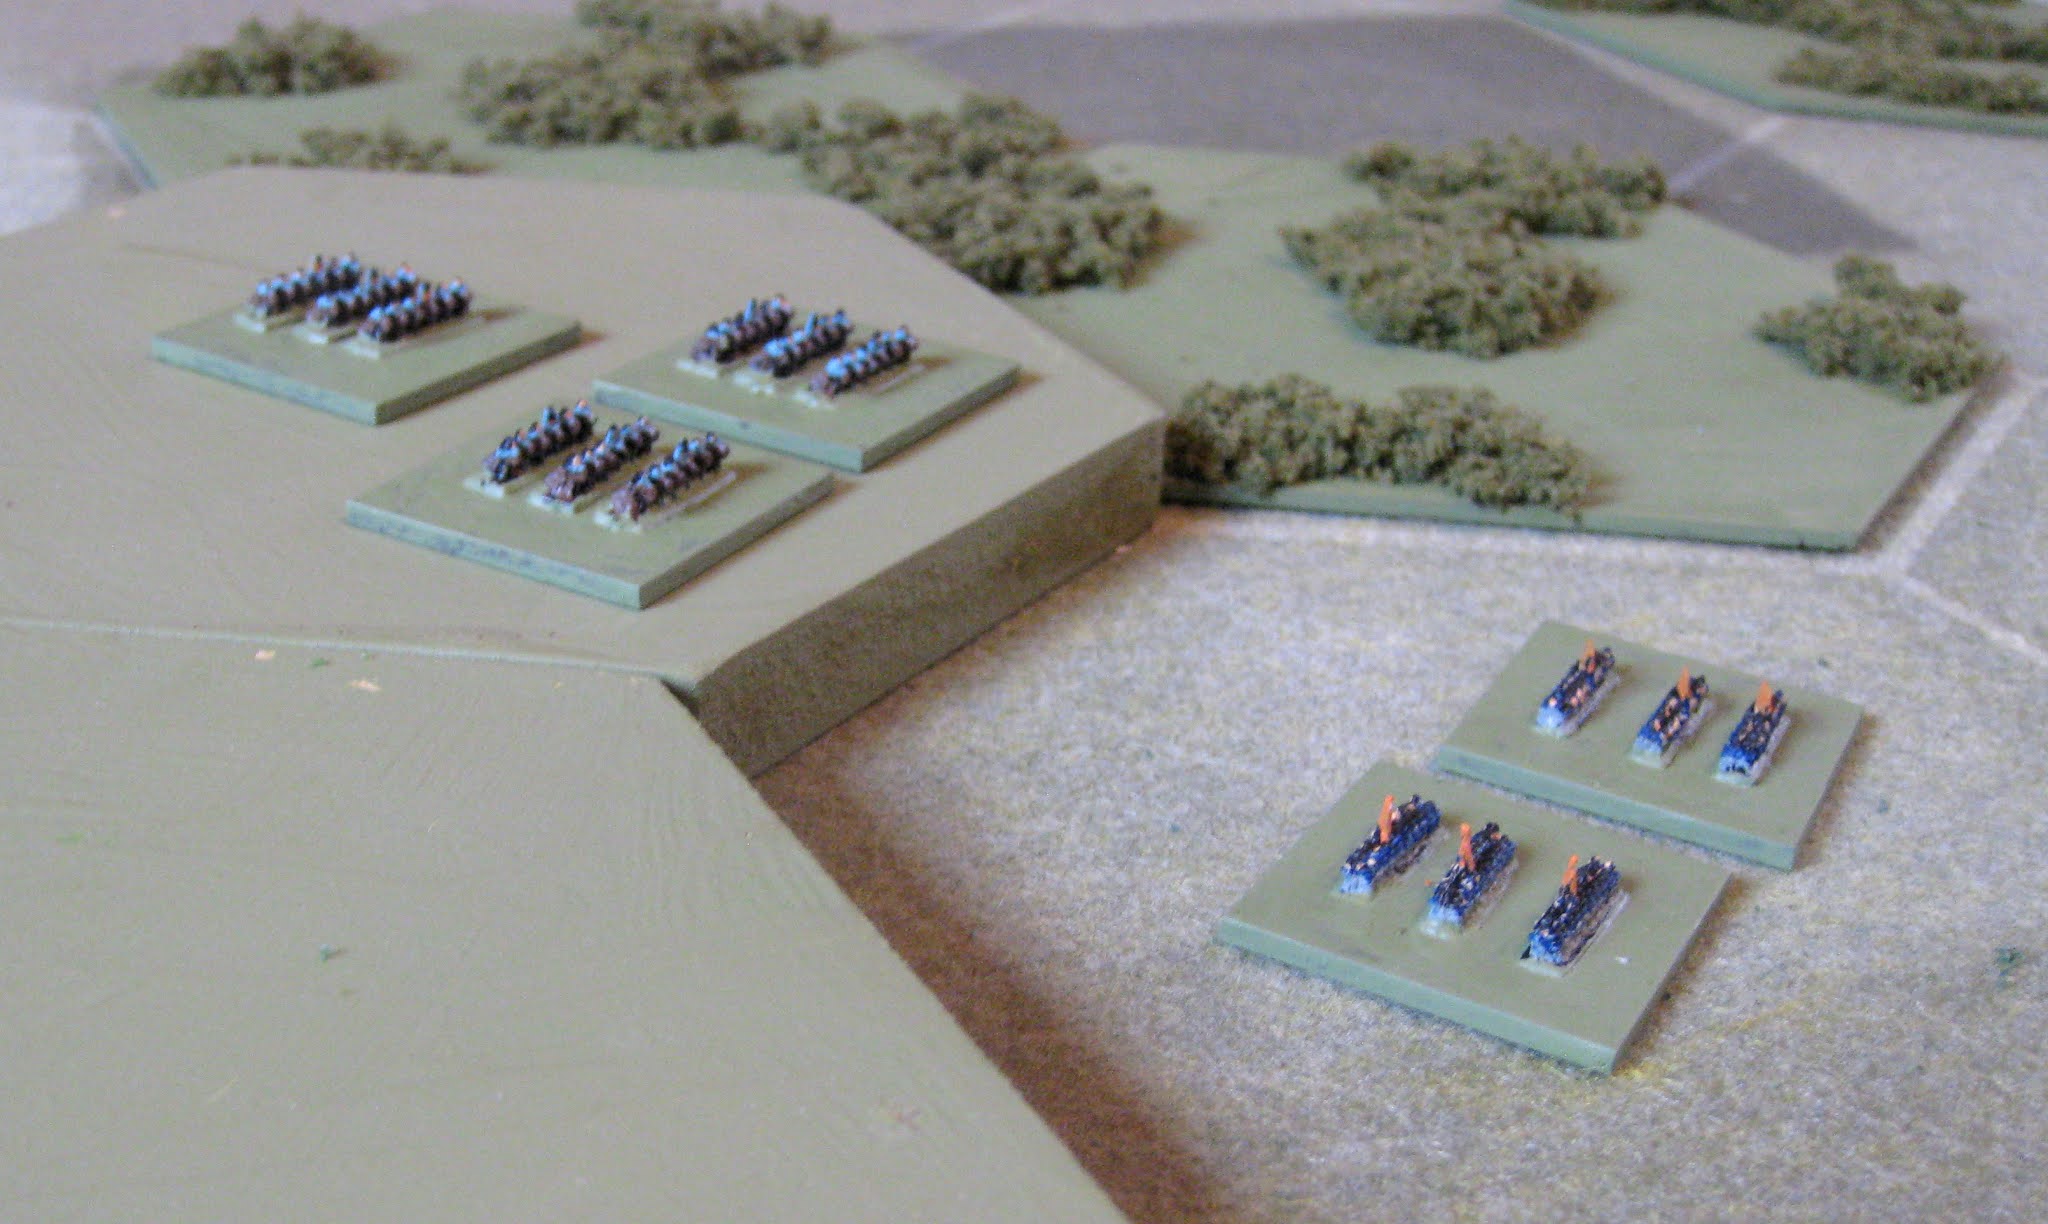
The battle kicked off with the French adavancing on the left and pulling back on the right.

A French Battalion watching Leibnitz, defended by Russian Jaegers:

The French advance commences:


However, the Russian Cossacks charge and force the French Guard Battalion into a square:

The French guard are then hit by artillery fire and finally destroyed by assaulting Russian infantry - not a good start for the French.

On the opposite flank the Russians begin their move, with two infantry battalions (one Guard) and two cavalry regiments, one heavy.


Back on the other flank things begin to hot up. The French send in their dragoons to chase off the Cossacks and a line grenadier battalion charges the the Russian line battalion that was already damaged during the fight with the guard. The Russian infantry is destroyed:


Having defeated the Russian line infantry the French storm into the Russian gunners nearby and wipe them out too:


The French are much happier now, having seen off the Cossacks and destroyed  an infantry battalion and a gun.

On the other flank, things are also developing.  The French Chasseurs a Cheval attempt to fight off the Russian Cuirassiers, fail and then rout from the field leaving the French flank horribly exposed.  However, not waiting for support, the Russian guards storm into the French voltigeur battalion, causing some casualties and forcing them back.  This leaves the guards flank exposed and next turn they suffer heavy casualties from flank and frontal fire and rout off the field:


The French success is quickly forgotten as the two isolated units are threatened by cavalry and forced into square, whereupon they begin to take casualties from the Russian grenadier battalion that has moved into range:


The French dragoons now hurtle across to the threatened flank and begin a lengthy melee with the Russian Hussars, with neither side making much headway.  


Having seen the French dragoons depart the Russian Cossacks come into play once more and charge the now exposed French Grenadiers, who fail to form square and are destroyed:


During the same turn the Russian Jaegers emerge from Leibnitz to threaten the French left, supported by the Cossacks:

 Back on the right flank, one of the French squares collapses and routs from the field. This leaves the French gun exposed to attack by the Russian Cuirassiers, and despite heavy casualties the guns are swept aside. This final blow sealed the fate of the French, giving a 5-4 victory to the Russians. 


What a great game.  Sometimes it is the simple games that offer the most enjoyment.


Sunday, 27 September 2020

The Action at Twee Heuvels

 Having assembled my 2mm Armies, in the shape of a French and an Allied Corps, I spent the weekend setting up and playing out a small action.  I based this upon the battle in Bob Cordrey's Portable Napoleonic Wargames book, designed to be used with his army/corps level rules.  

My game consisted of a meeting engagement, with an Allied corps, consisting of three infantry divisions, a cavalry division and an artillery brigade.  The French force was roughly the same size. As per the book, the Allies pushed forwards to sieze the village of Twee Heuvels and the ridges on either flank, with the Dutch division taking the allied right hand ridge and the cavalry on the left.  The third British division is moving up in reserve.

The French, seeing that the allies have taken the key ground, begin to organise themselves for an assault. This is where we pick up the action. The French move two divisions up to assault the village, supported by artillery, while the cavalry and the third division move around the flank towards the Dutch. Here is a picture of the situation seen from the French end:


Two French divisions prepare to assault the village:

Held by four British brigades totalling 12 battalions:

On the next move the allies move up the reserve division behind the village and the Dutch engage the French cavalry - very badly, inflicting no damage.  On their turn the French cavalry crashes into the Dutch forcing them off the ridge and causing casualties. Not good for the Allies, as their right flank collapses;


In the same move the French assault goes into the village, causing heavy British losses:

During the next turn, the allies use up their iniative points on firing at the attacking French, with little effect.  The French cavalry now finish off the Dutch division, which routs off the field and the French infantry carry the village, destroying the British 1st Division.

However, now it is the allied turn to win the initiative, the British 3rd Division, supported by the allied cavalry driving into the French 2nd Division:

The French are destroyed and the British 3rd Division turns its attention to the village.  Meanwhile the French cavalry attempt to attack the allied artillery, but are intercepted by the allied cavalry. A major action ensues over on the allied right flank:


The French cavalry is all but destroyed by combined artillery fire an an allied cavalry attack.

Meanwhile, in the centre, the British 3rd Division storms into the village, taking out significant numbers of French troops, despite close support from French artillery:


The French exhaustion point is now very close, and luck remains with the allies. Just as the French bring up their reserve division it is hit by Allied cavalry thundering down off the ridge. 

In the village French restance collapses and the battle ends. The Allies win a costly victory by holding the village and driving off the French. This was a fun game, the rules allowed things to move on quickly and the battle was over in less than an hour.  It would be easy to play with multiple corps, allowing some full scale napoleonic engagements.


Wednesday, 16 September 2020

My Big Idea

I have always had a desire to play games representing some of the bigger battles, with several corps or complete armies involved.  I have looked at some of the Command and Colors scenarios and also Bob Cordery's Portable Napoleonic Wargames systems.  Both rule sets are very good and work for me; however, the one thing that does not is the representation of the units and formations on the table.  

Obviously, to make a game portable it has to be quite small and involve just a few playing pieces, but for me, wanting to use the rules on a bigger table, having a corps made up from nine figure divisions does not work.

So, for the past year or so, I have been looking at ways of addressing this and finally came to the conclusion that 2mm figures provide the answer.  I have replaced each figure used in the Portable game with around 70 in 2mm scale.  Thus a corps, in this case Anglo Dutch Napoleonic, would like this:


It occupies the same space on the board (I am using four inch hexes) as the 25mm figure version, but I think it actually looks more like an army corps.  Three or four of these would make up a complete army.

Furthermore, painting is quick. Once based and primed in black using a rattle can, the above corps took me less than a day to paint. It is possible to get a bit of detail onto these figures too. here is and artillery unit:

I have also started my French army:


I plan to continue to build up my armies and will play out a scenario to see how it works with small figures.