I have accumulated several of the Portable Wargame books by Bob Cordrey and whilst I have borrowed some of the ideas and mechanisms, I have not actually played a full WW2 game using the rules. I liked the idea of a WW2 scenario, but I did not want to spend an age setting it up, basing figures etc etc. I also did not want to be bothered with keeping tabs on casualties and I wanted a solo game.

The solo game is well catered for in the books, using playing cards to determine initiative. To cope with casualties I decided that one stand would equal one Strength Point (SP) and I was keen to make my units look like units, rather than single models on a base. I used the mechanisms laid down in 'Developing the Portable Wargame', particulalrly liking the pinning rule. I took from Hexblitz the idea of having three states of activity, that is, moving, static or in defence. This is good for keeping track of which units are un/limbering up, or in defended positions, without the need for model defences.
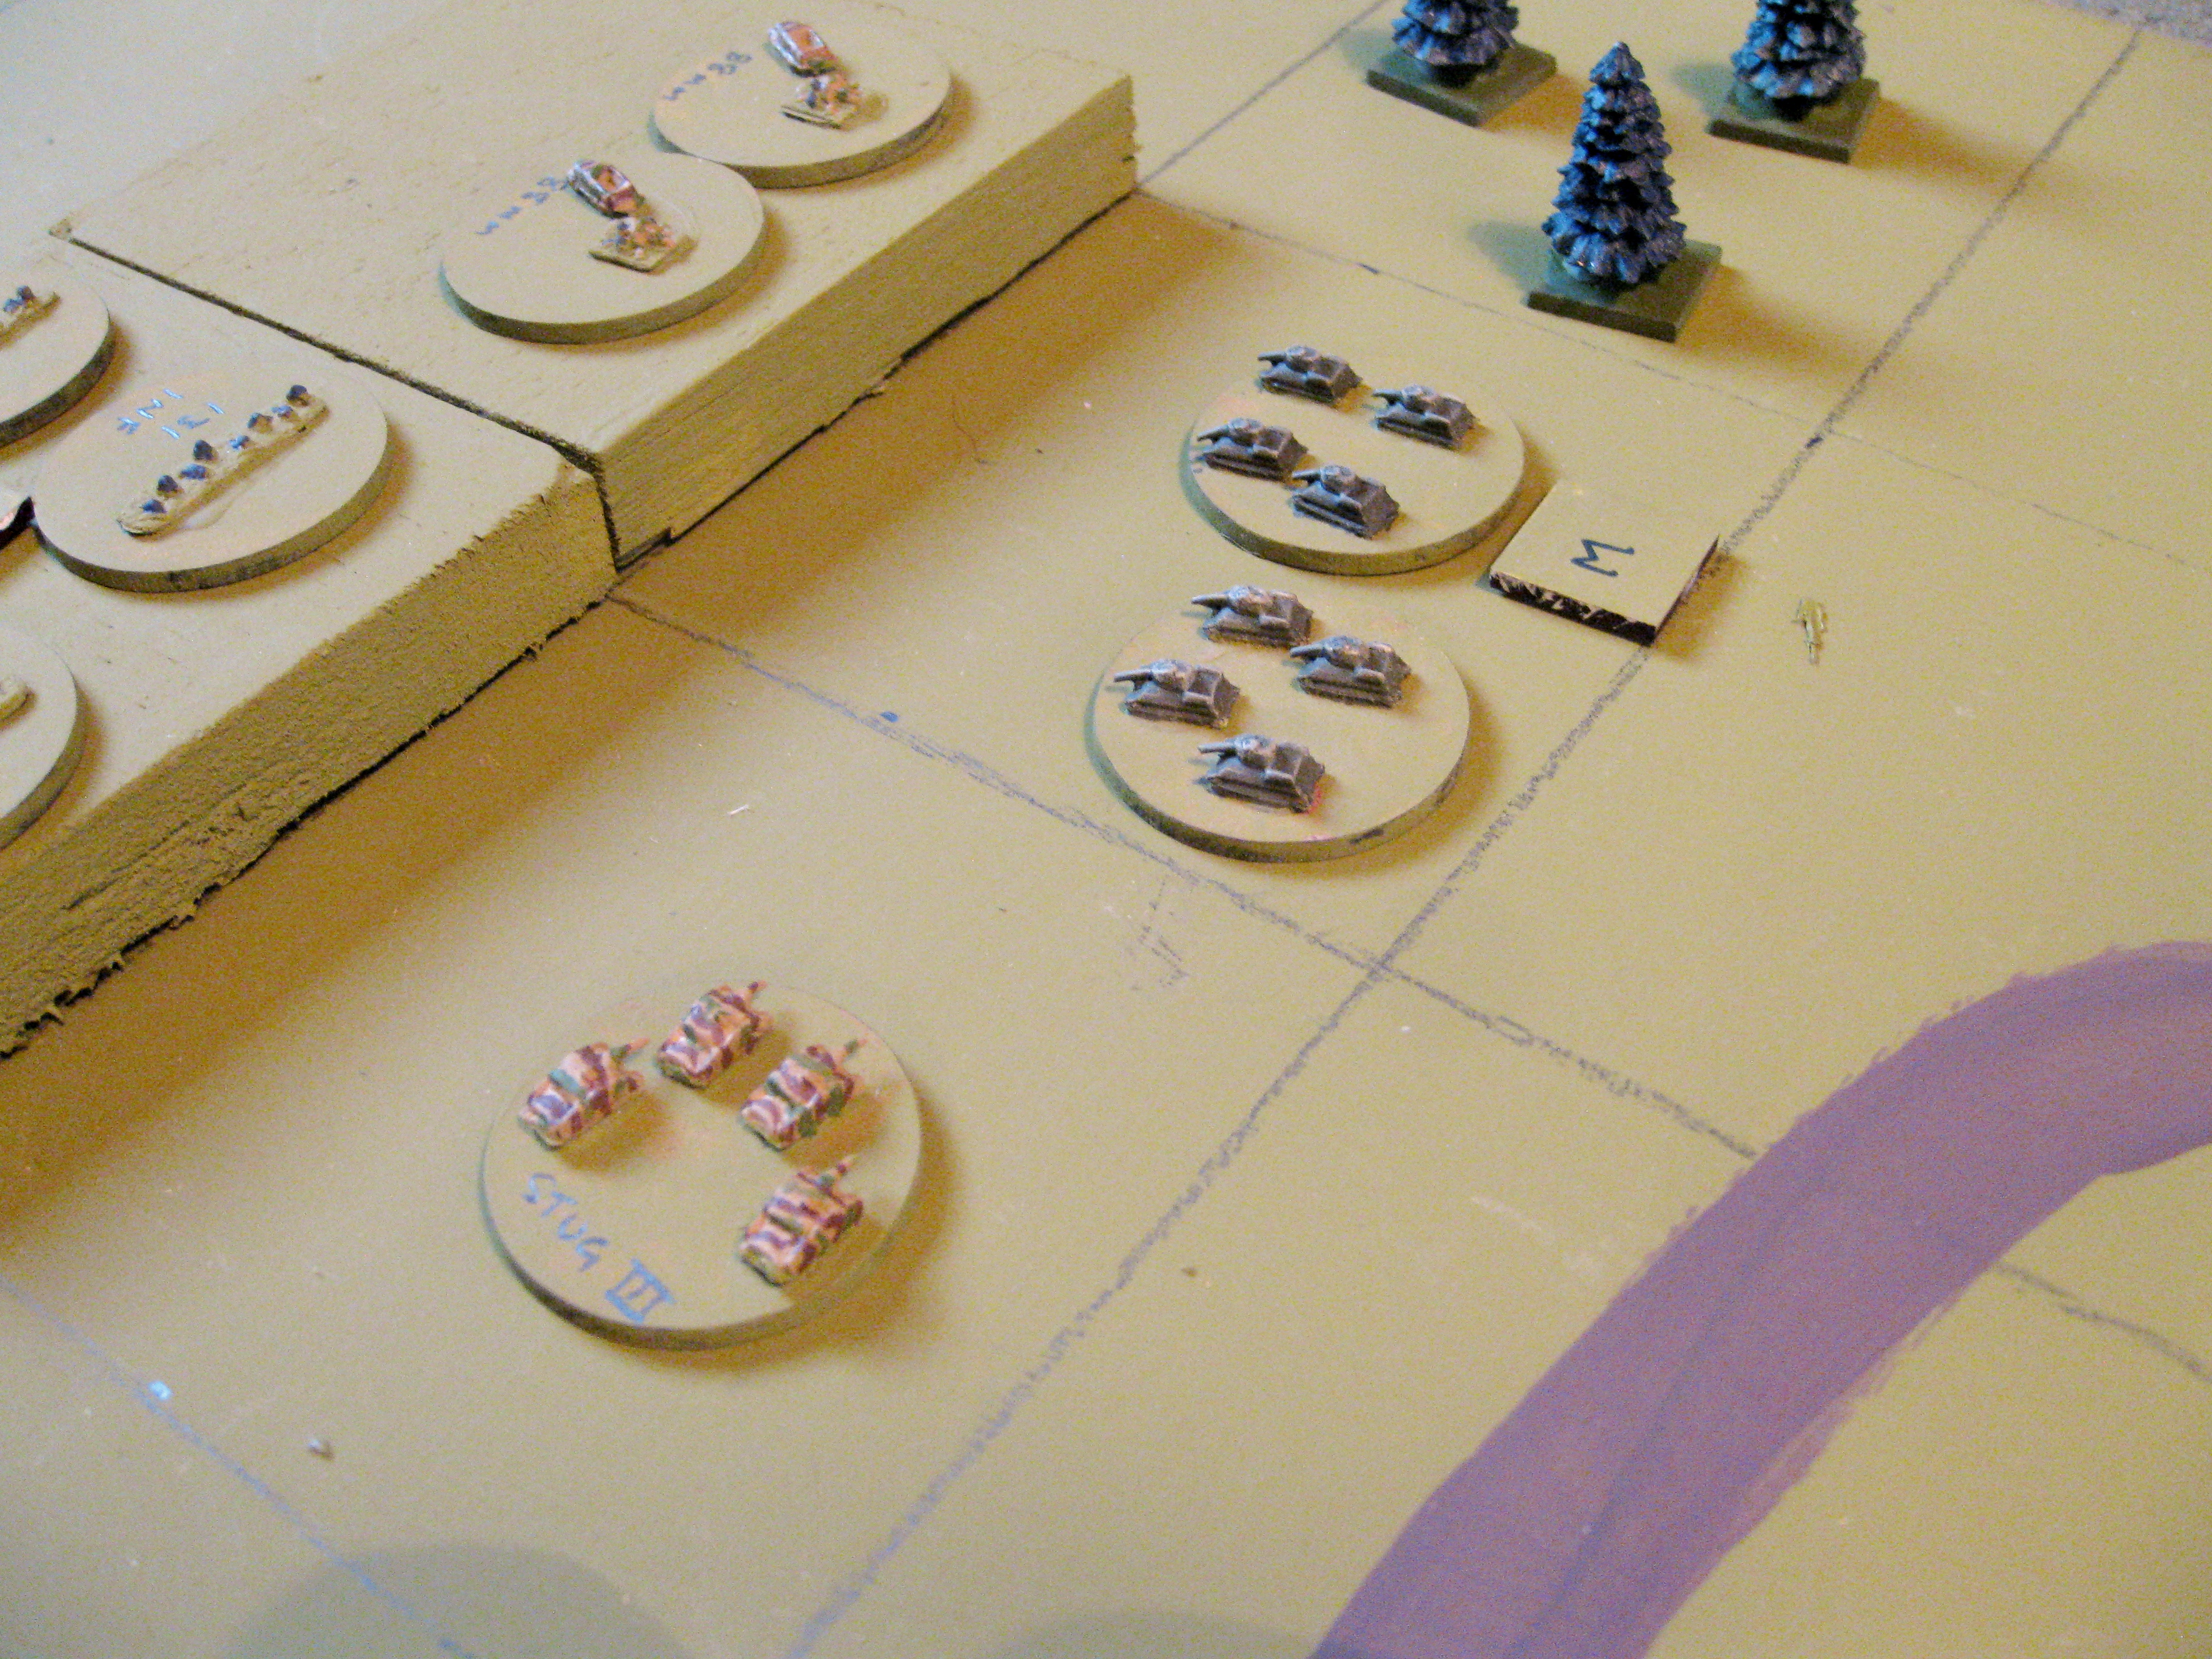
For a board, I used a piece of 4 x 3 hardboard, painted green, with some roads and rivers painted on and a three inch grid drawn onto it. Hills were 3 x 3 inch blocks of balsa. For buildings I used Monopoly playing pieces. For troops I went to the nice Ian Kay at Irregular Miniatures and bought some 2mm armies. These are very cheap and arrived in about 48 hours. I soon had the tiny tanks stuck onto 30mm MDF discs, with one disc representing one SP:
Within a couple of days, I had a board, two armies, one German and one Russian and it was time to try the rules. For my first battle I was going to have a small depleted German force defending a ridge line, to protect two river crossings. The Germans had two infantry battalions, a depleted assault gun battalion (Stug IIIs), two 88mm battalions, an SP howitzer regiment and in reserve a depleted tank battalion (Pz IVs). The German end of the board was laid out thus:
The Stug battalion deployed forward into the village:
I am not going to give a blow by blow account, suffice it to say that the Russian, armour heavy steam roller rumbled forwards, initially taking a hit from the Stugs in the village, losing some heavy tanks and becoming pinned:
The Russians had a good run of card draws for initiative and soon the supporting Russian T-34 regiment, ousted the Stug Battlion in a flank attack, and a Russian Rifle regiment moved up through the woods to assault the main ridge:
The infantry attack was initially thwarted and the german reserve depleted Panzer IV battalion pushed the Russians out of the village:
With the Germans back in control of the village, the Russian commander decided to push his armour round to his right flank and attacked the German left. At first the 88s gave the Russian tanks a hammering, but were eventually overwhelmed and driven off the ridge:
The Russian attack built up, taking out the remaining Stug company, destroying the 88s and then pinning and subsequently forcing the German infantry (131 Regiment) off the ridge:
By now the Germans were close to their exhaustion point as the action shifted to the opposite flank. Here a second Russian rifle regiment swept around the defending 77 Regiment, with heavy artillery support.
With some rotten dice throws the Germans became pinned, and then were force to retreat off the ridge, taking more casualties. The Germans were finished, being pushed up against the river and reaching their exhaustion point. This was the board at the close of the game:
Overall I enjoyed this simple and fast game. I made a few mistakes along the way as I learned the rules. One thing I will do is write the rules out on a crib sheet as referring to the books each time was a pain.
2mm figures worked very well on the three inch grid and combat resolution was simple, allowing the game to move along at a pace. I need to go back and study the rules. At one point it states that infantry cannot attck armoured vehicles, but I allowed mine to take on tanks when they were in an adjacent square - maybe I got that wrong. I will give it another go soon.