Douglas Miniatures Logo

Douglas Miniatures Logo

Monday 27 December 2021

Zulu Dawn

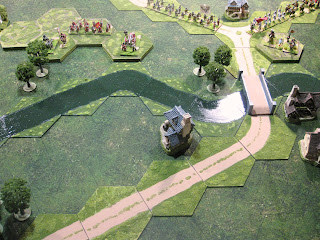
 Instead of the annual Christmas viewing of Zulu, I decided to have a go at a scenario from the Command & Colors Battlecry map selection; Isandlwana.  The map, shown below depicts a scenario where the Zulu army has already deployed the two horns and the main body has come into view:

As can be seen the tactical options for the British are somewhat limited, other than stand and fight.  Durnford and his cavalry have already withdrawn back to the main position and the British force is all but surrounded.

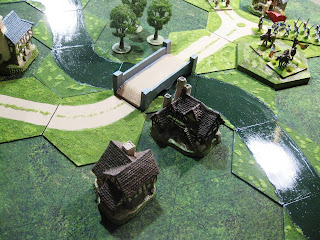
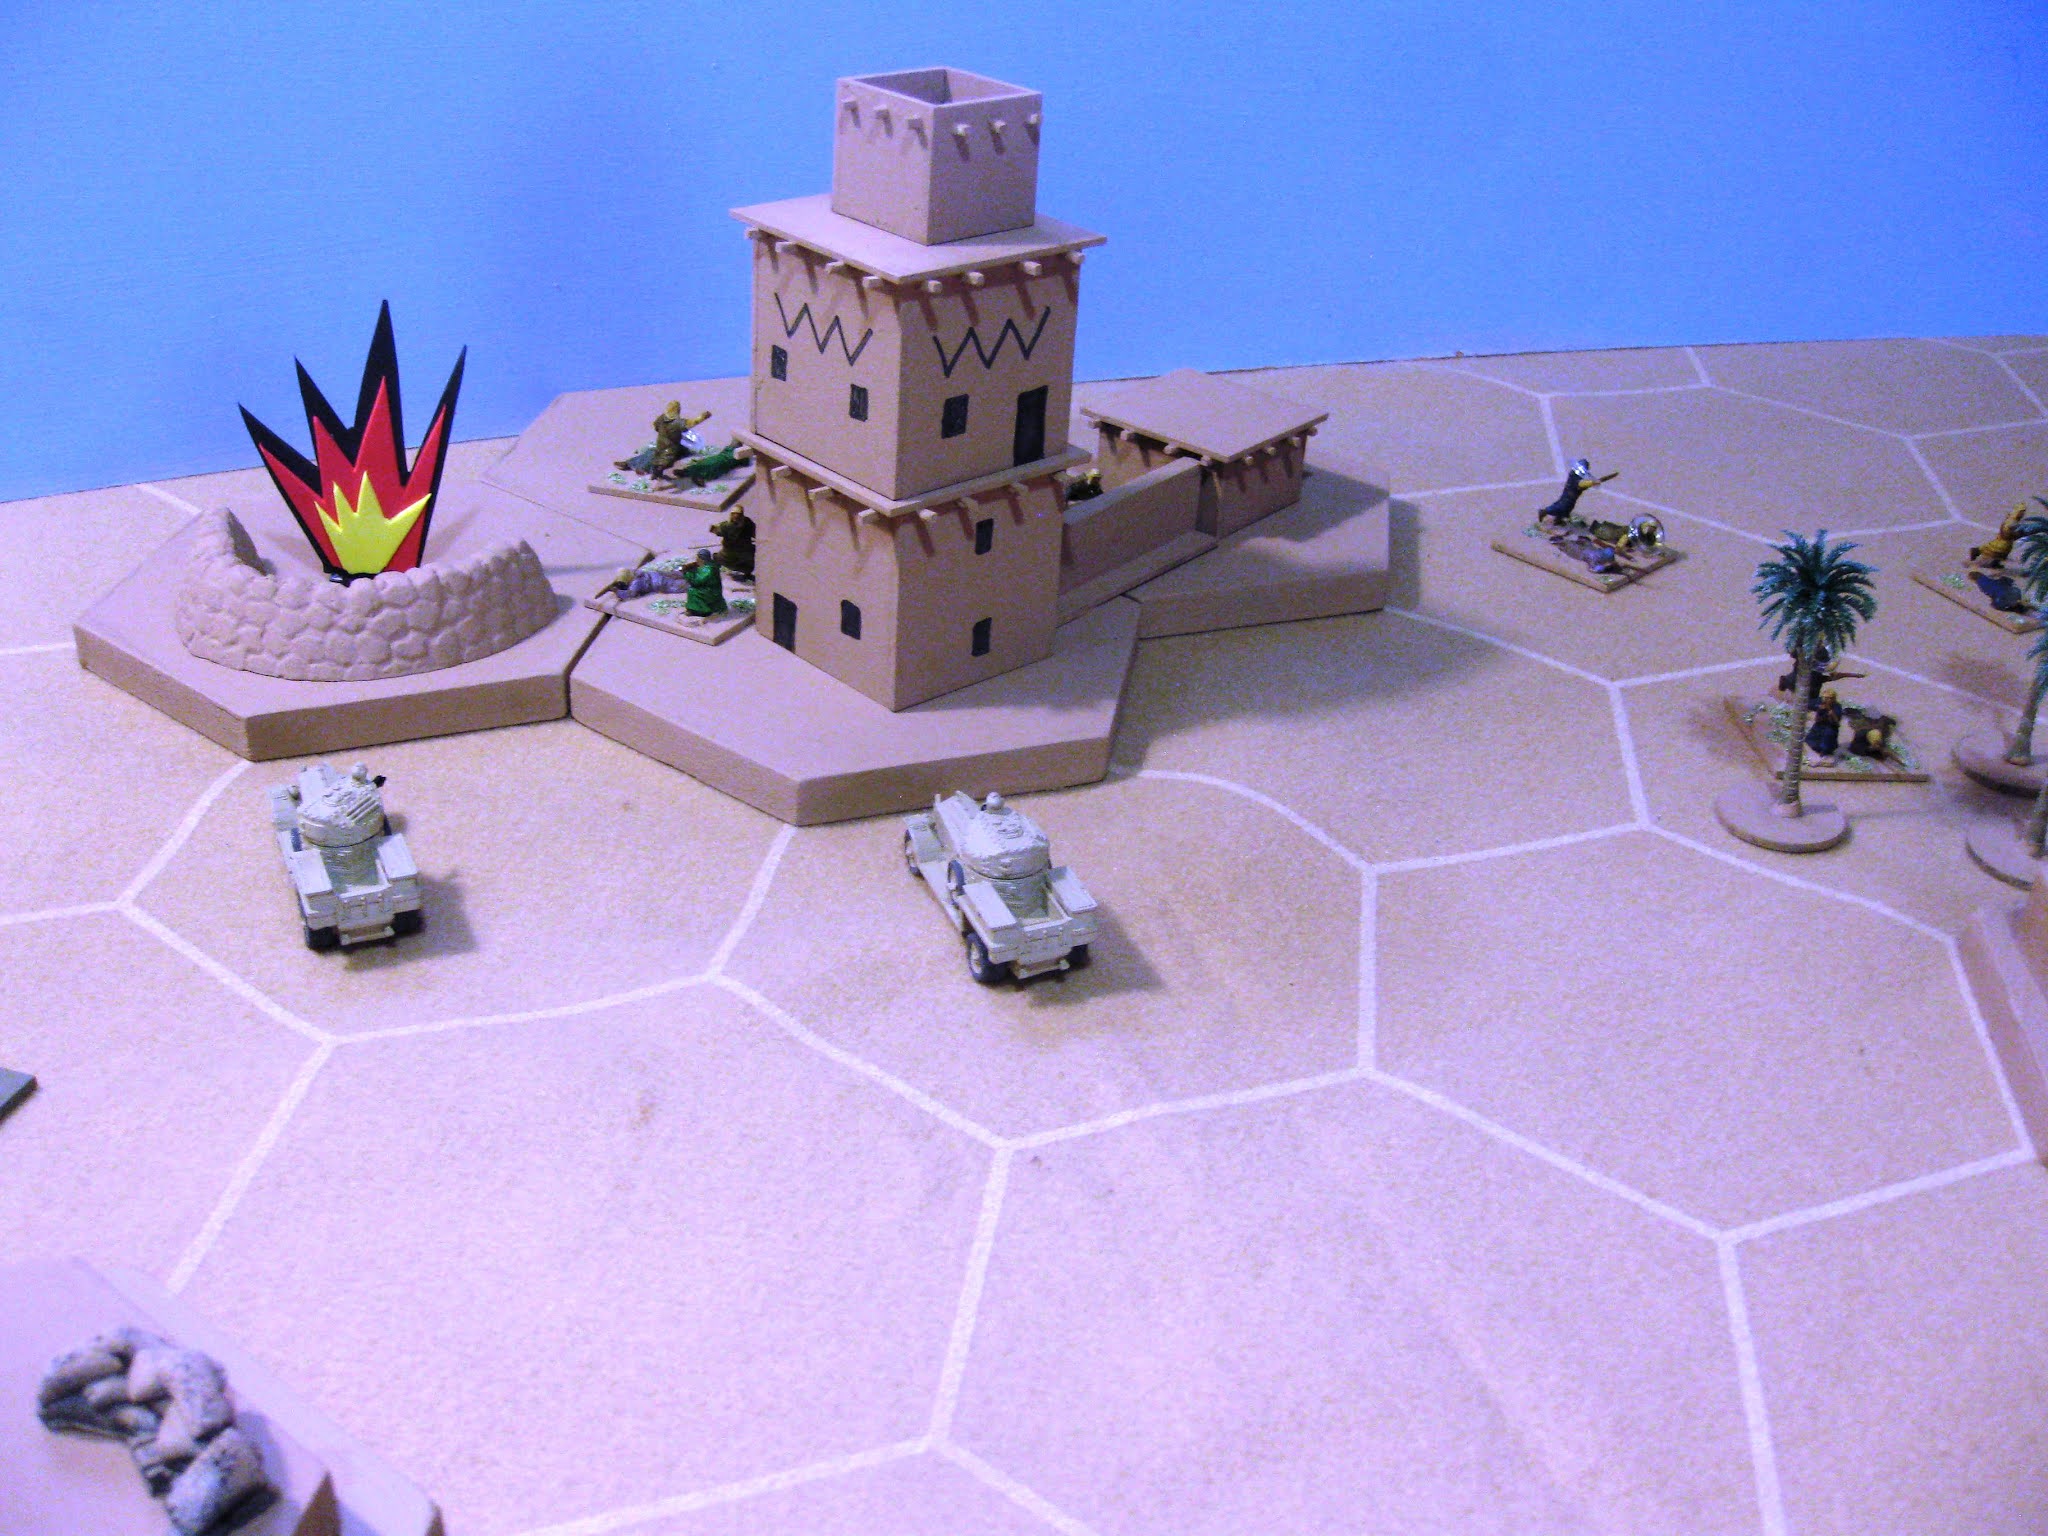
This is what the table looked like, viewed from the main Zulu army:

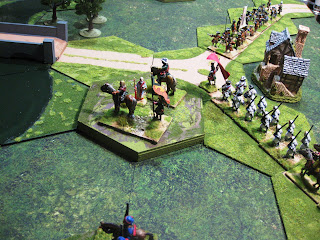
With the right horn:

And the left:

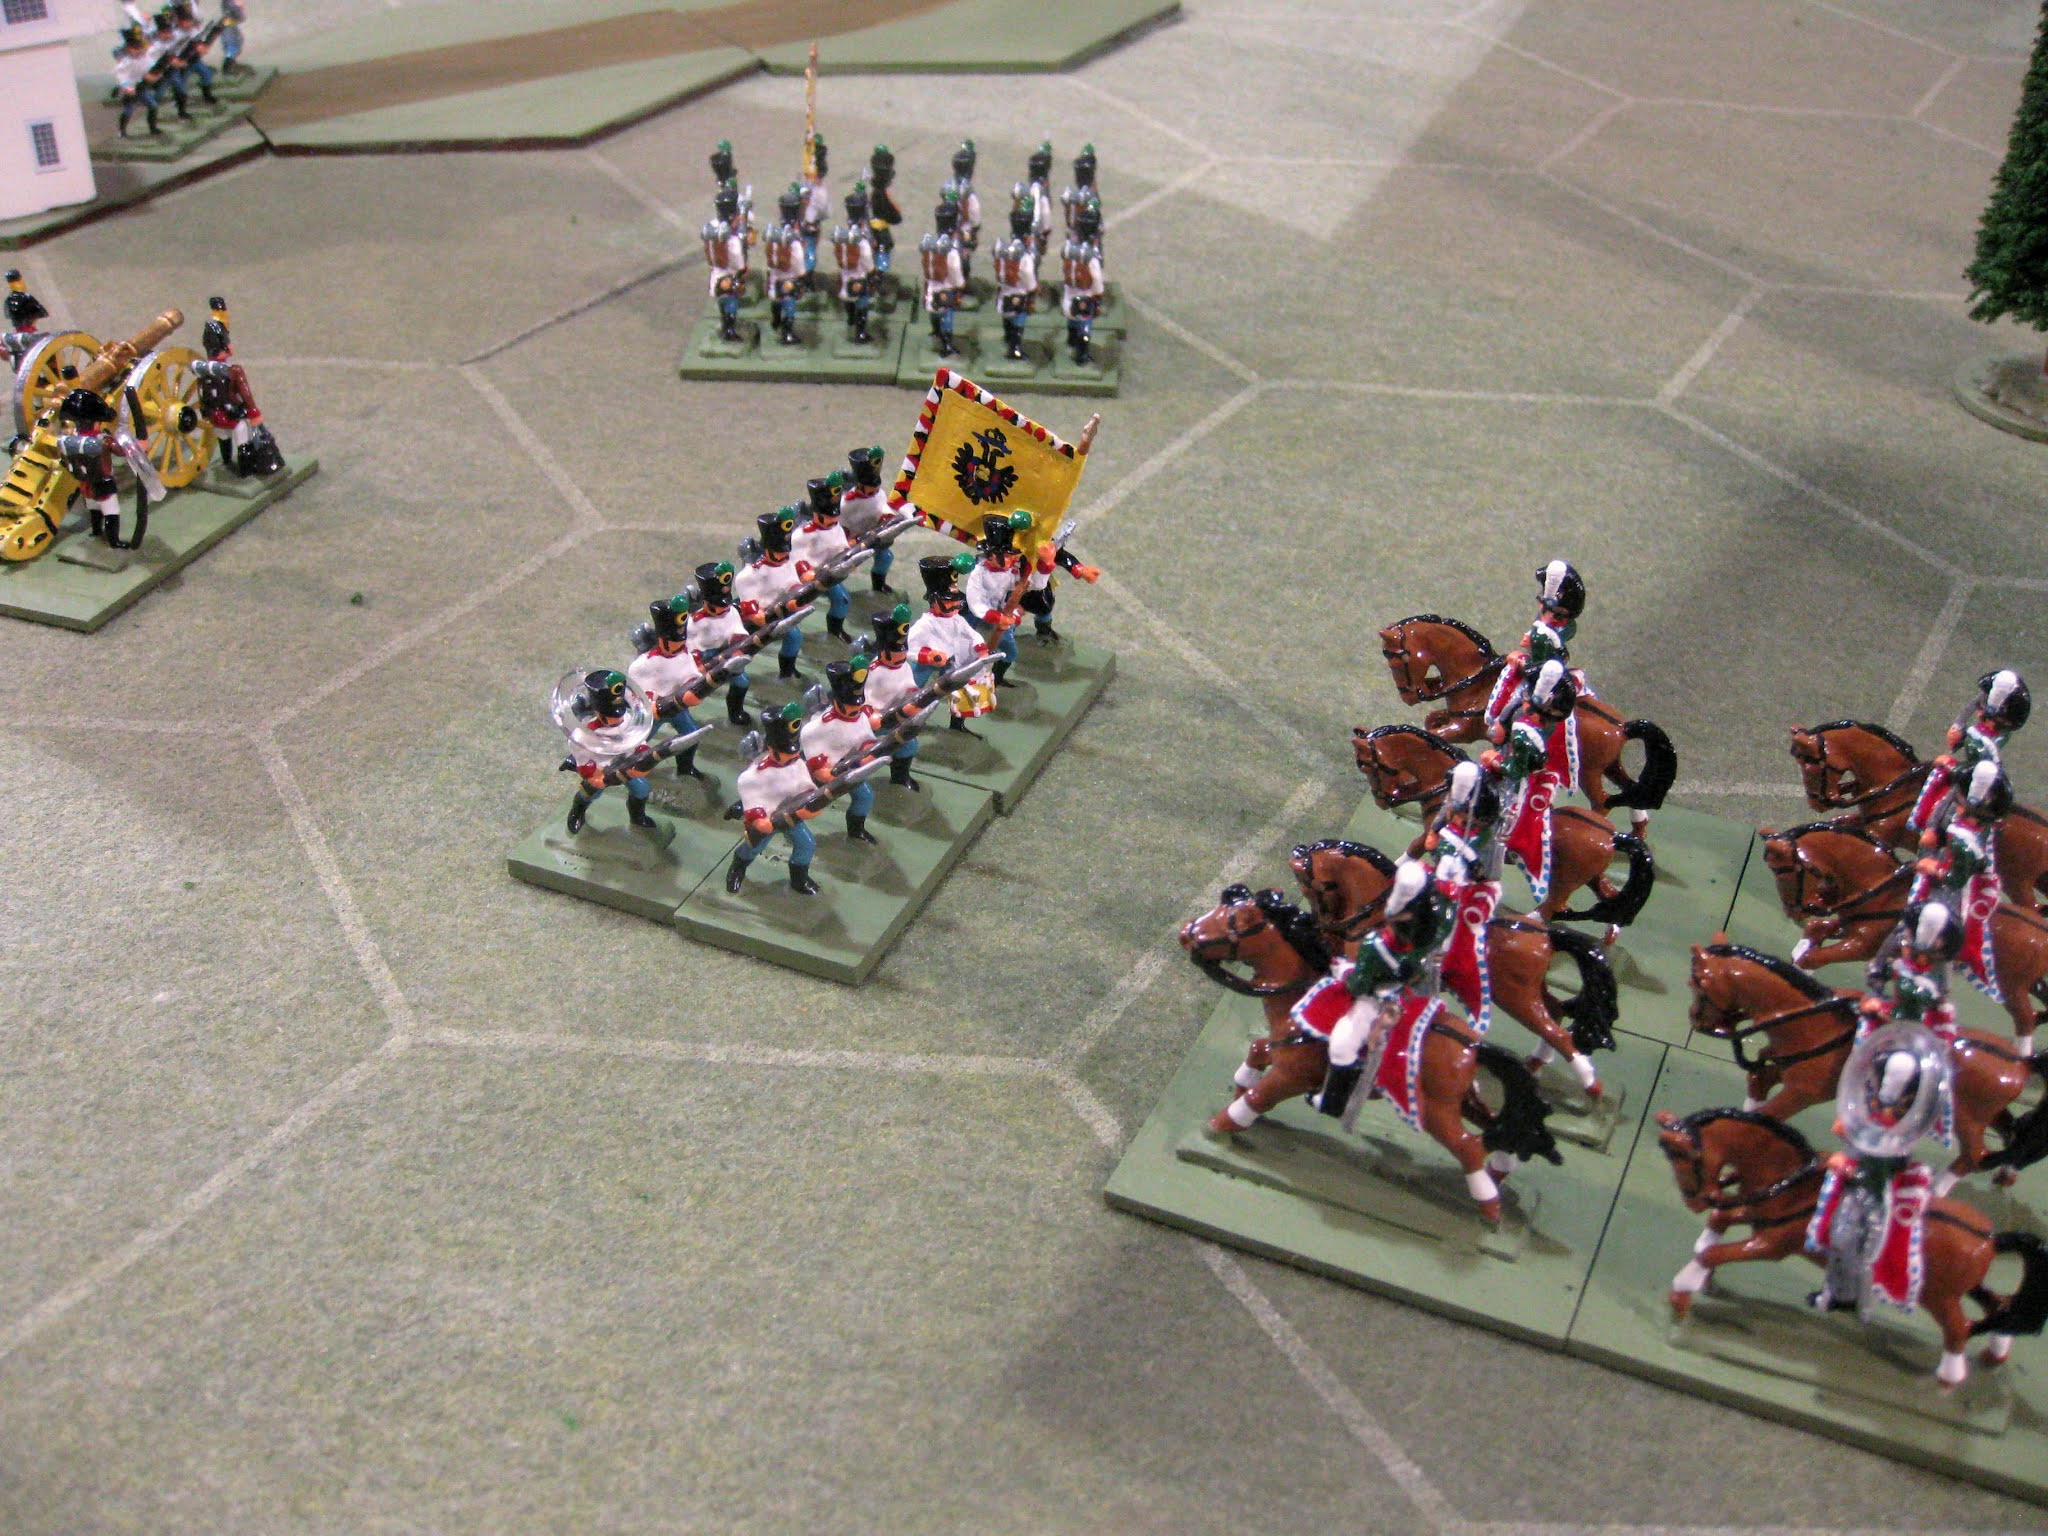
And the British firing line:

The British plan was to pull back the three units out on their left flank and attempt to form a square.  The Zulus decided to press on the British flanks to draw off men from the main firing line then deliver a final blow in the centre.  

Almost immediately the Zulu right horn poured down off the slopes.


The Zulus sliced into the British left hacking down a number of the soldiers.

As this was going on a similar event takes place on the other flank as the left horn charges into the British infantry and dismounted irregular horse:

The situation looks grim for the British:

However, despite heavy casualties, first the right horn is pushed back:

And on their right the British stand their ground, albeit having been forced back by the left horn and with many casualties:

Now the Zulu main body begins to move forward, however, as the two horns have failed to draw off troops from the firing line the Zulus crossing the river are met by both heavy volley fire and artillery:

The Zulu main body is stopped in its tracks, but the Zulu right horn, having rallied pushes in against a weakened British left flank. The British gunners are wiped out and several more infantrymen fall:


Now under pressure on the left, the British firing line begins to falter allowing the Zulu main body into contact and the situation looks dire for the redcoats.  This is the Zulu high watermark.

Successful volley fire and a couple of bayonet charges tips the balance for the British (and some lucky dice rolls!). The Zulu now have reached their exhaustion point with well over 50% casualties.  They break off the attack.

The final situation as the much depleted British force holds their position at Isandlwana:

An unexpected result, but a fast and enjoyable action.  I must try the Rorkes Drift scenario!


Monday 20 December 2021

Table top almost completed

Work has continued on creating the 6" hex table top.  The rivers are completed as are the hills and road sections.  I have constructed a bridge out of balsa, although I need to finish this off as it is currently in its base coat.  

Here are some pictures with a few of Bob Black's GNW Russians to give an idea of scale:


The buildings are from Lilliput Lane, David Winter series, which I picked up for less than a £1 each.  They were a bit chipped, so have been touched up.

Time for the Swedes to deploy methinks!


Thursday 16 December 2021

Keeping busy

I haven't posted for a while as I have had little show and have not played any games.  Instead, I have been undertaking several projects.  The biggest has been the creation of scenic tiles to support my 6" hex gaming mat.  This required the usual hills, roads and river sections.  I have been trying to match up the colours to blend in with the mat, using flock.  As can be seen, there is still some way to go:

I have also been completeing some colonial projects, including some Zulu War British infantry and artillery, as well as some irregular cavalry. Here are the cavalry.  They are made up from odds and ends purchased on eBay and the chap with the sword was donated by Bob Black:


 To add to my Zulu army these Irregular Miniatures Zulus have also been completed.  One is dressed in a Royal Artillery uniform jacket, just for a change from the usual scarlet:


Wednesday 1 December 2021

Sudanese Colonial Infantry

Last weekend I finished a second Sudanese unit which now joins my growing colonial British army.  The figures are by Barry Minot and were part of a large group of 25/30mm figures that I bought a couple of years ago:


These troops are wearing the brown woollen jumpers common to Sudanese troops on campaign. Not sure if the guy at the rear is taking a leak, or maybe just reloading!


Thursday 25 November 2021

PSC Battle of Britain - Take 2

 Last time I dug this game out I had a go at setting it up and learning some of the rules; however, I was a little disappointed with the aircraft models, in that the game is more strategic where the models represent a raid of multiple squadrons.  Thus, the models are purely representative. I thought it might be better to try out the type of markers used during WW2 in the Ops Rooms, which indicate a complete raid.

 I made up some markers that reflect the units in the game, but also look like the real markers.  These were printed out on card  and stuck to a wooden base. I made some sticks to push them around too!


I then play tested a scenario with a German raid being intercepted over the SW coast. The markers in the top centre of the picture below represent two British squadrons of Spitfires and one of Blenheims vs a German bomber formation of three squadrons with no fighter escort.  The Germans were wiped out.

The markers worked quite well, although it became quite difficult to work out which group each marker belonged to, so since taking these pictures I have painted the marker bases to match the various group colours.  I will give this game another go, although I need to revisit the rules to check out some minor points.


Monday 22 November 2021

GNW More Swedish Infantry and Army Overview

 The final unit from my first batch of Great Northern War figures by Ebor has been completed.  In yellow facings, these figures represent the Bjorneborgs Regiment (which I am guessing is something to do with bears!). The flag does have a little black bear motif.


The completion of this unit means that the first phase of creating a small Swedish army is complete.  Here is an overview of the full army:


25mm Ros Figures Napoleonic French Cuirassiers

 Another unit comes off the production line as part of my occasional refurbishment of my old Ros 25mm Napoleonics.  These are originals from 1975, although the horses are not quite right.  I think that they are by Lamming, but are very similar to the Ros castings.  I can't remember how we acquired these horses, there must have been a sale on or something:


Friday 19 November 2021

Napoleonic Border Clash - A Two Bob Battle Report

The French advance guard has crossed into Austrian territory and is marching as fast as possible to seize a key bridge.  Alerted to this threat, a small Austrian force deploys across the road to block the French advance with their centre in a small village:

Both sides have seven infantry, two cavalry and two artillery units. The Austrians suffer from lack of mobility and the Austrian General (Me, Bob K) decides to form a defensive line with a hill on the left, the village in the centre and a small wood on the right.


The French (Bob B) adopt an aggressive stance and push cavalry out on both flanks, begin an artillery bombardment and rush infantry up the road in the centre.


The cavalry battle on the left flank involves Austrian and French Cuirassiers.  This becomes an epic struggle which lasts almost the entire game:

On the opposite flank French allies, Bavarian Light Horse, make short work of some Austrian Hussars and push their way around the Austrian right flank.

While this is going on French infantry reach the village and launch several assaults agains the Austrian infantry and artillery.  Each time they are beaten back:

The Cuirassiers continue to slug it out on the Austrian left and the battle rages in the centre, but now free to sweep around behind the Austrians the Bavarian horse become a significant threat. An Austrian infantry unit stands in their way, but fails to form a square and is punished by the Bavarian cavalry:

With the Austrian infantry swept aside the Bavarians crash into and destroy an artillery battery:

In quick succession the cavalry assault has swept up the Austrian right flank. General Bob B plans the Coup de Grace

An Austrian infantry unit deploys to block the Bavarian cavalry, forming square and beating the horsemen off:

But, the square becomes a sitting duck from French musketry and suffers accordingly. 


At the same time the Austrian Cuirassiers are finally overwhealmed by their French counterparts and leave the field. The way is open and with the Austrian right completely destroyed, the French gain the road beyond the village The Austrians reach their exhaustion point and concede.  Both sides halt for lunch (pork pie, corned beef rolls and tea), but it is an Austrian defeat 5 - 2.

A great game that hung in the balance for a while, but the Bavarian cavalry changed all of that.  

The figures are mostly 25mm Ros Figures, with some Minifigs added.  The Austrian commsnd are all Warrior Miniatures.


Monday 15 November 2021

GNW Swedish Cavalry

Finished last week, I am now able to post a couple of pictures of the Great Northern War Swedish cavalry.  Once again these are by Ebor and very nice figures they are.  The separate heads are a bit of a fiddle but otherwise easy to assemble:


Just one infantry unit left to finish from this batch, after which I will post a picture of the complete army, well brigade!

Friday 12 November 2021

Punative Expedition to the Pushna Valley 1936

This scenario is inspired by chapter 27 of  Donald Featherstone's book, Campaigns for Wargamers, except that mine is a single action in the valley rather than a complete campaign.

My scenario sees the notorious Malik-Ghazi tribe being responsible for a number of raids on convoys passing close to the Pushna Valley.  Three weeks ago, a convoy of military stores was attacked and plundered.  Included in the cargo were Lee Enfield rifles, Vickers machineguns and artilley and small arms ammunition.  All of this is now in the hands of the Malik-Ghazis.

2nd Battalion Grampian Highlanders has been tasked to attack and destroy the base of the Malik Ghazis, which is located in the mud fort at the head of the Pushna Valley. The tribesmen are now very well armed, although not well trained, but they are adept at making improvised weapons and fortifications.

The valley is a strong defensive area, with the only vehicle route running through the valley floor. Beyond he valley the terrain is very rocky and difficult. Here are some views of the valley and intelligence reports indicate that the high valley walls are defended with sangars and the valley floor has improvised mines made from the looted artillery shells:

The head of the valley is defended by a mud fort:

The British force consists of A & B companies of the Grampian Highlanders (GHldrs), with HQ and Support Company elements, including two Vickers sections, a 3" mortar section and two troops of Royal Engineers. The force has a squadron from the Chiltern Hussars, equipped with machinegun armed Rolls Royce armoured cars:

The British plan is to sieze the two high bluffs on each side of the entrance of the valley then roll up the Malik-Ghazi positions on the two ridges.  Once achieved a two pronged attack against the fort will begin. CO GHldrs has forbidden the armoured cars to enter the valley proper until the engineers have cleared any mines.

The attack begins as the two companies, bagpipes playing, advance towards the bluffs supported by mortar and machinegun fire:


 The tribesmen in the rocks at the foot of the bluff are quickly cleared but soon intense fighting begins as the GHldrs work their way in closer and up onto the ridge


Casualties are quite heavy and one platoon is destroyed by fire coming from the sangars, however, with the heavy weight of machine gun fire the Malik-Ghazi forward positions fall:

After more casualties and a couple of setbacks, under heavy fire, both bluffs are captured:


With the threat from the high ground reduced the engineers begin to clear the mines:

Slowly the resistance on the valley walls reduces as positions are abandoned by the tribesmen, although they continue to cause casualties amongst the British:

The two Malik-Ghazi machine guns create a cross fire that cuts down HQ Company, but the CO, who has moved too far ahead of his troops is fortunately not hit and the pipes continue to play. The mortars are brought to bear against the machinegun postions as infantry work along the ridge:


The machineguns are cleared and most of the tribesmen have withdrawn or fled back towards the fort having lost many men. At the same time the engineers have cleared a path through the valley, somehow not gaining any casualties.

The armoured cars move forward and bring heavy fire onto the defenders in the fort:


With mortar fire raining down on the mud fort the tribesmen decide they have had enough and run off into the countryside beyond. Trucks with explosives are brought up and the British blow up the fort and the arms and ammunition looted earlier.

A win for the British, although all platoons have sustained some casualties and HQ Company has been severely mauled. 

All of the figures (apart from 2-3) are by Airfix and the armoured cars are laser printed. The fort is scratch built made from scrap MDF and matchsticks.